


RAF Hartford Bridge - North Field - November 1944
No.418 Squadron - Mosquitos Mk. VI
This was the Dio that got me back into Modeling a year ago and since then it has been sitting around unfinished begging for attention.
I got pretty far with it and one day surfing the web for some ideas I found this site... well that put a hold on the Dio as now I had so many other things to learn and experiment with 
I have had the idea for this British Airfield floating around in my head since I was a kid building models with my dad. I wanted to combine various elements in the airfield from Airforce & Guard units, Buildings, Figures and Geographic features like trees, streams & mountains
I settled on building a small section of a larger airfield in 1:72 scale.
The idea was to have 2 fighters, a Hurricane and/or Typhoon busy being serviced by some RAF personel while the pilots hung around enjoying a cuppa. There is an army (home guard?) unit attached to the airfield providing protection & security.
I did consider a AA unit and might still add one later.
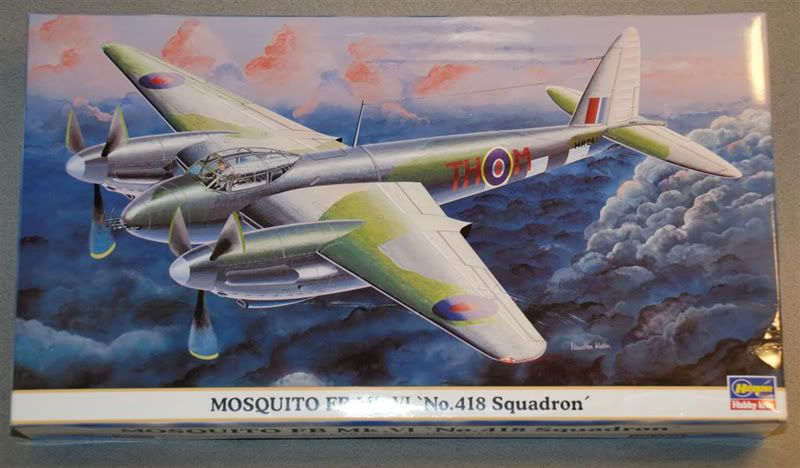
I have since changed my mind and will be building this beauty instead. It will take up less room than the two fighters and um .. I like Mossies?
And here is the dio base as it is now.
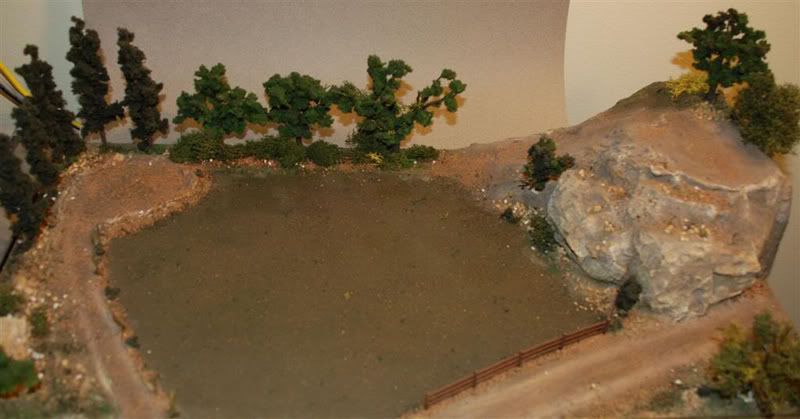
I used a section of thick PLYWOOD as the base and sealed it with some wood glue & a few coats of paint.
The first thing I did was decide where I wanted the field to be. I used a roll of premade grass ( i wont ever do that again) and glued it down. Looked horrid!
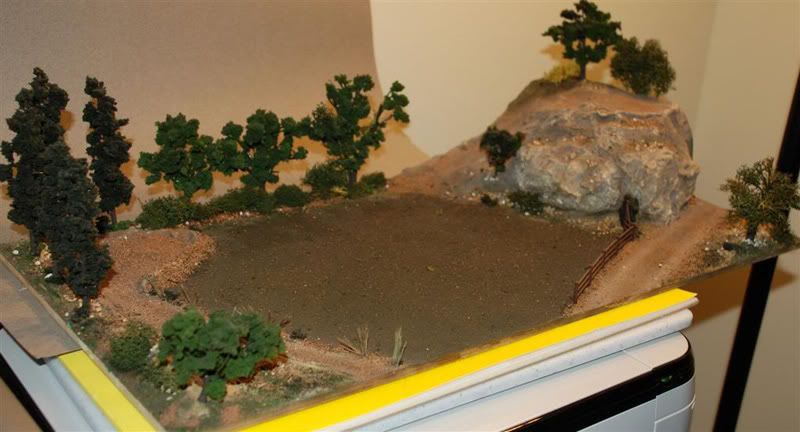
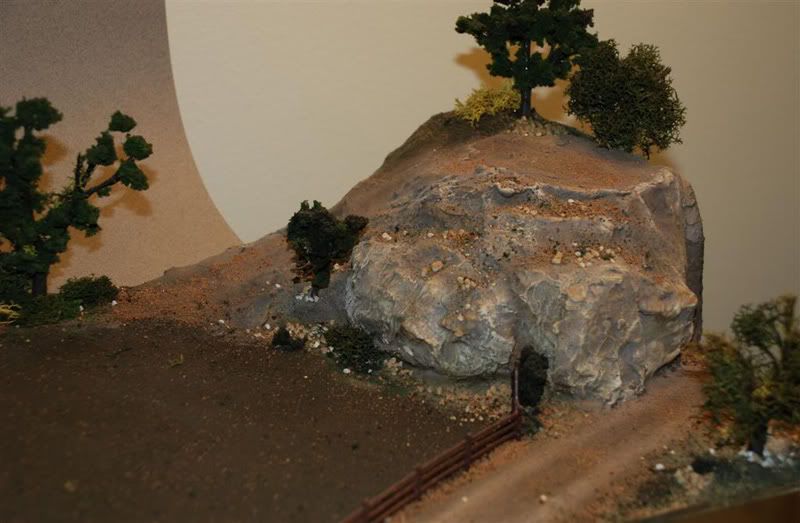
I then cast & moulded some rocks in Hydrocal.
I build up the terrain with two Balsa frames at the back. then filled in the terrain with papermache'
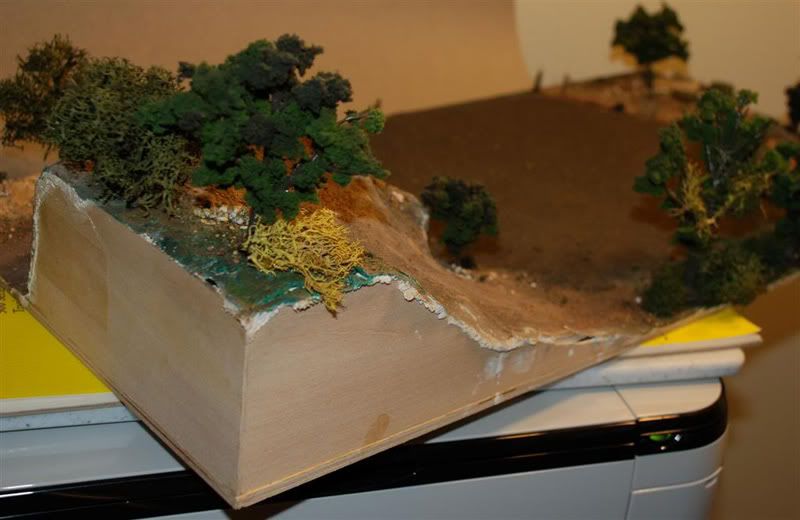
Covered everything with Casting Plaster and formed the roads. Added in the pre-cast rocks. Detailed using different sands & stones.
Started adding layers pf Paint and grit.
I covered the Grass section with some sand and sprayed in some paint tone.
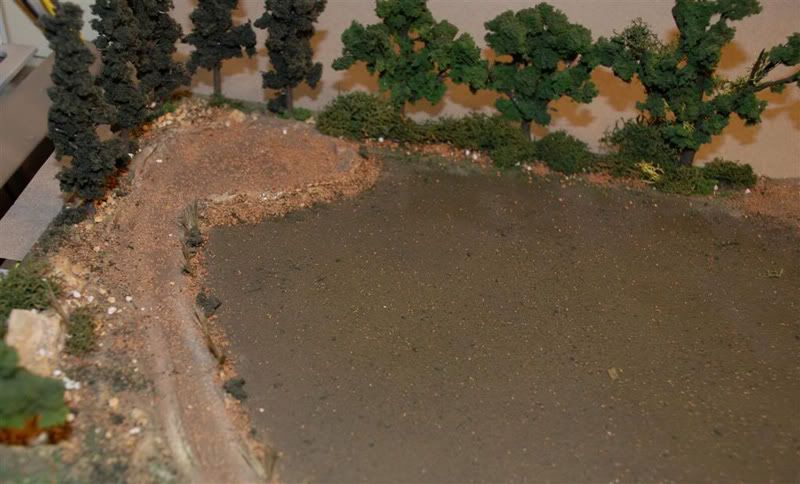
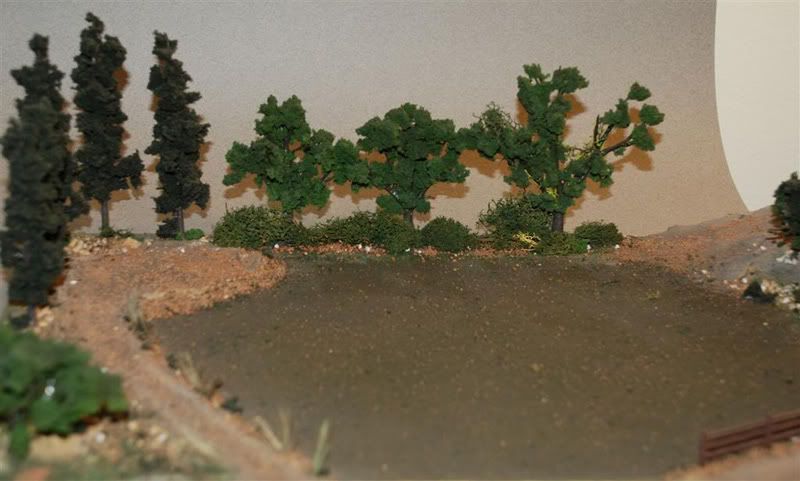
I build up some trees using some real Lichen and some of the bought stuff. I am still not happy with the trees. Tried to airbrush them but it is a work in progress.
I will be adding some more brnaches and shrubs to the back treeline.
At the time that I was working on the Dio I was not too interested in building other models and wanted to do everything Scratchbuilt.
(like we had to do as a kid)
Most of what I built is made from Balsa Wood & Flat Matchsticks.
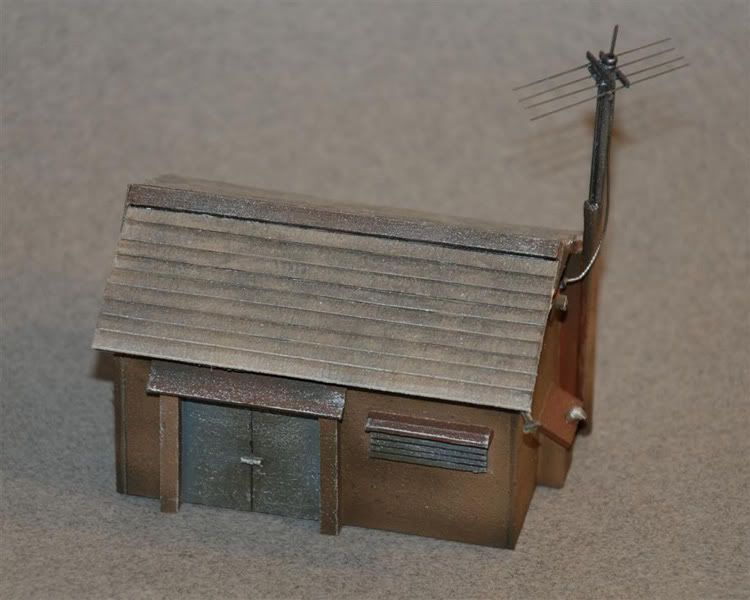
First up, the Radio Shack/Tea Room ... Still needs some work. I want to open the doors and add a Foundation
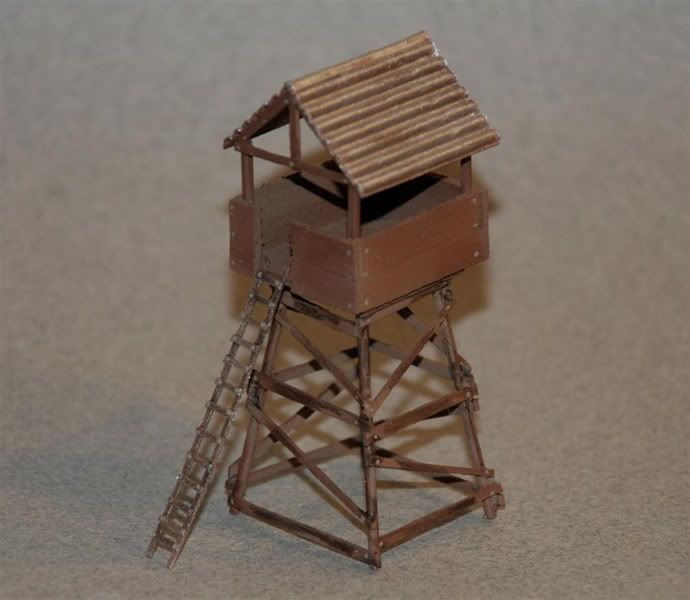
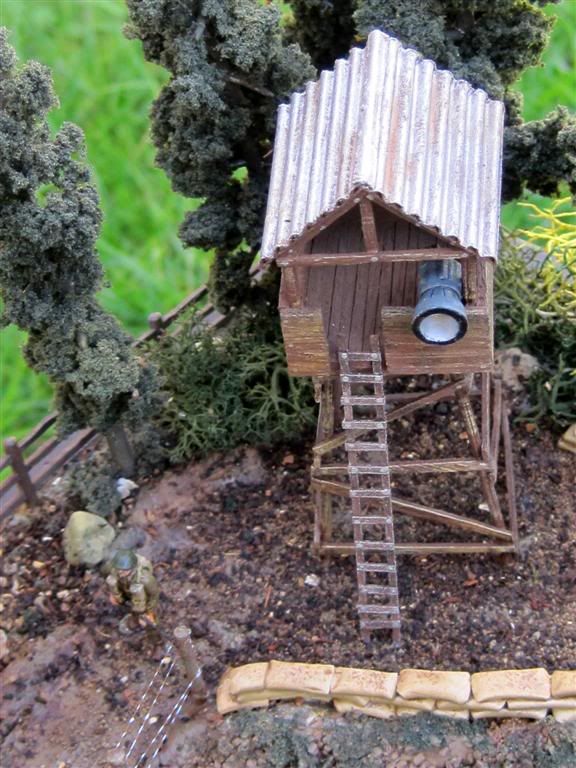
Lookout Tower.
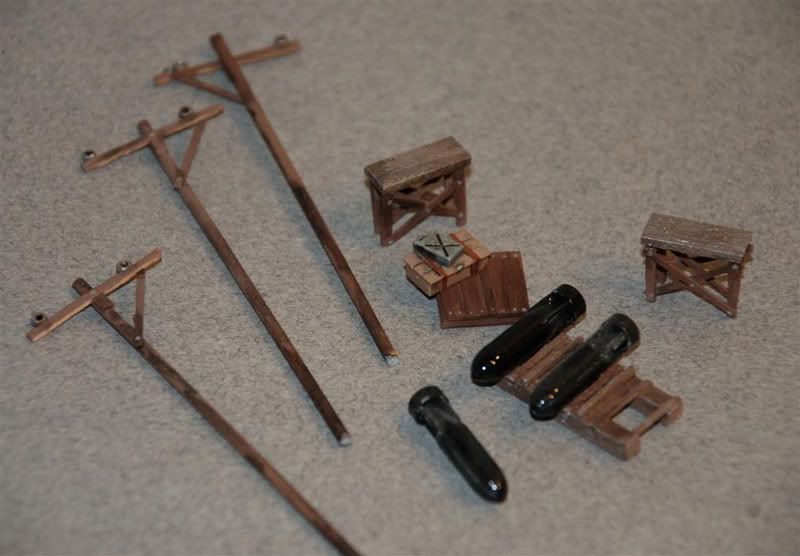
Some odds and end for the service area. I am thinking it is going to be a small combo of a weapons reloading & general maintenence area.
Additional items to be added. some kit items to be used like oil drums/cans/bombs etc.
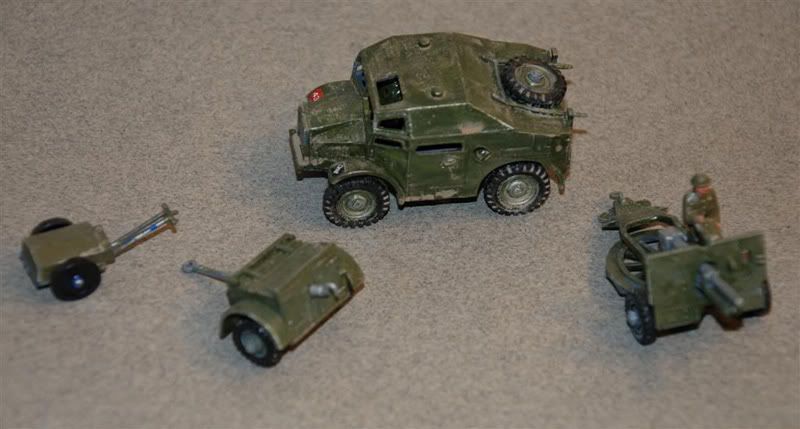
I built up a small Airfix kit to serve as part of the perimeter defense
(this was the first time I used Phils Dirt wash - even though I had finished the model yonks ago!)
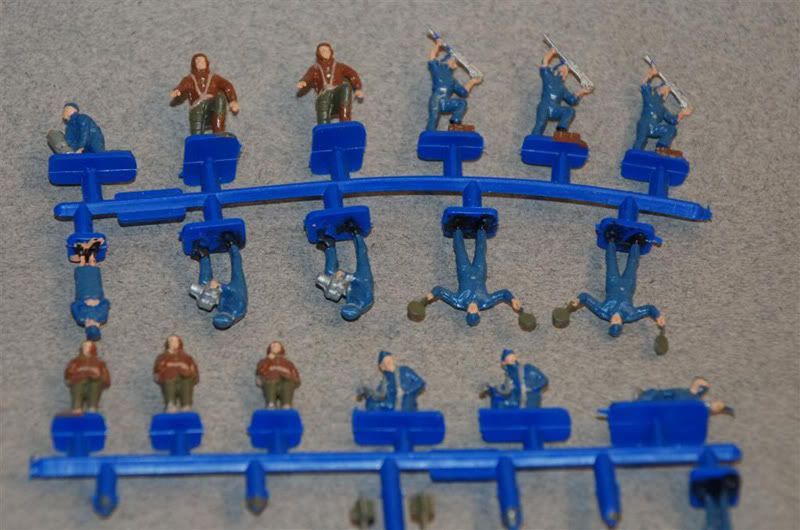
As far as the figures go... I made the mistake of looking for the same kit I had as a kid! eeew the soft plastic is the pits! And now i know how to treat it, but I had already started to paint the little men >.< This was an old Airfic RAF kit.
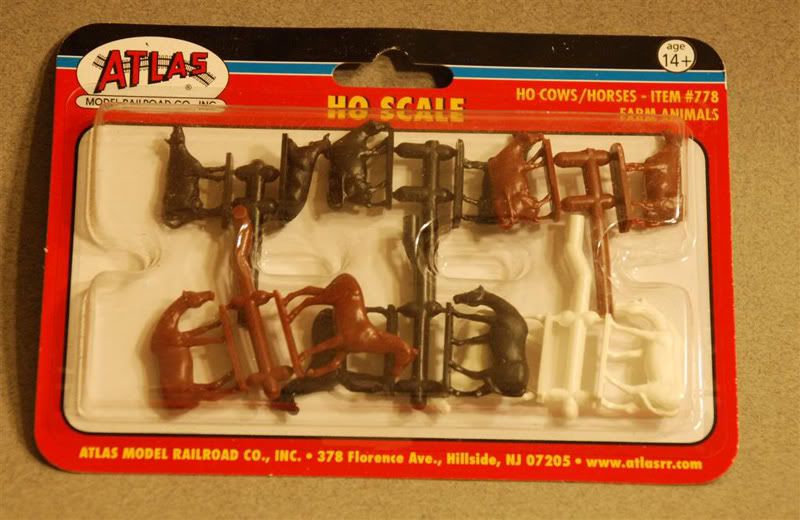
Found this a little more recently and thought a stray Friesland might fit in.
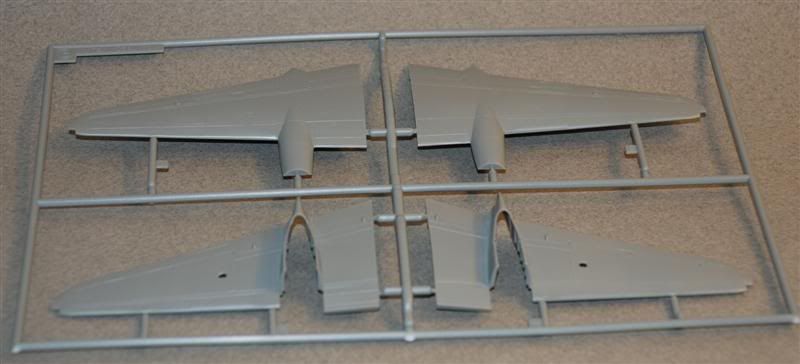
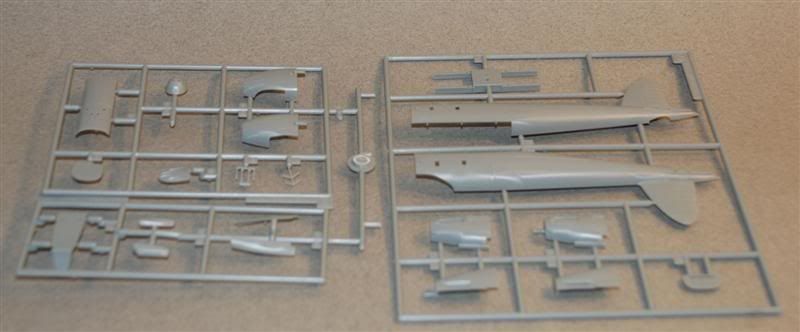
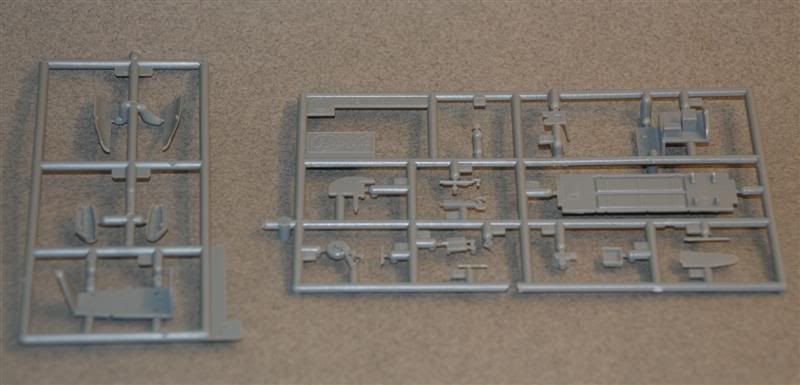
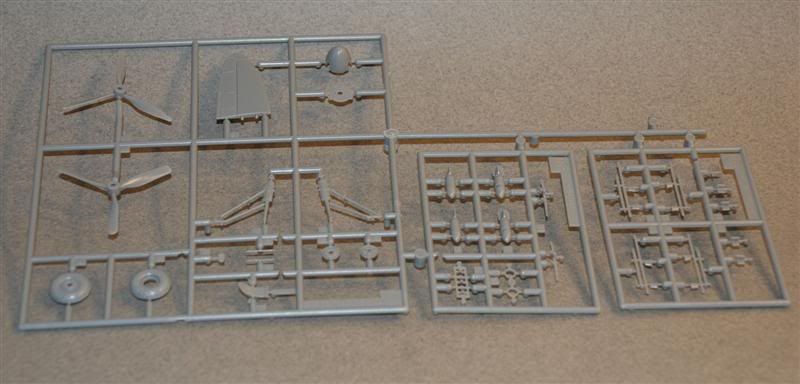
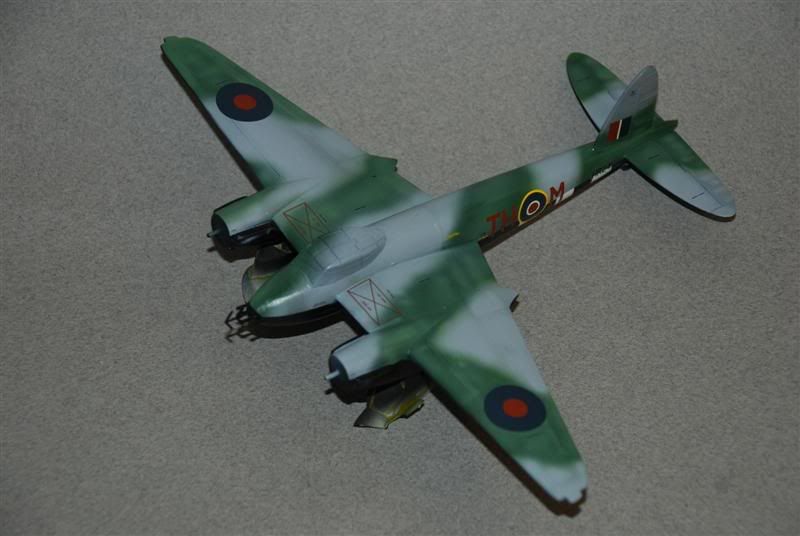
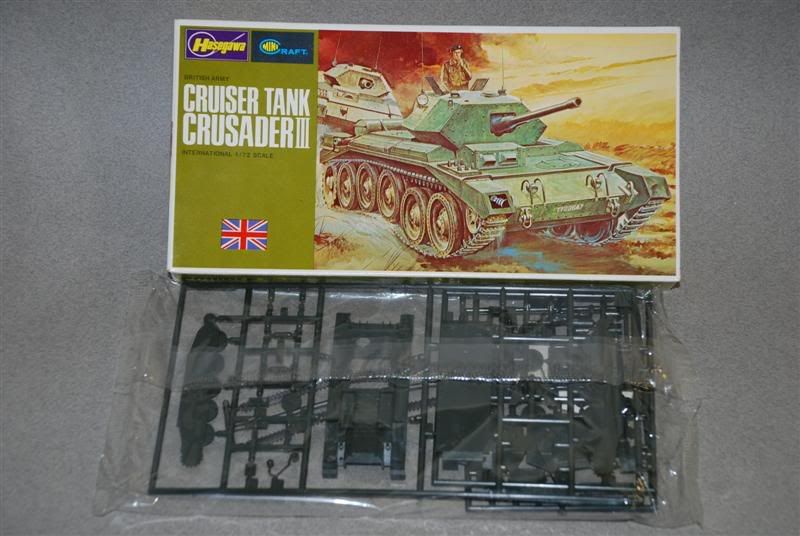
Got started on the Mossie build. pretty standard 1:72 kit. Not overly detailed but not too shabby. As a element of a greater Dio I am quite happy with the kit.
Sprue shots
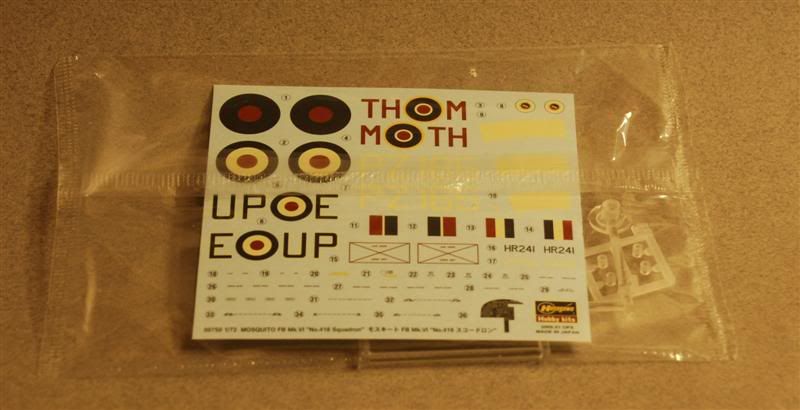
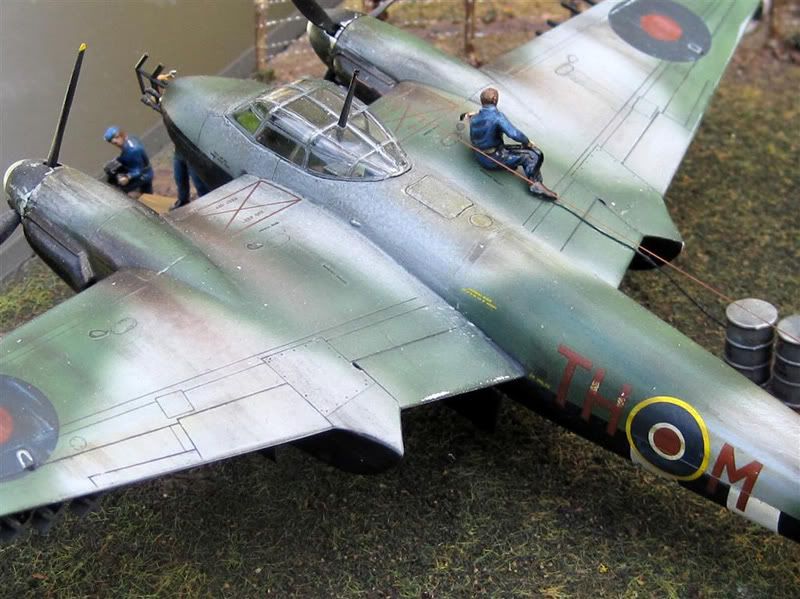
Decals. I am building the RAF 418th Squadron version - Nov 1944.
I am not 100% sure but it seems the 418 was made up of Canadian elements. They were based at Hartford Bridge (RAF Blackbushe today) so that is the theoretical setting for the Dio.
Now... if that is the case would she still sport the Black & White invader strips on her belly?
Onto the build.
Basic cockpit done in interior green with oil washes.
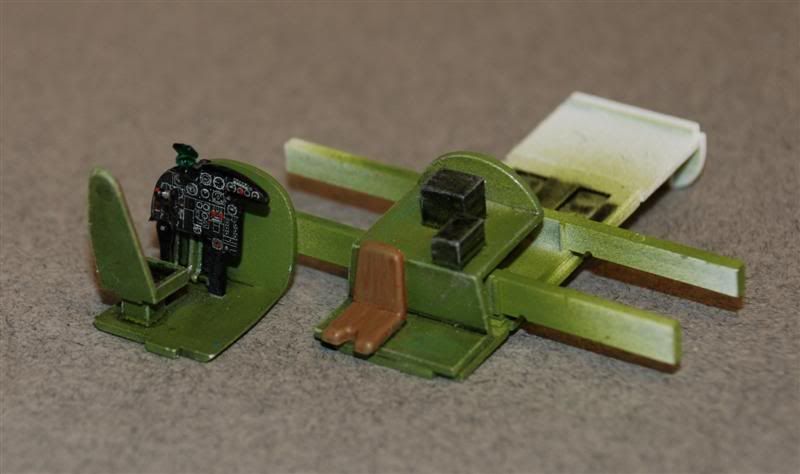
Building up the fuse section.
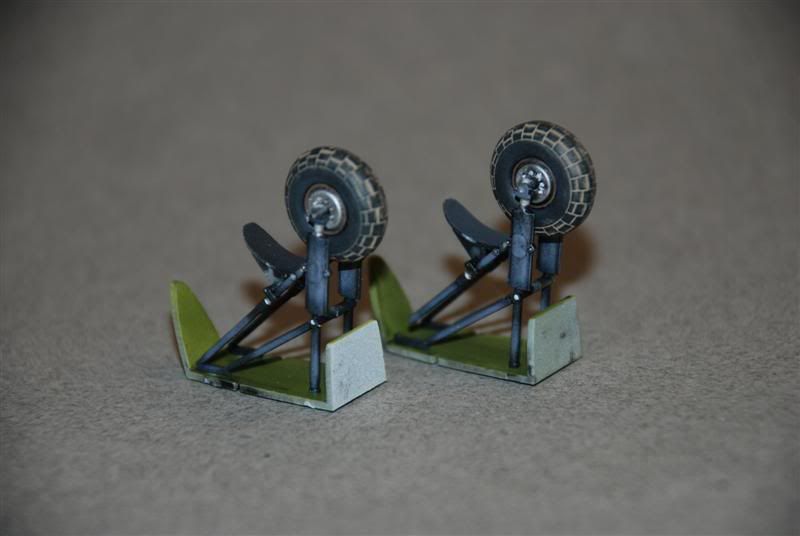
Finished up the wheels with Nato black, medium grey, black oil wash & PM dirt wash. Detailed out landing gear and removed seam from Fuse spine. minor re scribing and smoothed out.
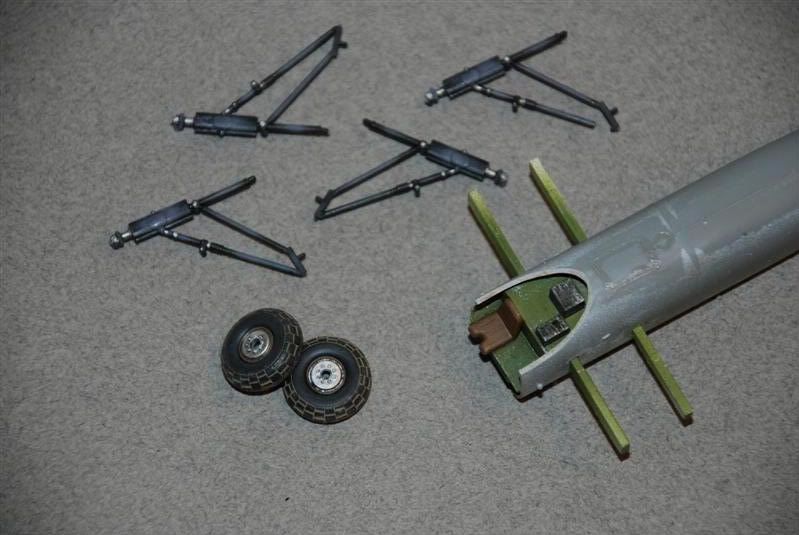
Built Up landing gear & lower wing sections.
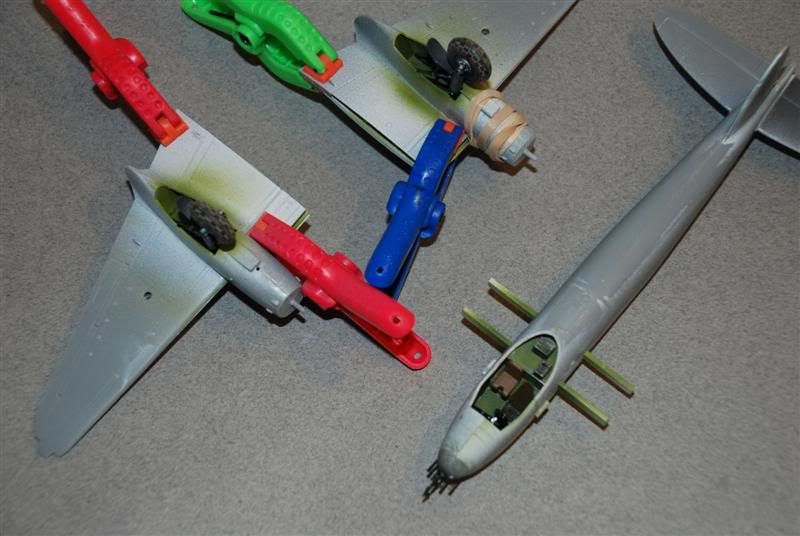
The only hassle so far has been with the lower wing sections. They were badly warped and I've had to glue & tape/pull them slowly into position.
I am busy gluing the lower & upper sections now and have had to do so in 4 steps in an attempt to avoid the lower sections warping the upper surfaces.

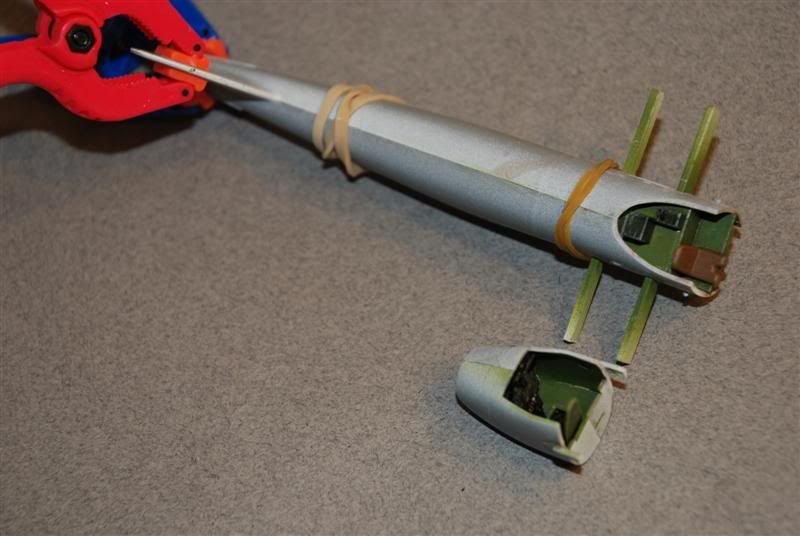
Then joined the two Fuse sections and added the nose with cannons.
Joined the lower & upper wings and am waiting for them to dry as I need to do one more glue stage before joining them to the fuse.
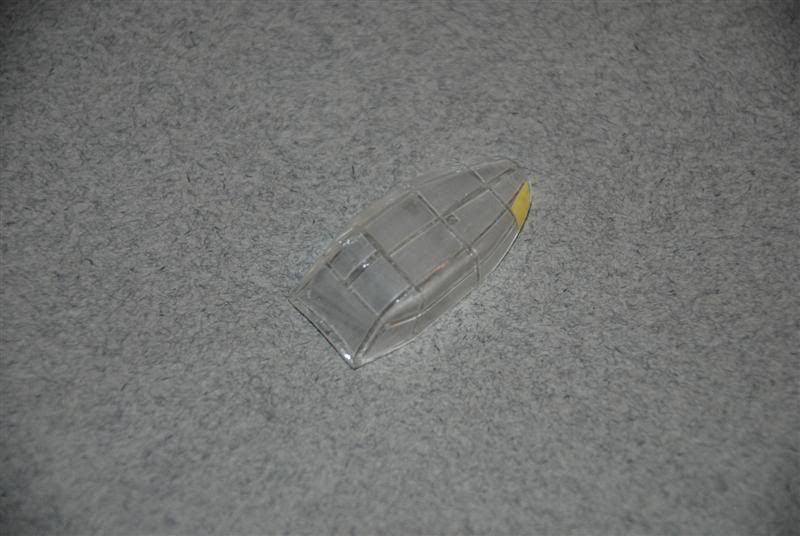
Masked up the canopy with Parafilm - I am concerned about the mask lifting so was thinking about spraying a coat of Future over the film lock it in place before starting with the color...
Finished the major assembly and then worked on the seams. The kit went together quite well and there were only two small gaps the needed filling along the wingroots
Shot some black to check the seam along the main fuse. all looking good
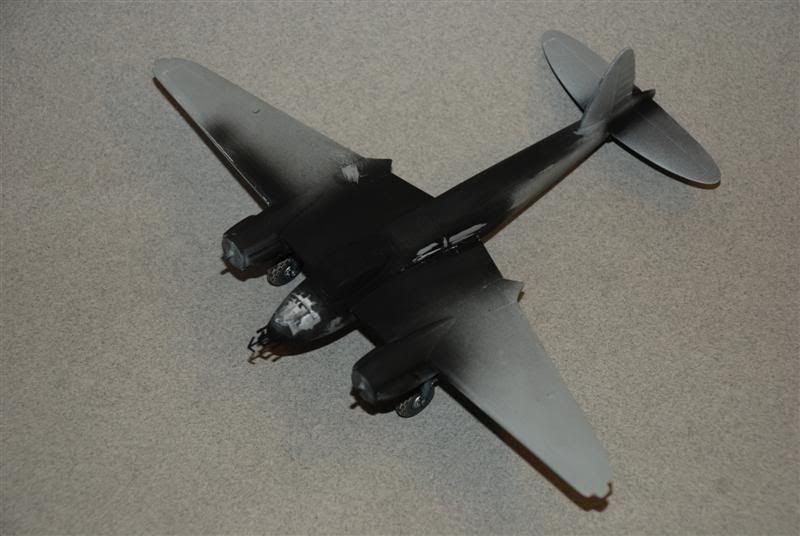
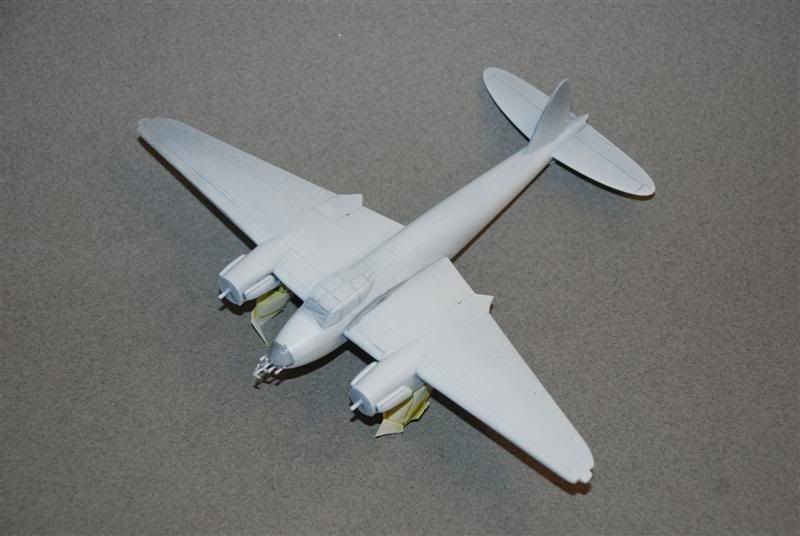
Filled up gaps with Mr. Surfacer 500/1000. Sanded down and shot a base coat of Tamiya Fine White Primer
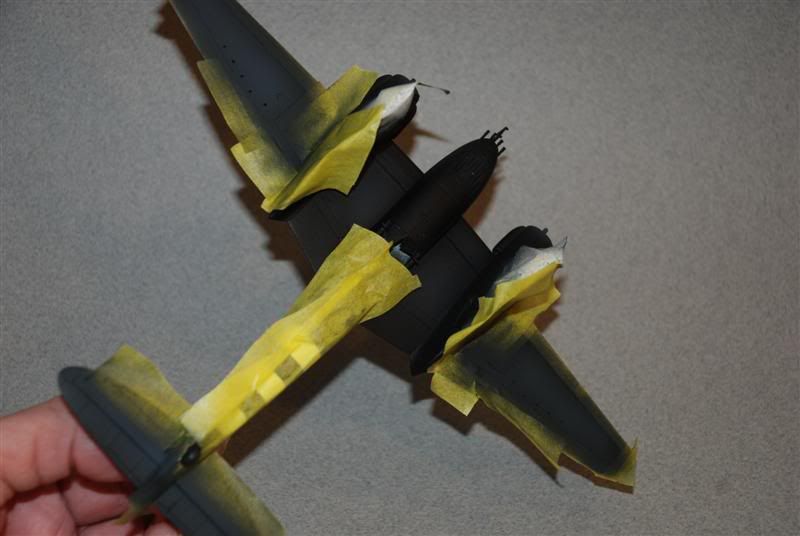
Masked up the invasion stripes and shot the Black. Tamiya flat black.
Continued on top with pre-shading. (using a new 1.5 needle and giving it a lil work out 
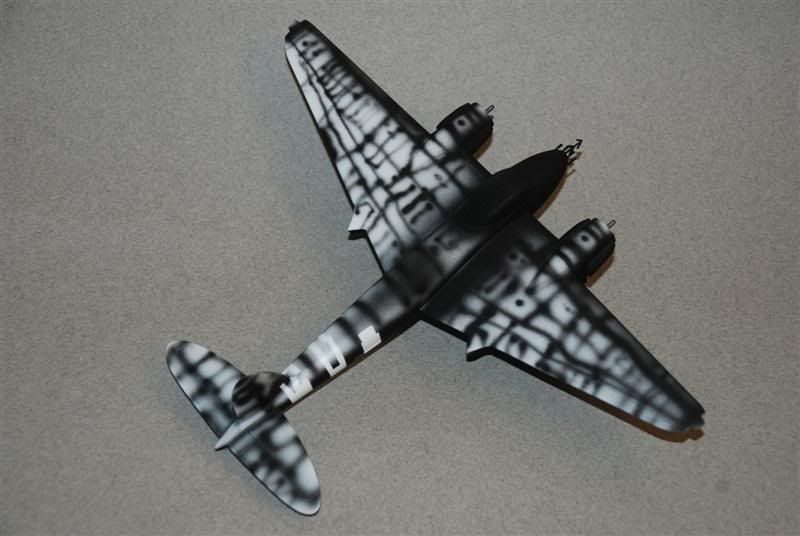
Then masked off some panels on the bottom and sprayed Nato black.
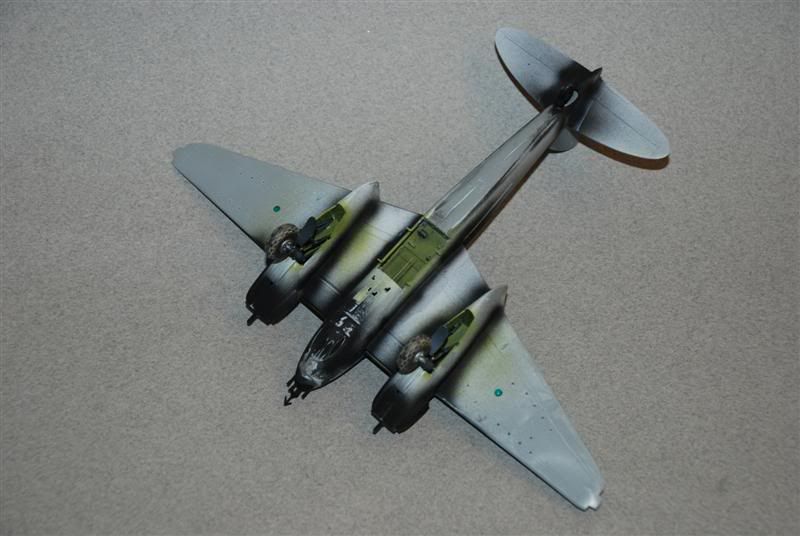
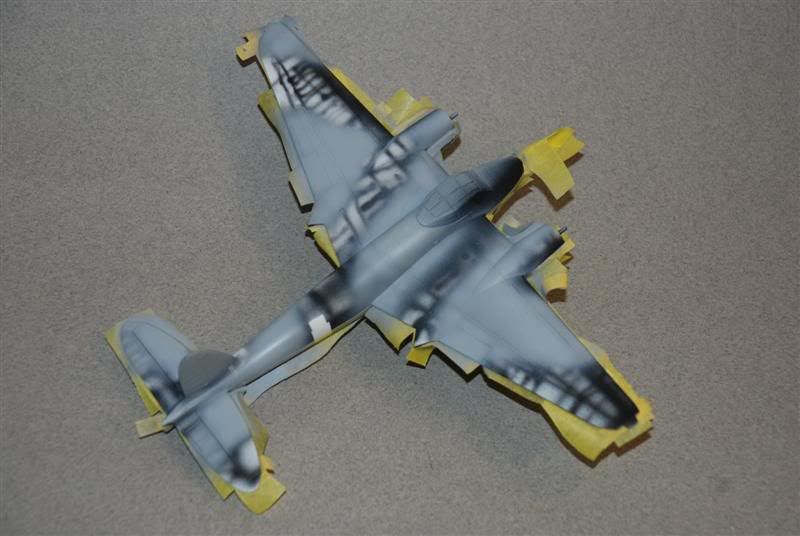
First top color -Model Master Neutral Grey. Thinned with IPA and gave it a few light coats. Then loaded up some MM Light Gull Grey and did some post-shading
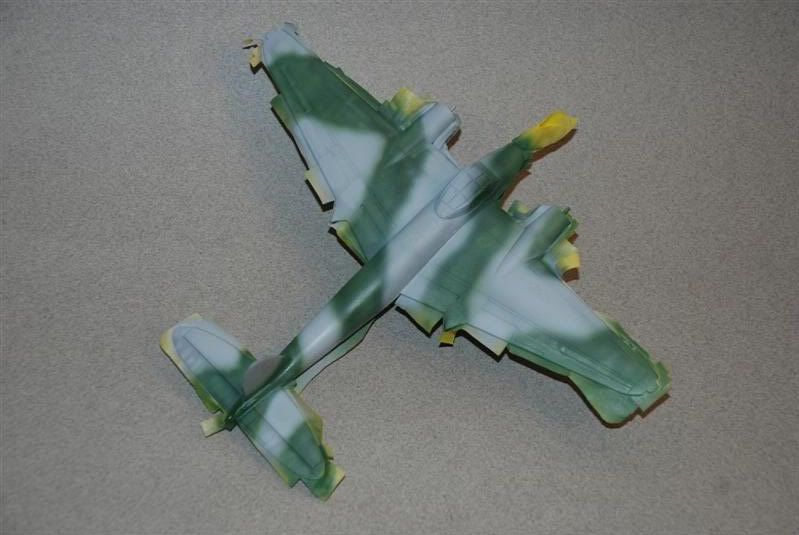
Second top color - thinned mix of Tamiya Deep GReen XF-26.
then made a thin mix of the green & Tamiya J.A. Grey FX-14 for the post-shading.
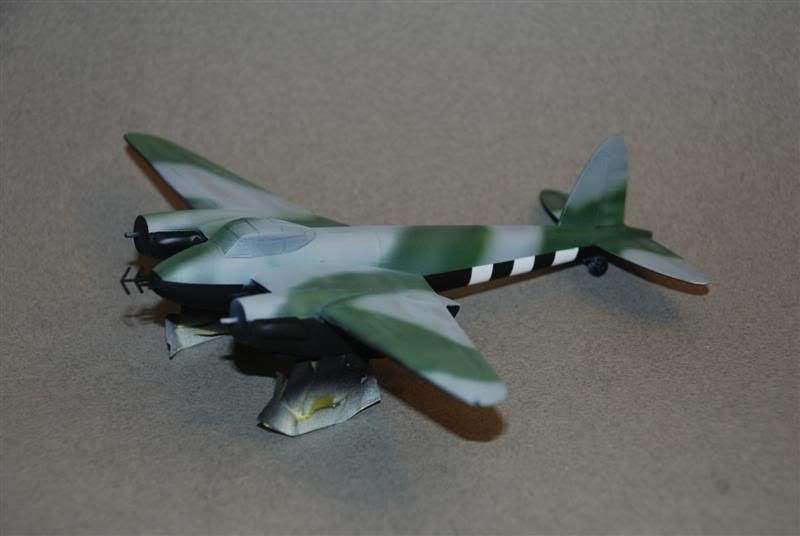
Removed the tape and have to say was very happy with the results.
Shot a coat of Future and left to dry.
Decals on. Coated in Future and left to dry overnight. Weathering tomorrow and then I can get started on putting all the pieces of the Dio together.
Finished up the weathering on the Mossie but still have a few bits to add.
gave it a flat coat and then placed it in the scene along with some of the other elements. Had to adjust the layout a bit but this is where I am with it now.
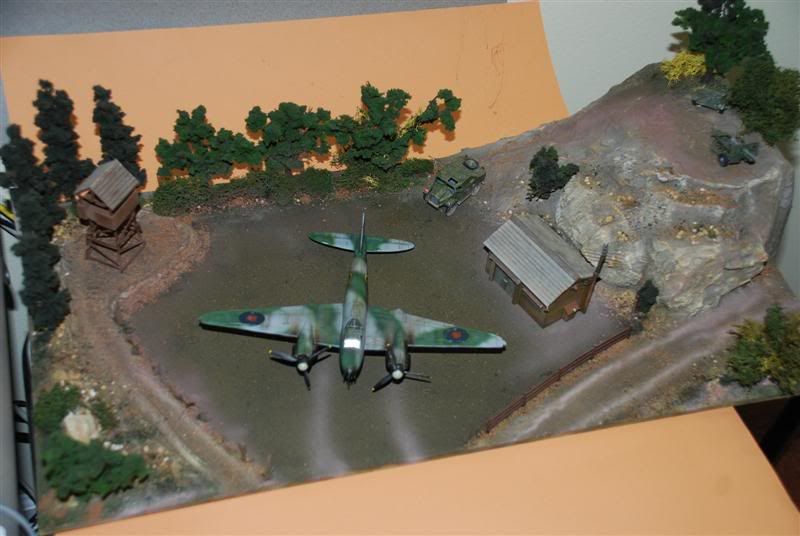
There is quite a large number of things I want to fix and add to the scene.
First up I was not happy with the railroad HO fence in the foreground. it was overscale and did not work. I did like the look of the fence behind the treeline, right at the back of the scene so I will move it there. In place of the fence I want to build a low stone wall.
I also needed to build up the bunkers with sandbags.
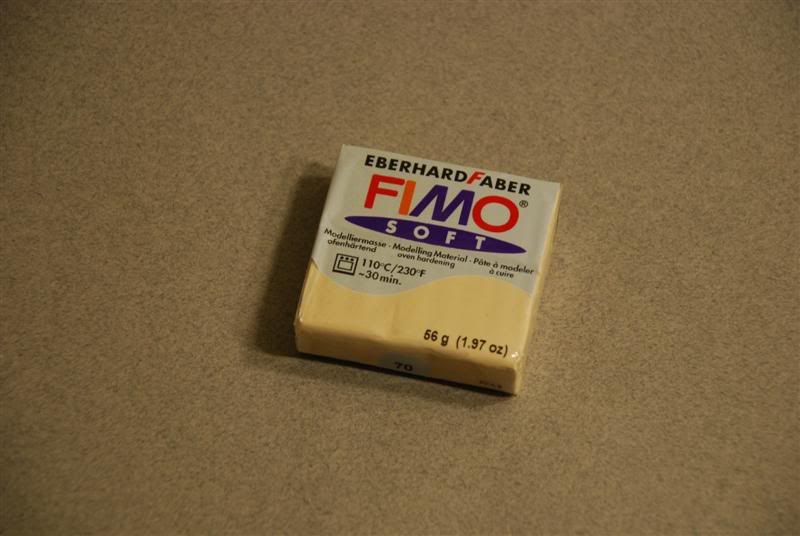
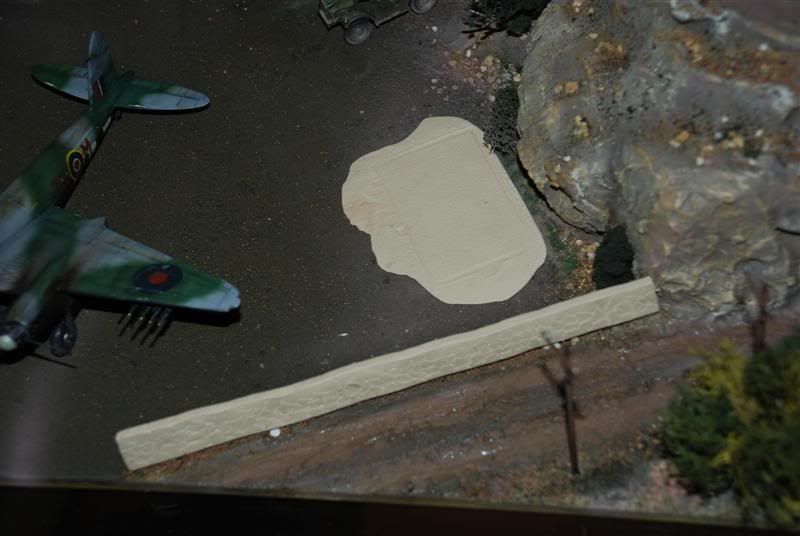
To start on these two issues I used some soft modeling clay
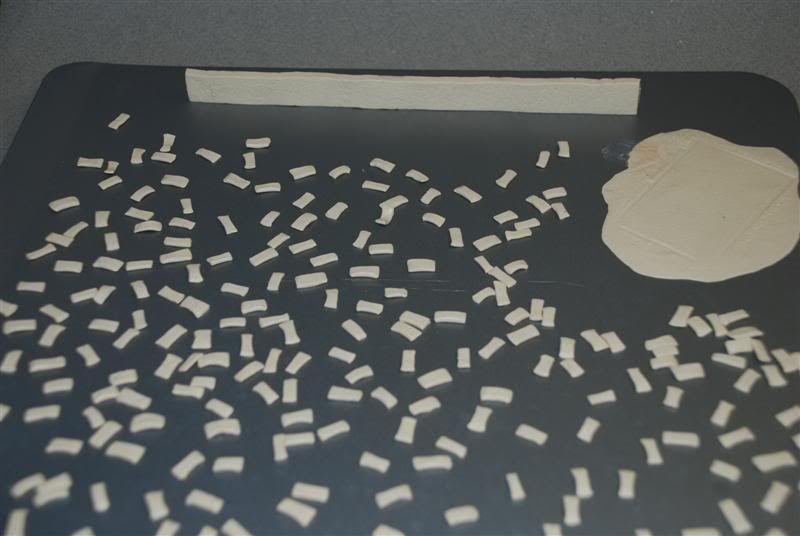
To make the sandbags I rolled out about half of the clay into faitly thin 'snakes', flattened them out on a textured base (which leaves a sackcloth type inprint) and then cut them to size. With wet fingertips I pushed down on each end of the bags to shape them a lil more.
For the stone wall I rolled and flattened out the rest of the clay and then cut it to size. With a moist toothpick I scribed in the stones.
I also crafted a quick base for the building as I wanted it to be set 'in' the landscape and not sitting on top.
Spread everything out on an oven try and cooked for 30min at 230
I was very happy with the results. the baked clay is great for sanding, carving and painting. here I am test fitting the hardend clay. The 'grass' beneath the new building base is to be removed
Then built up the sandbags in the two locations using some white wood glue.
I would do 2 rows and then let the glue dry before adding more.
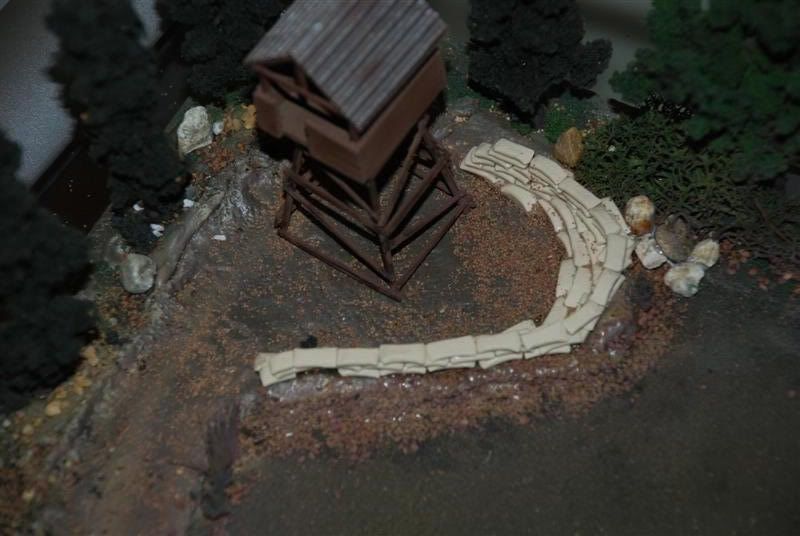
Next up is detailing the wall and sandbags. the wall is going to be broken & chipped and painted up in various stone colors while the sandbags will probably just get a few washes with some dark oils.
I was not happy with the detail on the building and so I removed the front doors and knocked up two new ones with some styrene, adding some minor details. I still want to add some gutters & drainpipes and maybe look at the shutters again.
I will also be adding in some floorboards to the base to give the impression of a built floor.
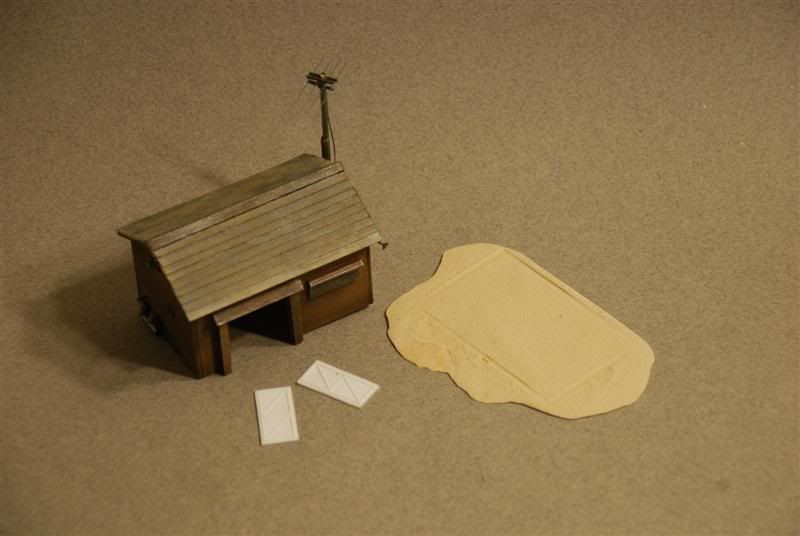
Added the telephone poles but have yet to wire them up. I might hang a wire from the poles to the building but will wait until I have built up more of the Dio.
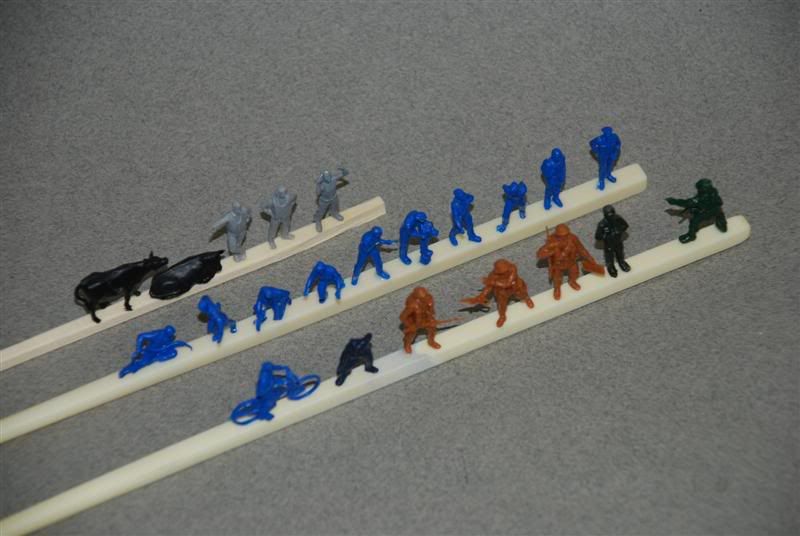
Started working on the figures. So far I have about 22 figures for the scene. I may not sue all of them, but I'd rather paint up the maximum number at the same time. I had to remove some old enamel paint for the VERY soft blue figures (ancient airfix box). I did this by soaking them in Oven CLeaner for a few hours and then scrubbing them with a toothbrush. easy.
Washed all of them off in warm water & soap, left to dry.
The flashing on these figures is terrible and almost imposible to clean up properly. the other figures (Orion/Esci/Revel/Italeri) were far easier to work with and far more detailed.
They all came posed on a base so I had to carefully remove those and then mount each figure on the chopstick with a tiny drop of superglue.
Then gave then all a few layers of Future to harden them up and to prepare for the base coat. I am leaving the future to dry for at least 48+ hours and adding at least 2 coats before the primer.
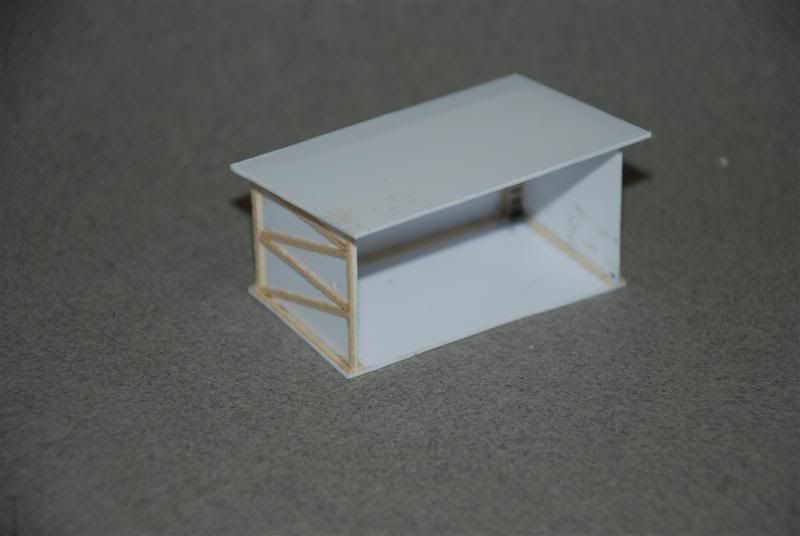
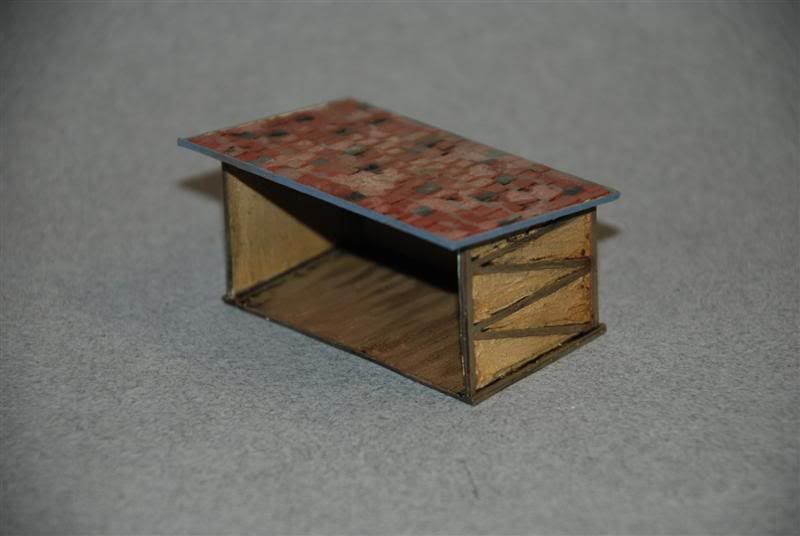
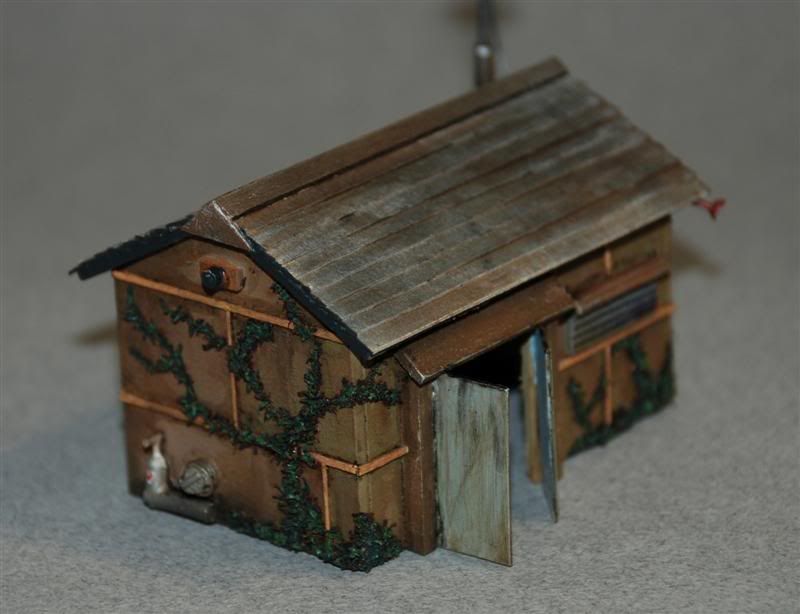
I added a little tool shed in the place where I was originally going to place the HQ building. I had also considered building up some field tents for the crew but in the end settled on a tool shed that housed the air & fuel pumps.
A quick build with styrene and balsa wood. going for a 'Tudor' look
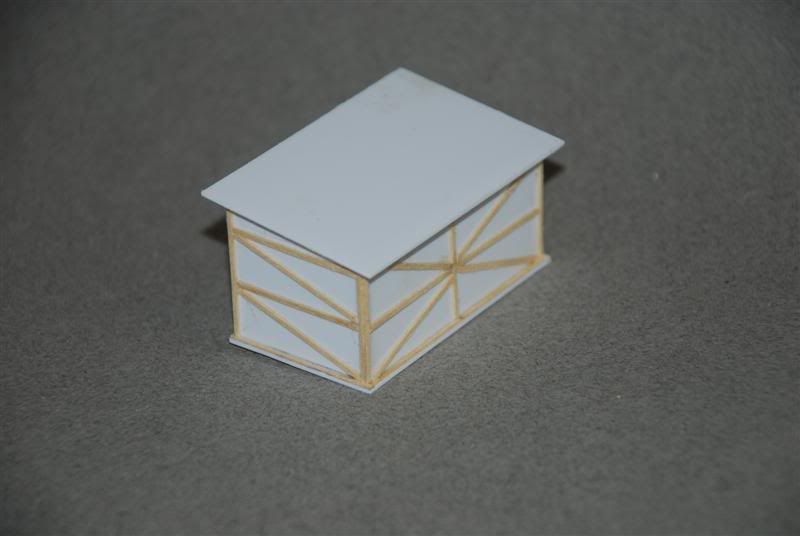
Then added some surface detail with some light modeling paste (Liquitex) which is applied with an old brush.
The roof is detailed out with individual shingles cut from very thin paper card.
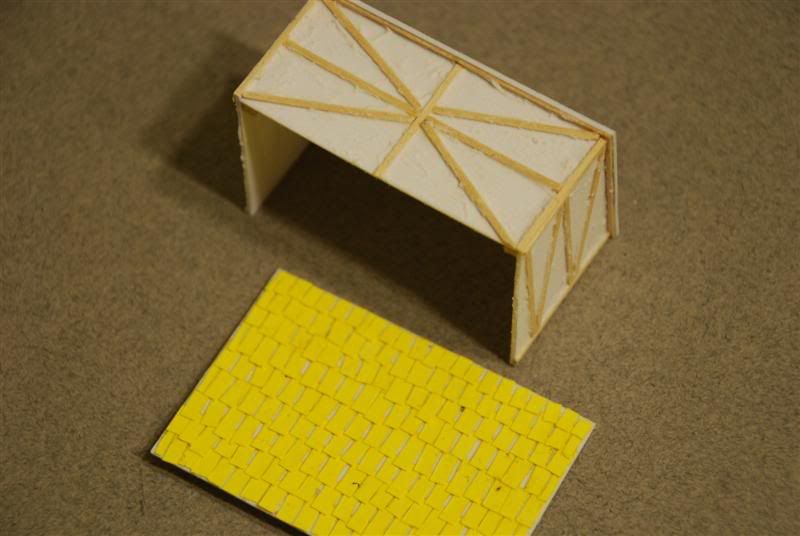
Painted it up with earth tones and then applied a number of oil washes.
The roof was treated in a similar style, although i did apply a thin layer of white glue first to seal in the card. The main color for the roof was burnt sienna.
Started working on some of the small detail like road signs and oil drums.
Here I am planning the layout of the Shed interior. The shed still needs to be "set" into the base with some Modeling paste and paint.

The figures are mostly all done. I need to add a final flat coat and minor details.
They were first base coated with a tamiya primer and then sprayed with Tamiya base colors.
The individual base colors were then hand painted and finally a series of washes were applied.

Next I needed something for the foreground along the main road. The new wall I had installed really added to the dio but completely separated the field from the road. I had this little Crusader kit in my stash and figured it could work in the theme of the dio. The crusader were used throughout all theaters of the war but after the desert campaign many were converted to AA units. This particular tank is on its way to undergo AA conversion before it is to serve as air defense for the airfield.
Very quick but fun build. great fit all around with decent detail. This is an OLD kit but really holds its own against modern kits
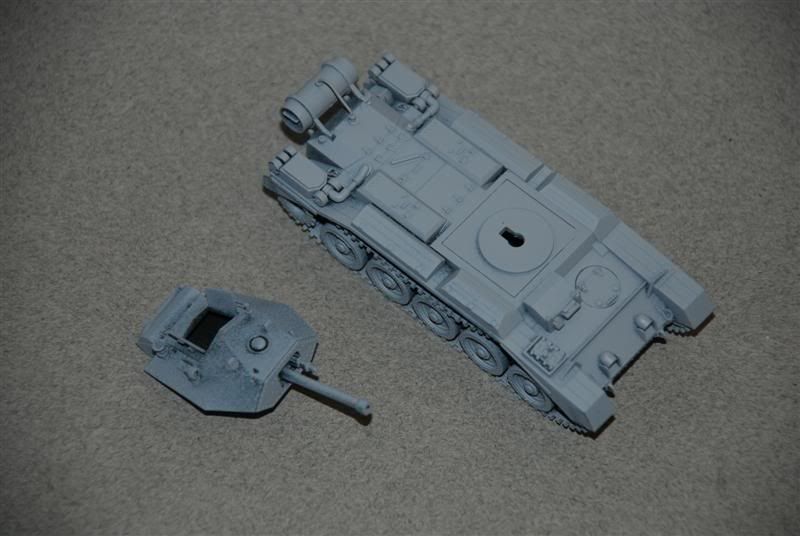
Base coated with tamiya grey - Dark green undercoat with highlights added.
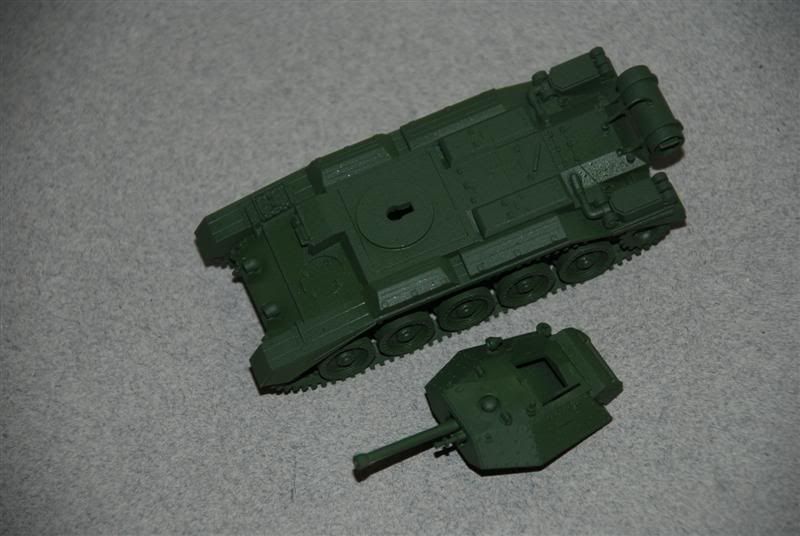
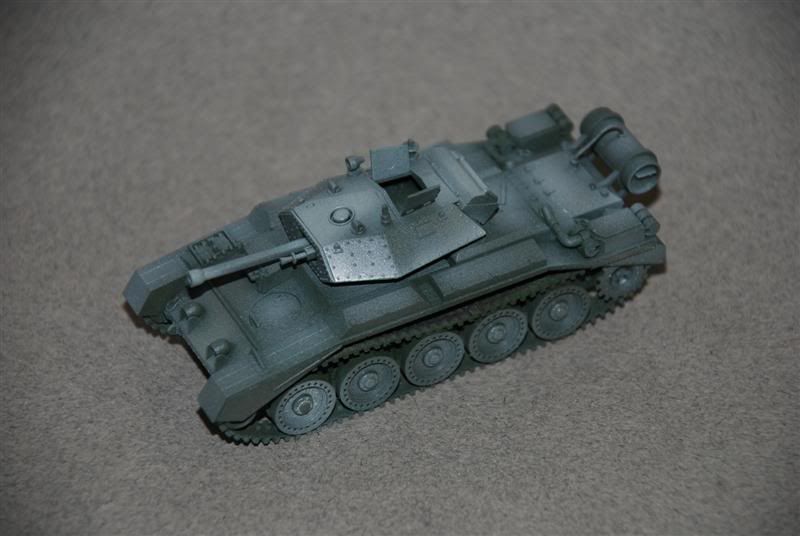
The model ready for the Dio (still need to add antennae).
Here you can see the wall in its near final form. I have added some relief by cutting into the wall and also adding on modeling paste. The main color is medium grey for the stone with a number of washes added. I have used some paste to set the wall into the base but still need to paint it up and add ground covering.
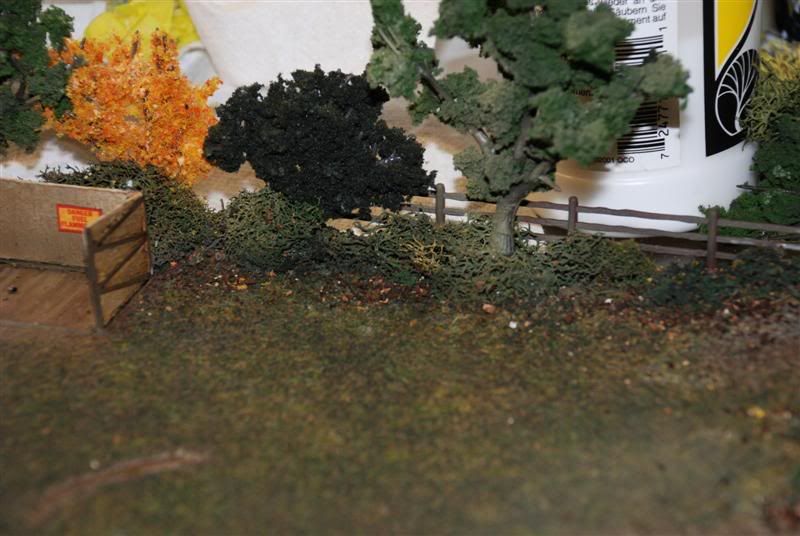
One of the biggest elements I wanted to fix was the treeline at the back of the Dio. I felt the there was not enough variation in color & texture and that one of the trees was out of scale. It was a minor fix as far as the overall look went, but a major fix as far as The work involved.
Here I have removed the offending trees and have installed some smaller samples with different colors & textures. I also reworked some of the shrubs at the base of the trees and added some dead fall, bark & leaves
The next major section I wanted to fix was the little dirt road to to the left of the field that leads to the Guard tower. Initially it was meant to be a small roadway but I did not like the shrubs, grass or the texture of the dirt.
Here is a before shot
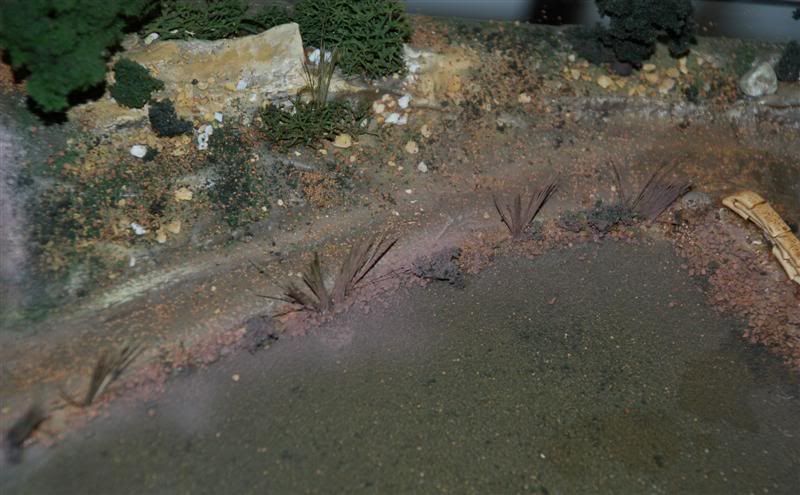
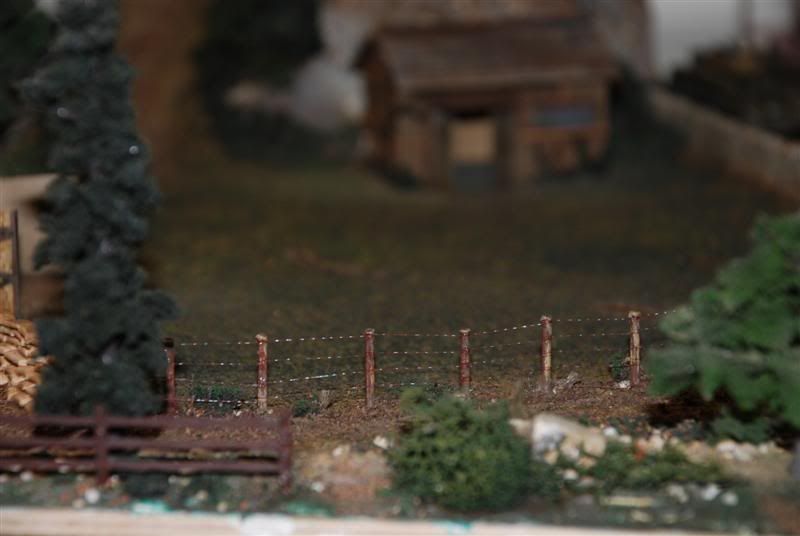
To fix this area I reshaped the landscape to change the dirt into a smaller more defined pathway, used my guard patrols. I removed the shrubs and installed some fence poles (tooth pics).

Finally finished of the ground textures and strung up some barbed wire using 'Rust" E-Z Line and drops of silver paint.
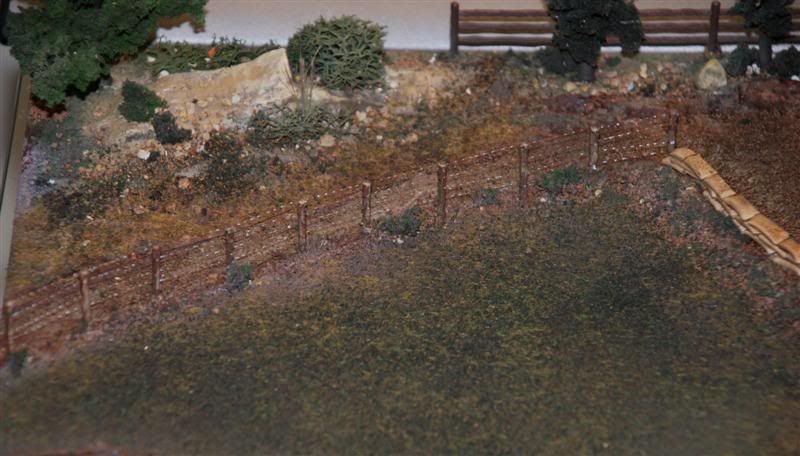
A view from the far side.
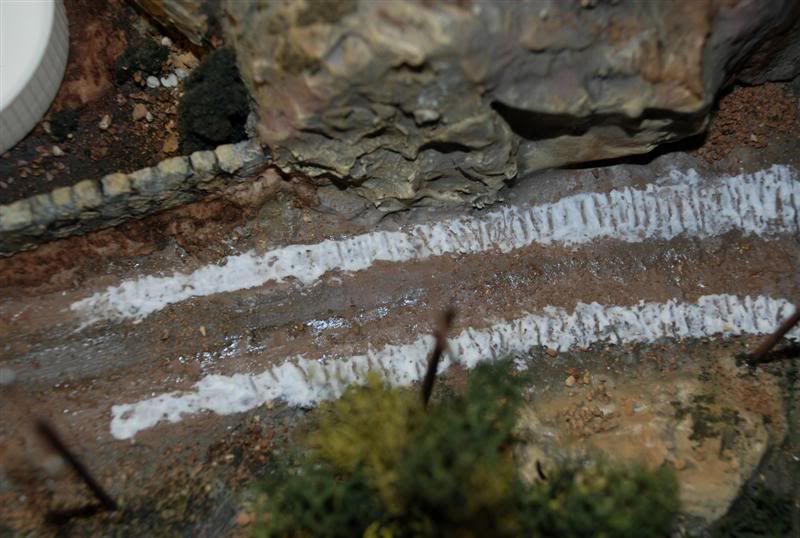
Next I cut into the board and used some Model Plaster to sculpt some tracks into the grass. from where the Mosquito was finally positioned.

I painted up the wheel tracks and then recovered the entire grass area with Static Grass from verlinden. I used a few different shades and then added a few different green and earth tones with the airbrush. Scattered some dirt & dried Leaves (tea leaves) over the grass.
Then moved onto the main road and added in some track marks left by the Crusader Tank.
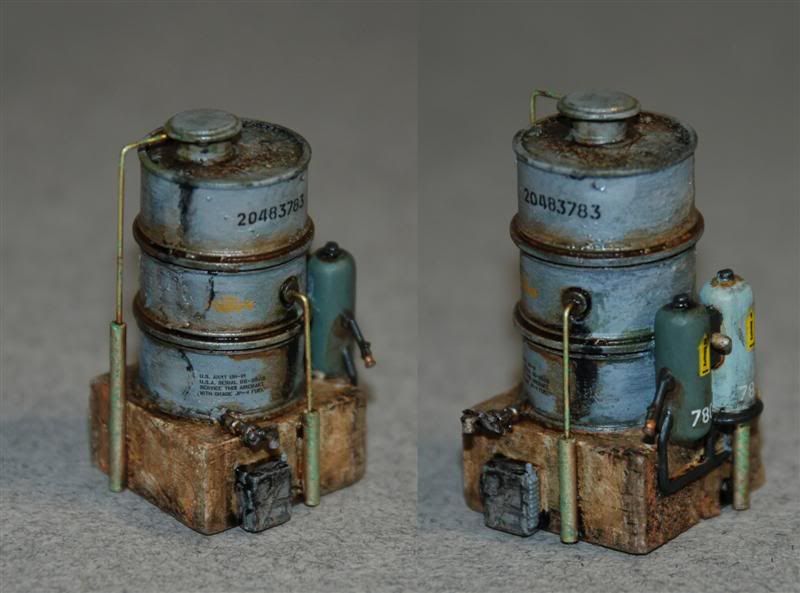
Then it was onto detailing out the Radio Shack. At this time I also build up a Water Tank (using an old 1:35 scale Oil Drum) with Air & Gas Dispensers.
I use scrap plastic from old kits, Strip Styrene, Balsa Wood, Copper pipe & Rods.
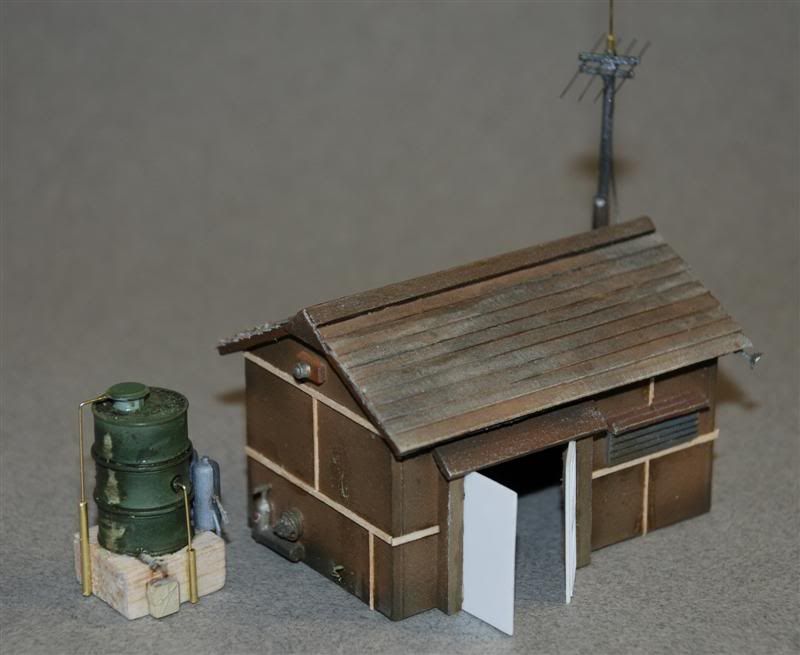
Finished off the Shack & Tank with paints, washes and Tea leaves (for the creeper) added some random decals and then finally some pastel chalks.
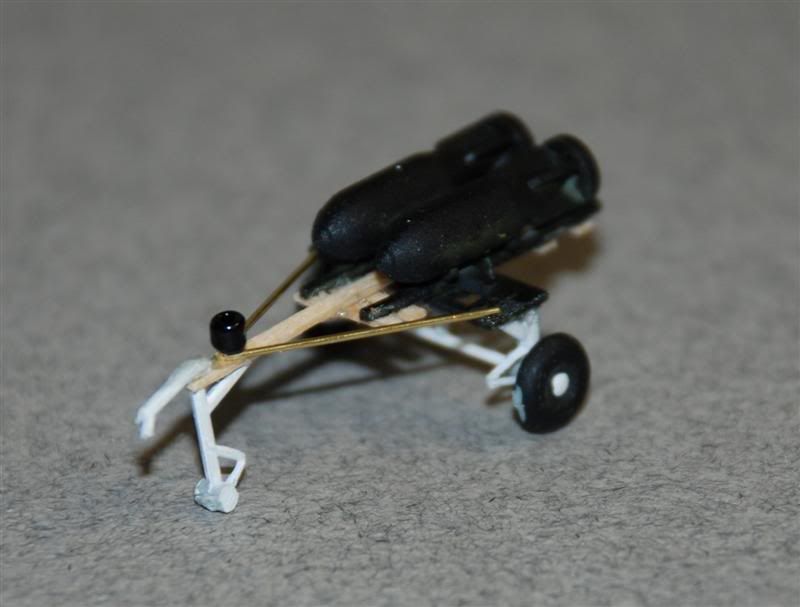
Built up a small bomb cart using the actual bombs from the Mosquito kit and some spare 1:144 parts.
Then it was basically down to the 'Finishing' stage...which took about a week...
- Setting all the major elements in the Dior
- Getting everything painted and matched
- Finished the ground textures
- Painted up all the figures and set them in the scene
- Added signage
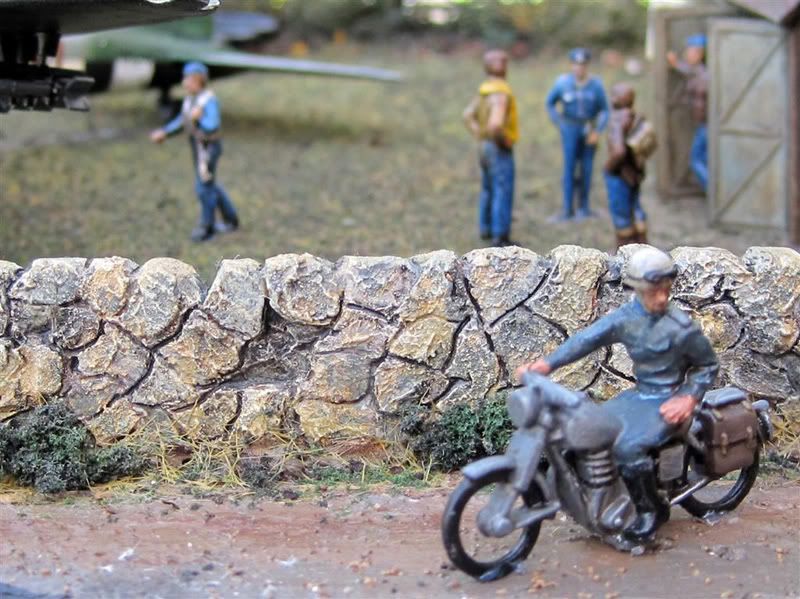
- Added a Traffic controller on motorbike
and a 101 other little things...
Note: there are quite a few pics to follow - I apologize in advance)
The idea for this Diorama has been floating around in my head for the past 30 years, from when I first started building models with my father as a young child. Back then all I had to build were the old Airfix kits, so it was mostly just Hurricanes & Spitfires with the odd BF-109. Then my dad bought home a box of the RAF Ground Crew figures. This really sparked my imagination and since then I have wanted to build up a scene with these men busy working on some planes.
I started this Dio in Jan 2009 after more than 20 years away from Modeling. It was shortly after this that I found this website. The Dio took a backseat as I began to pick up a bunch of fresh knowledge on current models, tools and skills.
But for me to really move forward I had to finish this project that has been bouncing around my head for so many years. In Nov 2009 I moved into a new home and was able to reserve a decent amount of space for my Hobby.
One of the fist things I tackled was finishing off the Dio.
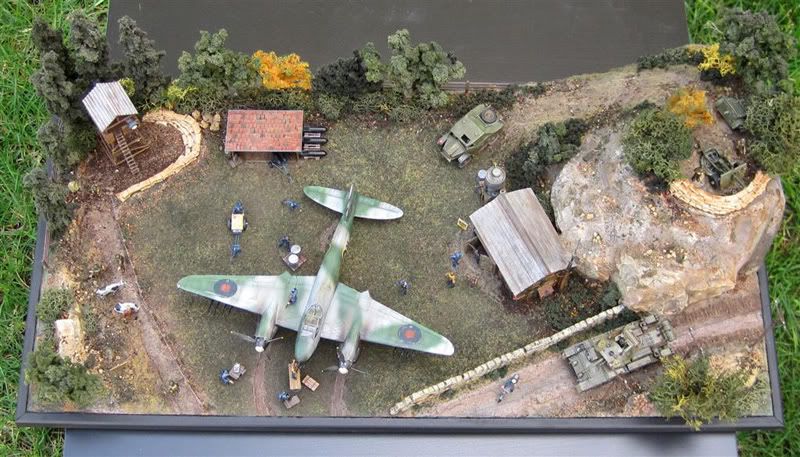
And now after long last it is done... And I can finally start a new one
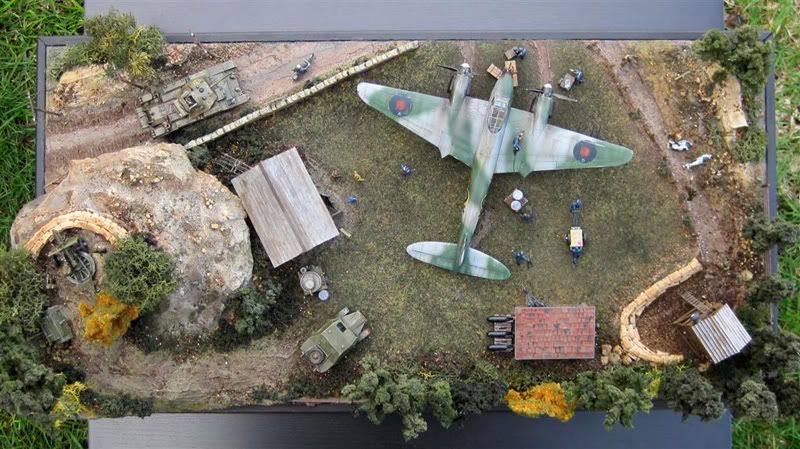
Some over all views of the front, side & back - The last thing I did was to mount the Dio on a frame made from Plywood & Molding
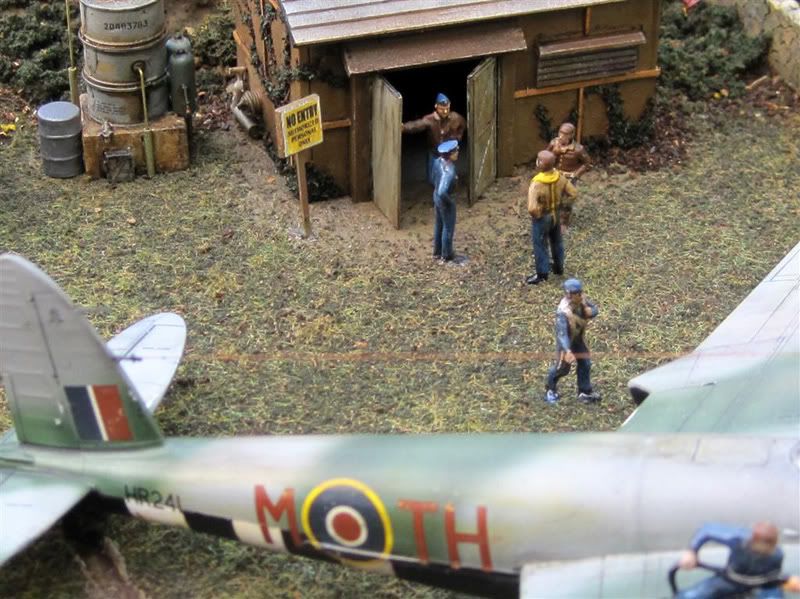
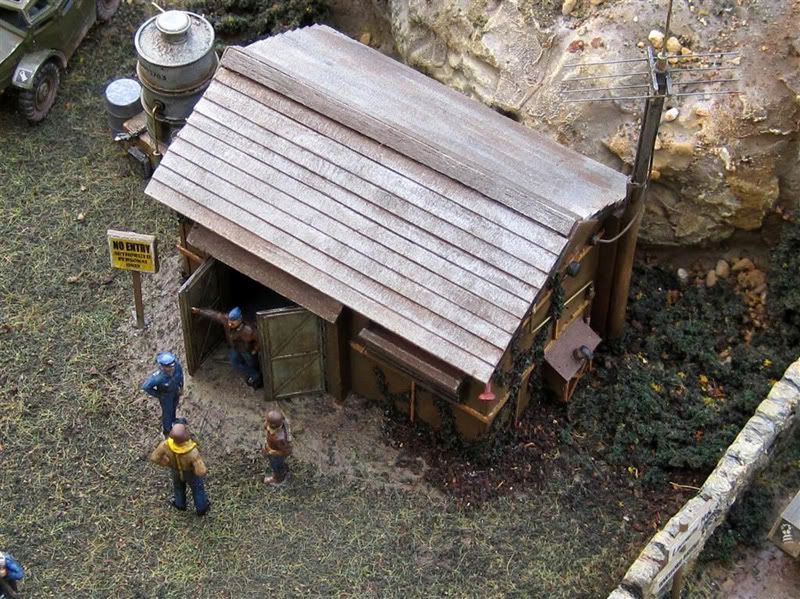
The Radio Shack & Water Tank - Where the Air Crew and the Squadron C.O. have a quick chat.
Some details of the area around the Radio Shack & Stone Wall
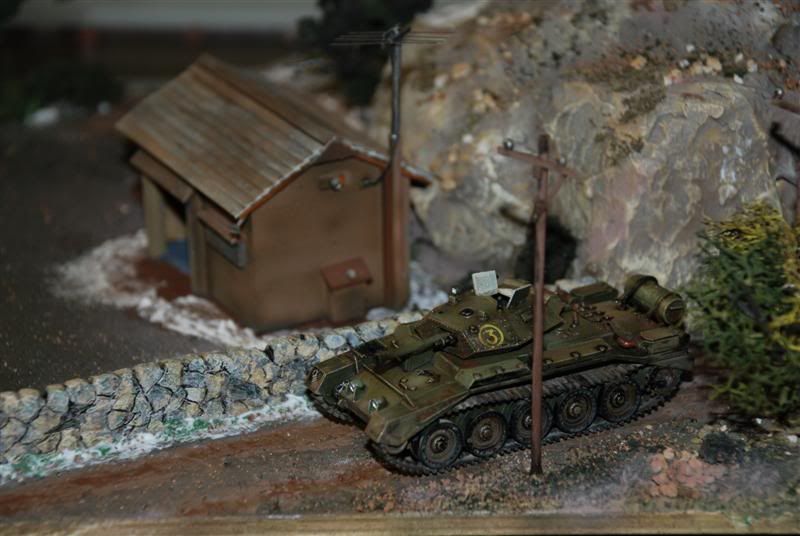
Out on the front road, a Traffic Control Officer is helping to guide the Crusader tank to its destination.
Here comes the Crusader tank, barely making it along the narrow dirt road.
It's off to be converted into the new AA version for Airfield defense.
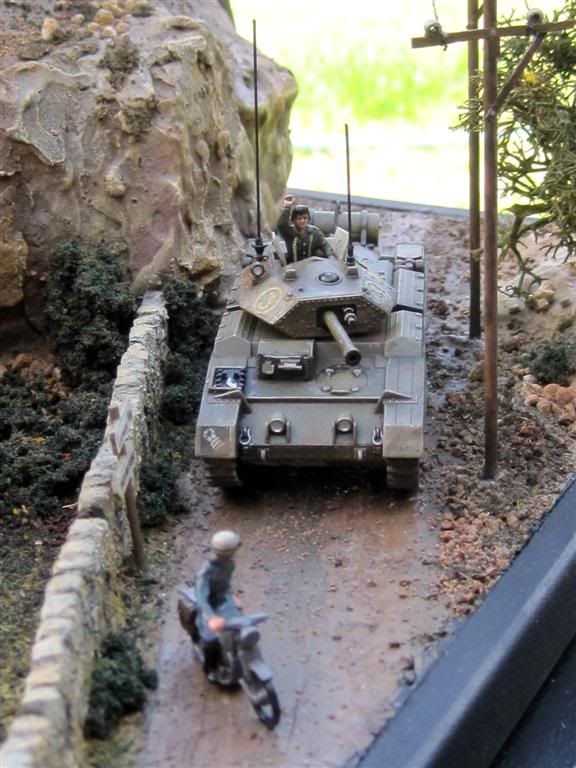
...where it has left a mess of the road surface! Some detail of the rock face.

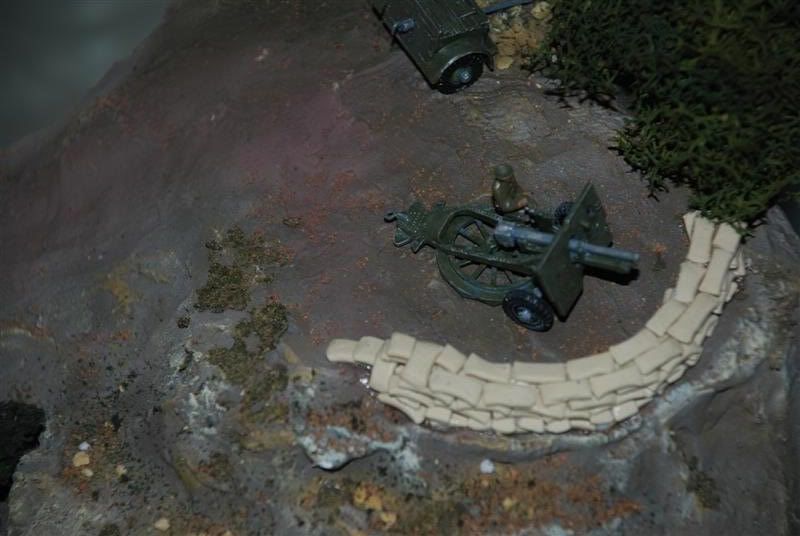
Keeping watch over the Main Entrance to the North East is a small Field Gun unit.
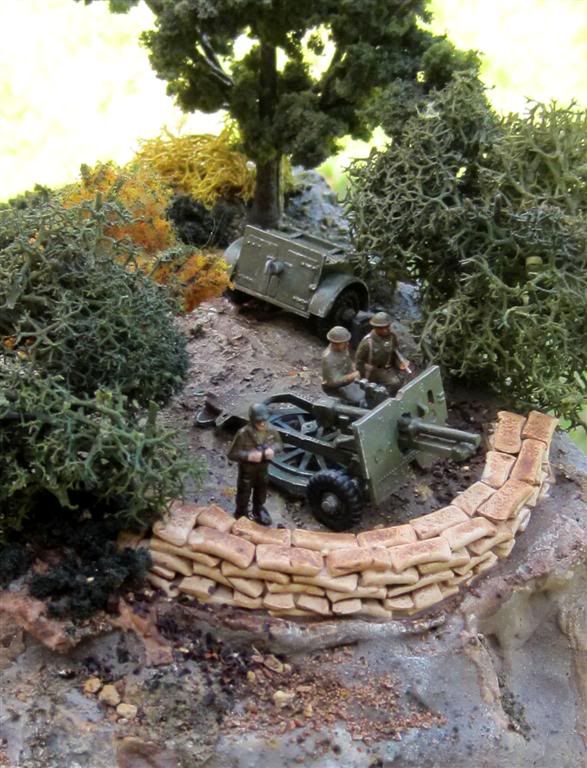
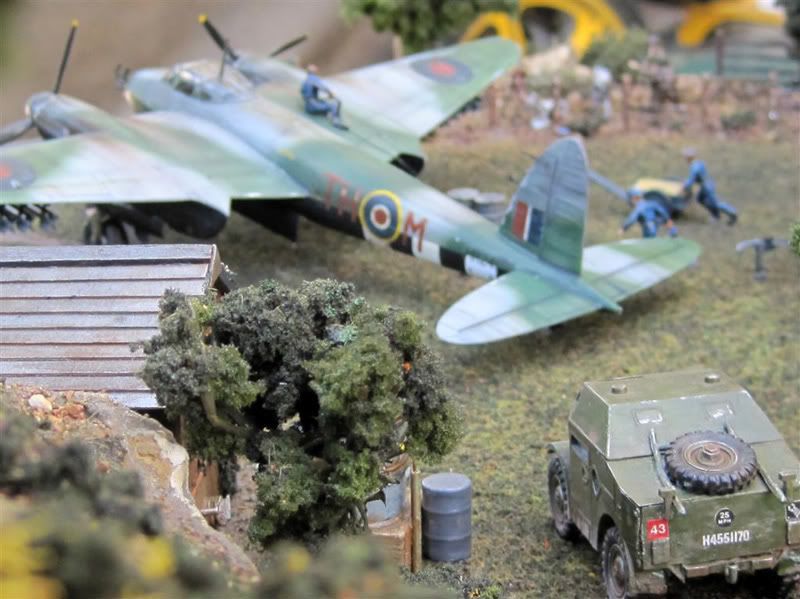
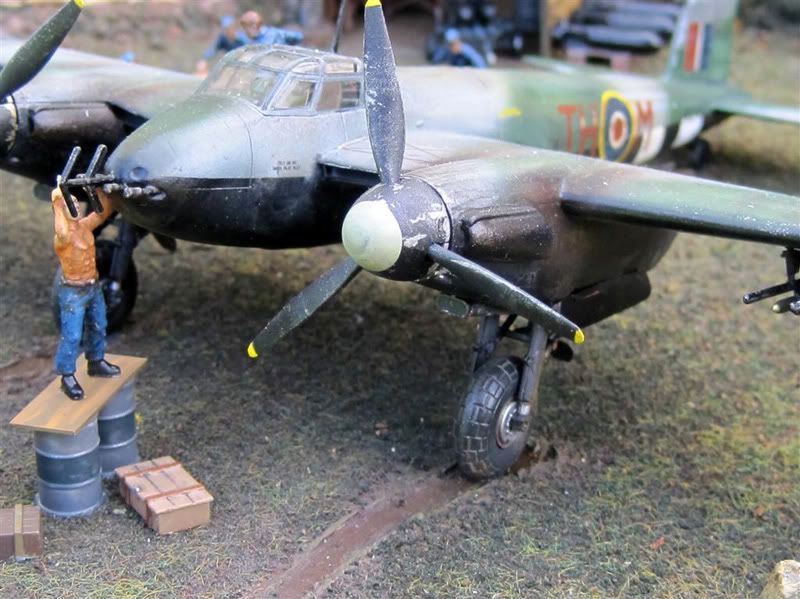
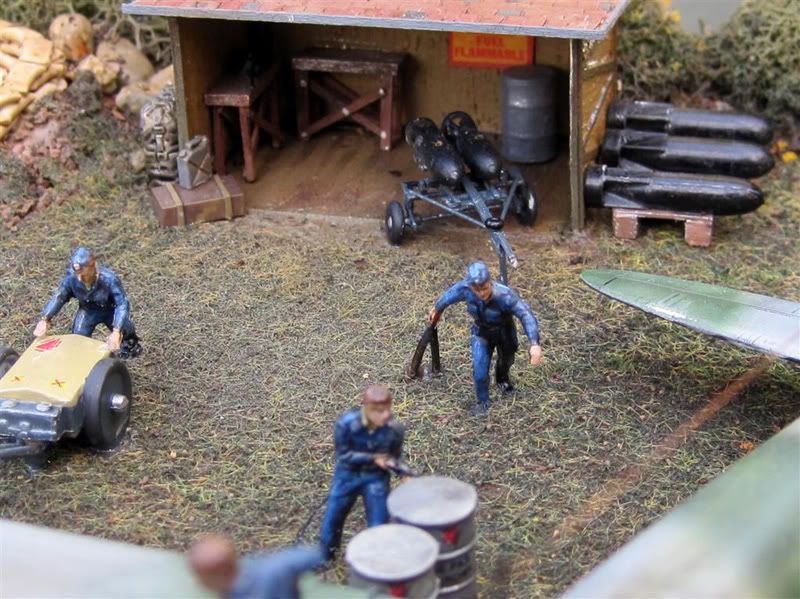
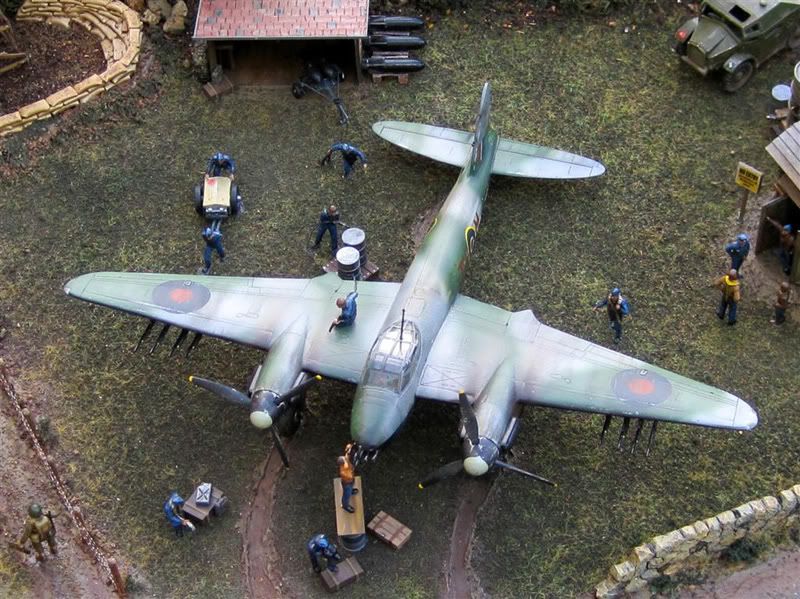
Down below in the field, the Ground Crew are busy fixing & filling up another Mosquito. She has suffered some minor wear & tear to her engines and her Fuel Tanks and Ammo Bins have run dry!
Most of the Field Repair Equipment is housed in the shed, along with a few choice "Surprises" for the Jerries!
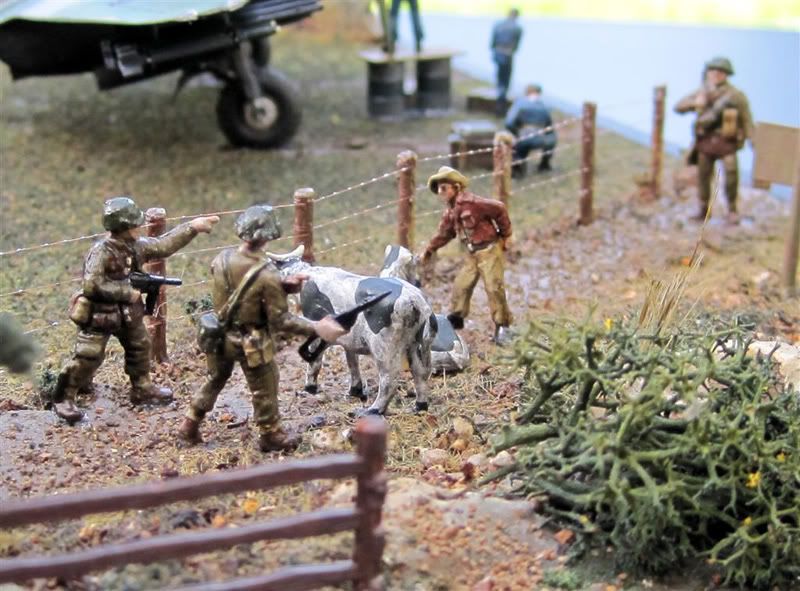
A new detachment of infantry is on Guard Duty Rotation. It seemed to be another dull day until Farmer Brown comes looking for his two Prize cows, Marrybelle and Jerzey, who have wondered into the restricted area.
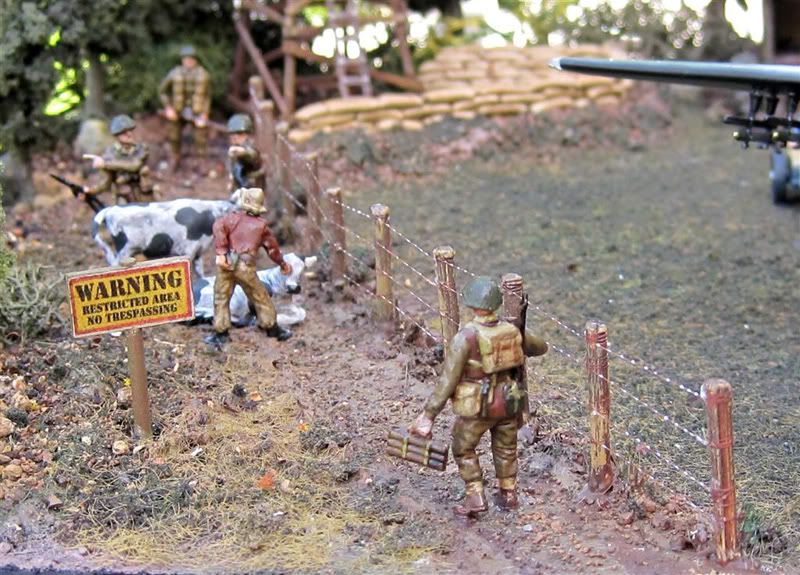
Corporal Carrot & Sgt. Shakes are none too pleased but it seems Old Farmer Brown is having some difficulty in getting this message across to his ladies...
It is all in a days work at RAF Hartford Bridge!
Thanks
Larry