


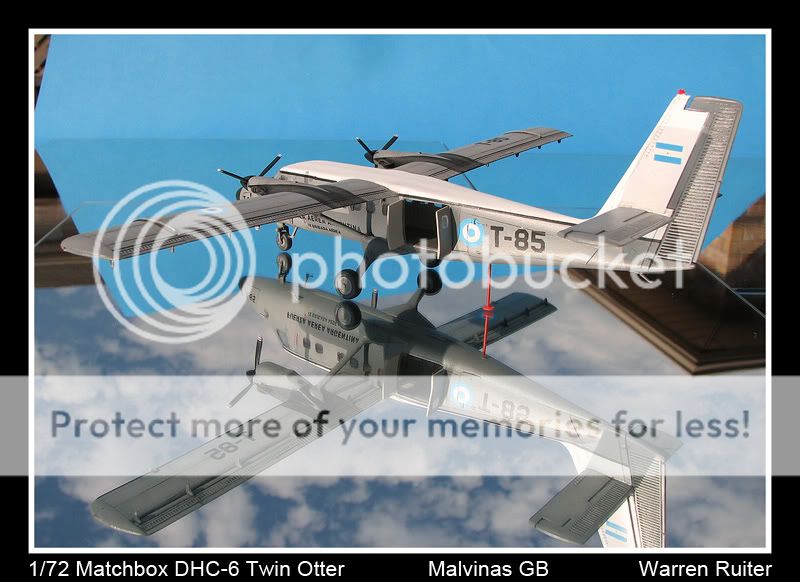
Warren Ruiter's Twin Otter
Matchbox 40127
Scale: 1/72
Type: DHC-6 Twin Otter
Paints and colours used: Vallejo Model Air 001 White, 057 Black, Tamiya XF- 19 Sky Grey, various other Tamiya, Vallejo, and Citadel colours.
Extras: Aerocalcas Decals.
Other info: Cut open side doors, removed cockpit door, scratch built tail post.
History: The DHC-6 operated during the Malvinas conflict as a light tactical transport. It is able to carry approximatly 3000lbs of passengers or cargo and land on many unimproved surfaces. During the Malvinas/Falklands war the Twin Otter completed 2 rescue missions to the Falkland Islands. It was able to return 17 wounded pilots and ground personel to Argentina. It was also able to bring home the body of Lt. Volponi, an A-4 pilot.
Box Shot:
Sprues: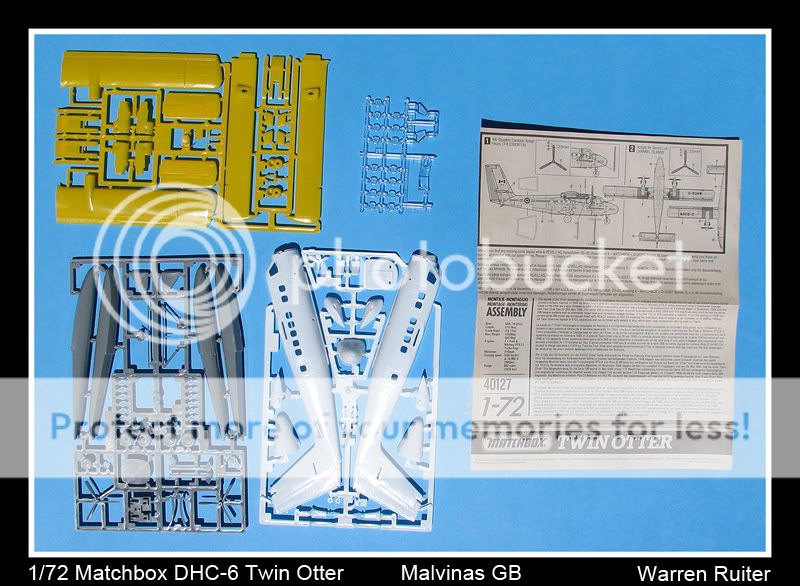
Decals:
It is quickly evident that this is not intended for someone suffering from AMS. There are few interior colour callouts, detail is what you would expect from a 30 year old Matchbox kit. They also seem quite proud that it is molded in 3 colours so paint shouldn't be required.
As you can see from the sprue shots the main cargo door is closed. I decided to open it up, and scratch build a floor. The Twin Otters I have worked around mostly had a metal floor, which was banged about sliding drums along. I just used plastic card, a riveting tool and a small phillips head screw driver. Interior of the cabin is painted buff, cockpit light grey. Airliners.net was used as a reference due to the lack of colour callouts. When the fuselage is closed up you should be able to see approximatly none of the instrument panel.
Anyhow, enough talk here are the pics.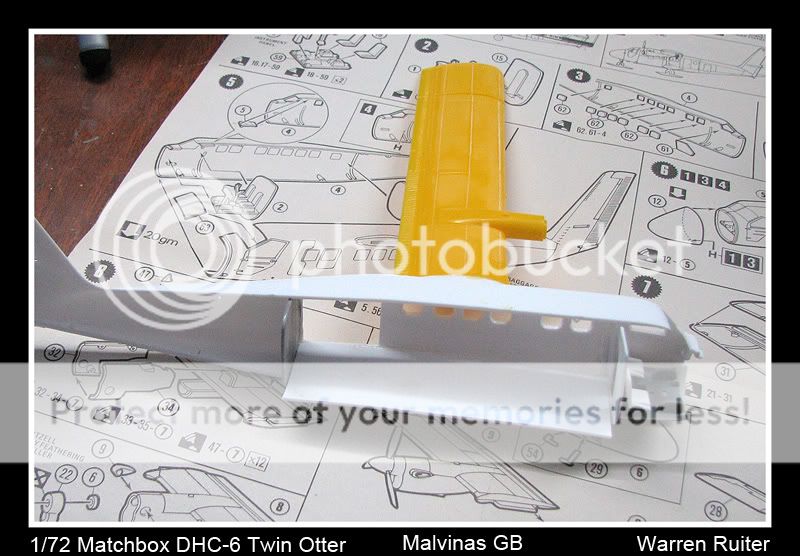

She's now buttoned up. Tail is on, nacelles installed on the wings. Fit overall is not bad, the nacelles are horrible though. As predicted, even with the cockpit door cut open, instrument panel, etc not visible. I added 1/2oz nose weight, feels like enough, hopefully it is.


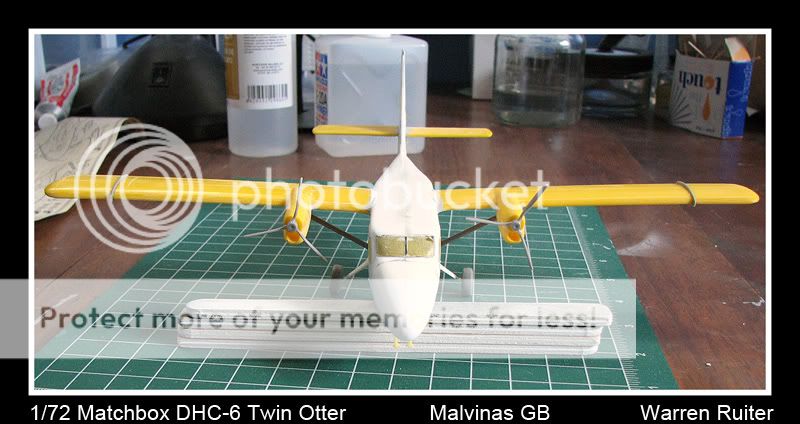
Most of the sanding is now done, the struts, landing gear, wing fences and control horns are now on. Cut the prop blades off and turned them 90 degrees so they are in the right position for a shut down PT6. I am finding the Extra thin doesn't bite very well in the white plastic for whatever reason, the rest it works ok.
Props and wheels are just set on for the photo, starting to look a bit like a Twin Otter though.

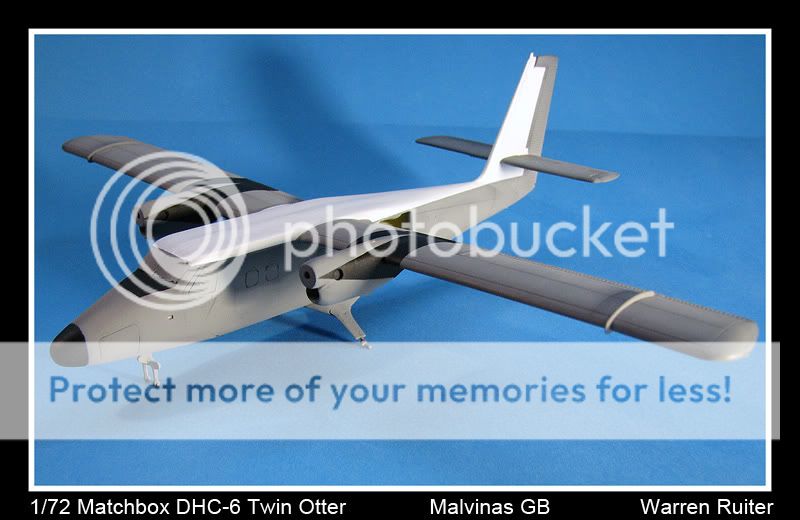
Primed and Preshaded:

Grey and white on: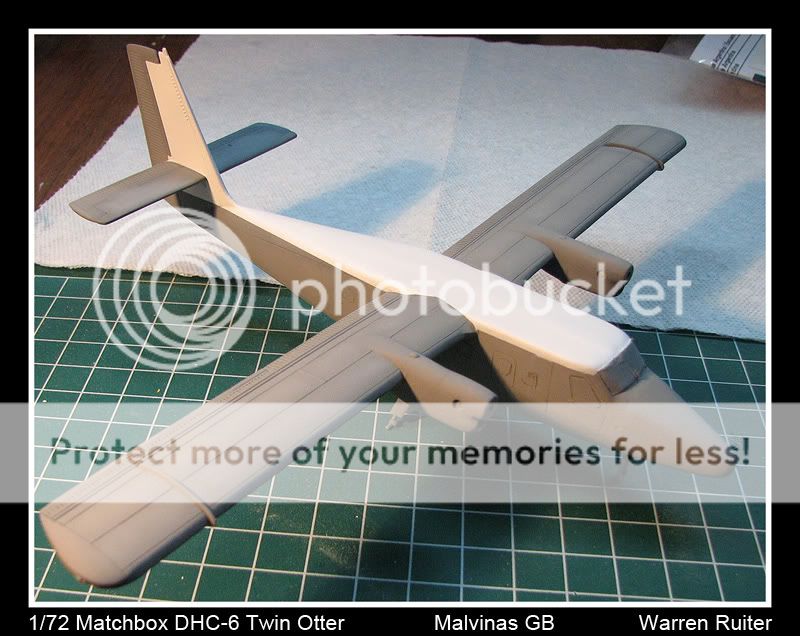


The black is now painted. The wrap around the nacelles took quite a while.
For whatever reason the white plastic and I do not get along all the well. Despite me best efforts with Extra thin, super glue and filler some of the seams still show
The gloss coat is on now, decals soon...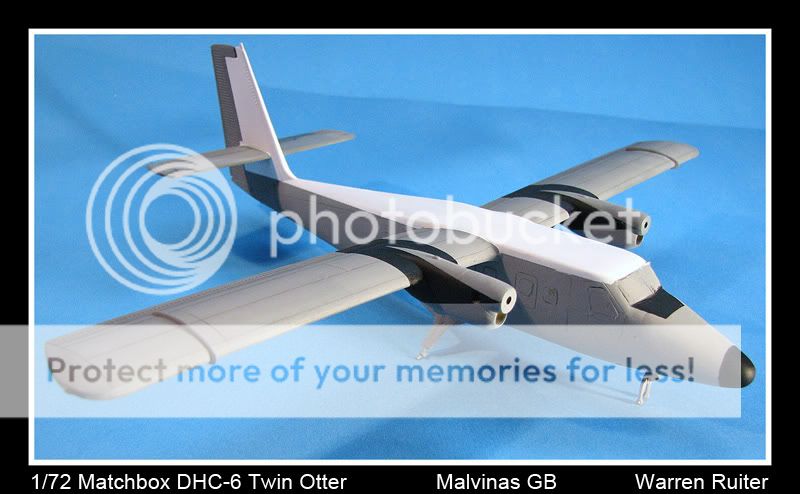


Got the de-ice boots painted on, and the model decaled.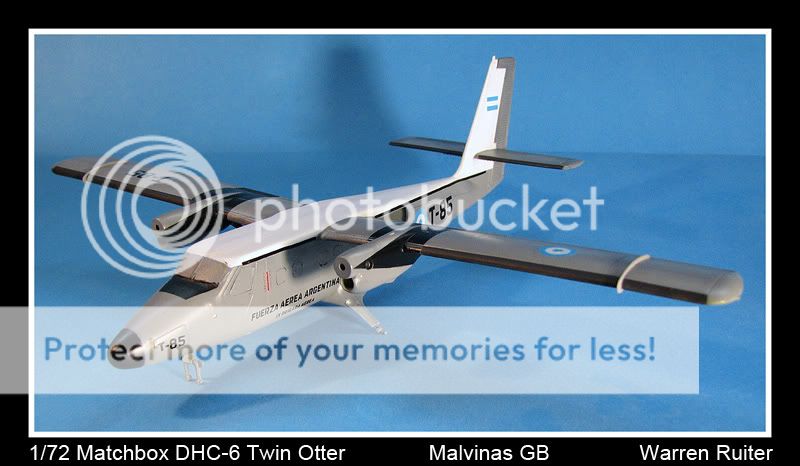

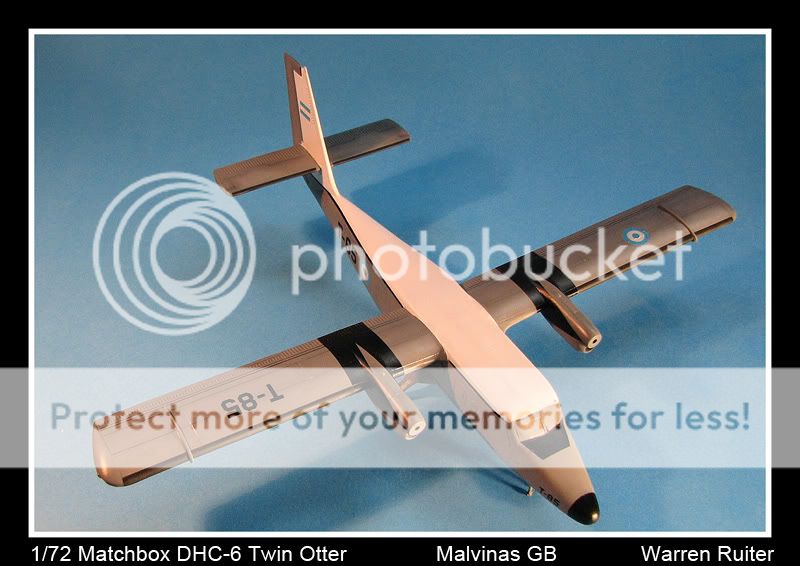
Props and spinners on. Wheels painted and on. Wash (Promodellers dark) on. Left to do, some detail painting, weathering, flat coats, and attach doors, steps, pitot tubes, and a tail post.


All done now. The white plastic doesn't melt with extra thin the way most does. I tried super glue, and then thought I had the top seam with Mr.Surfacer, but somehow parts of it still show. Either way, it was fun to build!


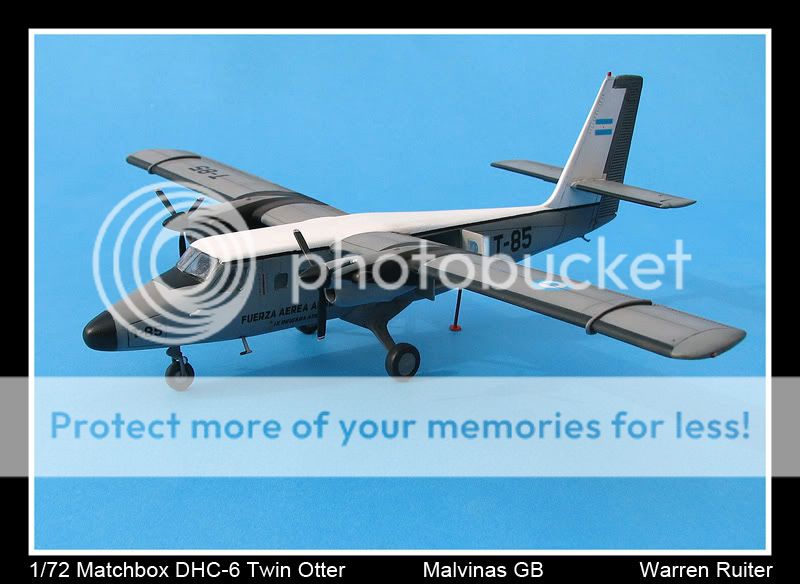


Thanks for looking
Warren 