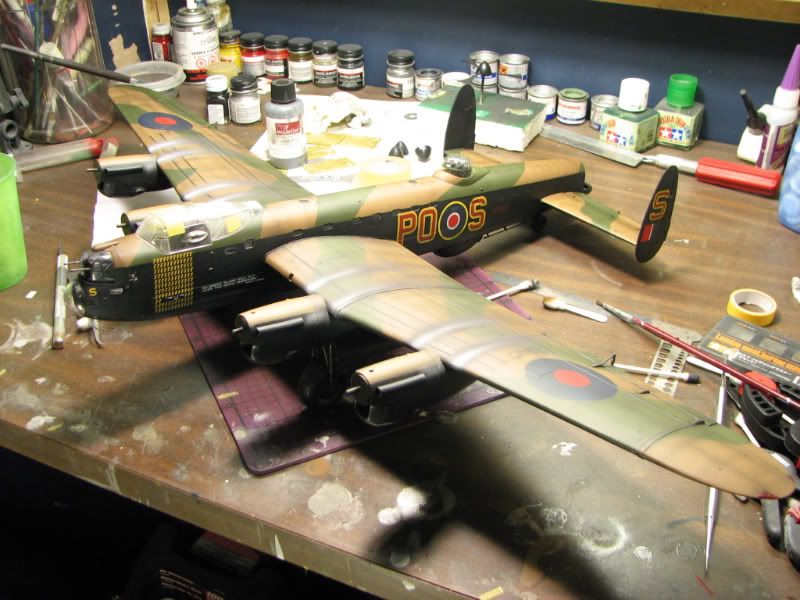
Tamiya 1/48 Avro Lancaster
By Dave Beswitherick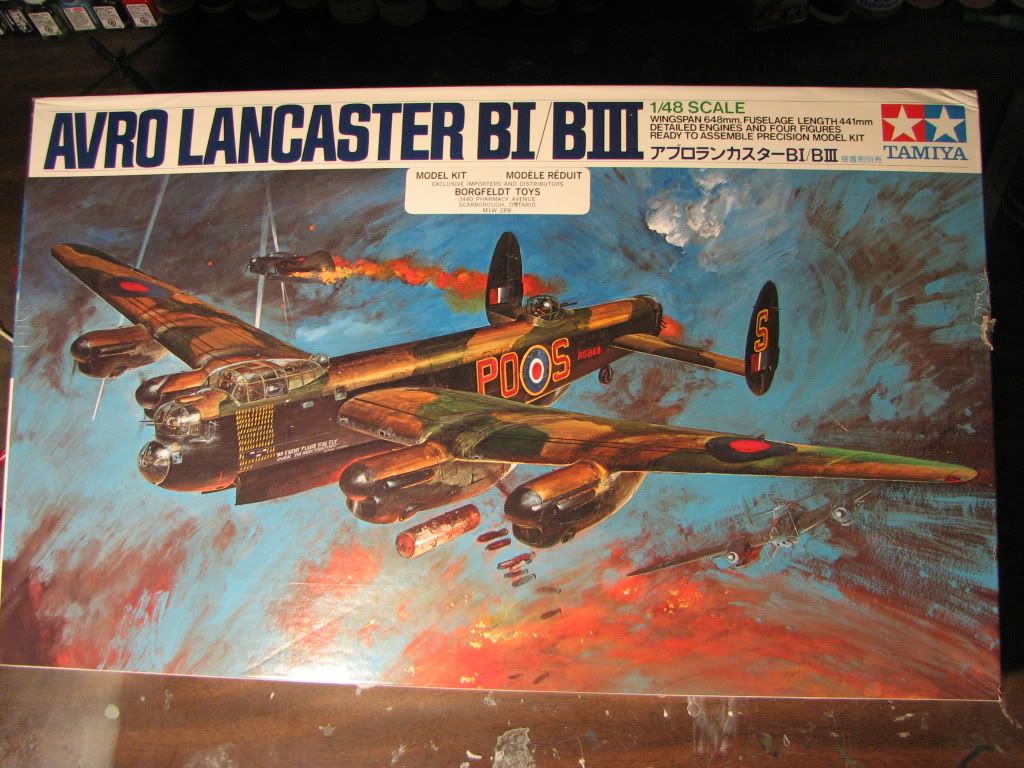
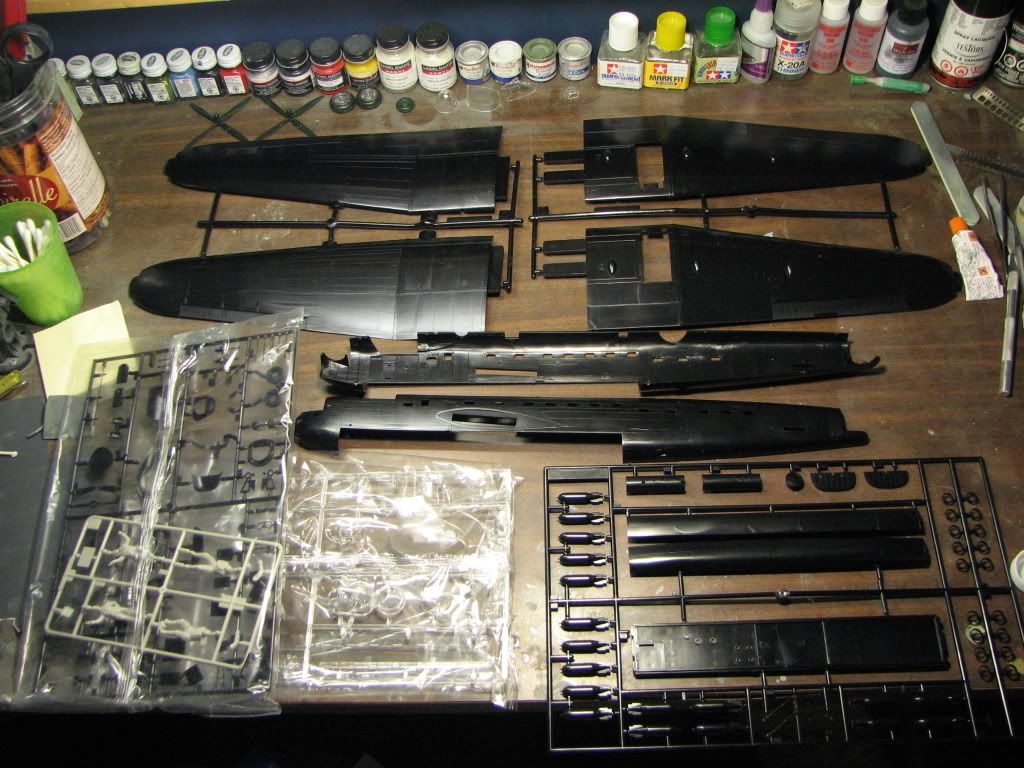
It's 34 years old I opened the box and it smelled like old newspapers , the cataloge is from 1975.
It's going to be landing on a diorama so i'll build the flaps out myself with styrene, I will also be using prop blurs.

The decals are very old but I tested one that I was not planning on using and had good results so I'll keep my fingers crossed

This will be a gift for my father'n'law as he is crazy about Lanc's but hates building models"too fidgity".
I have until Christmas so I'll have plenty of time to do a decent job.
I decided to take on the flaps first as i thought this was going to be the "FUN" part.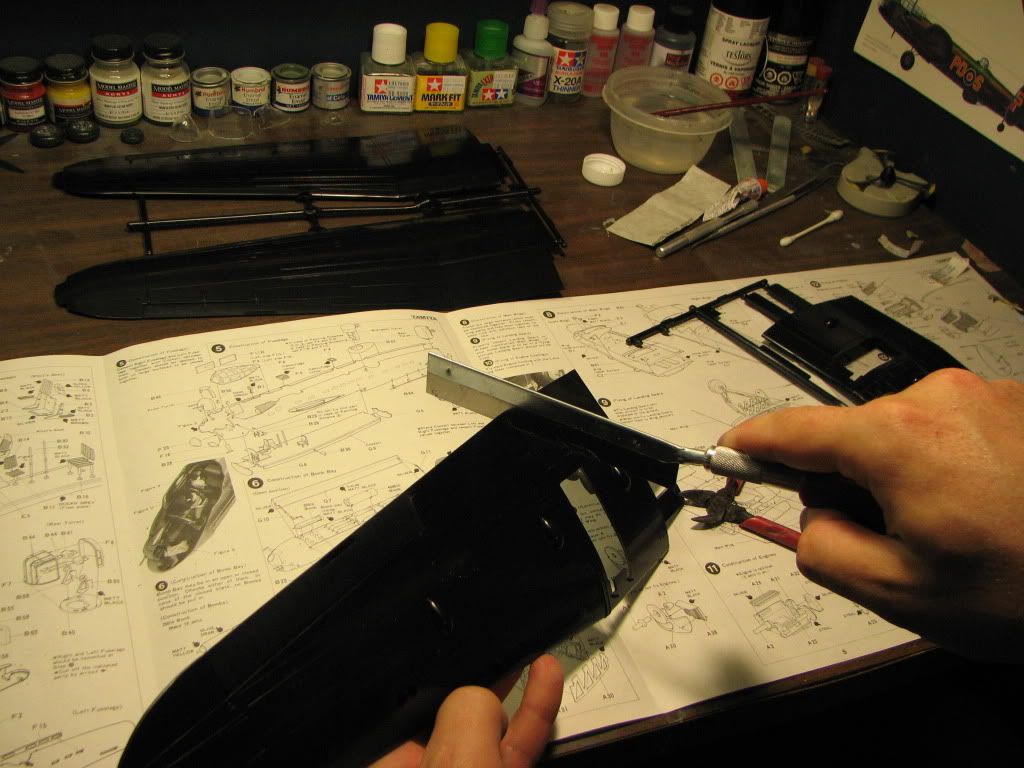


A little bit dicey but the materials were cheap and I'm getting some satisfaction out of it.
Here's my reference photo's

Here's my flaps with some paint on.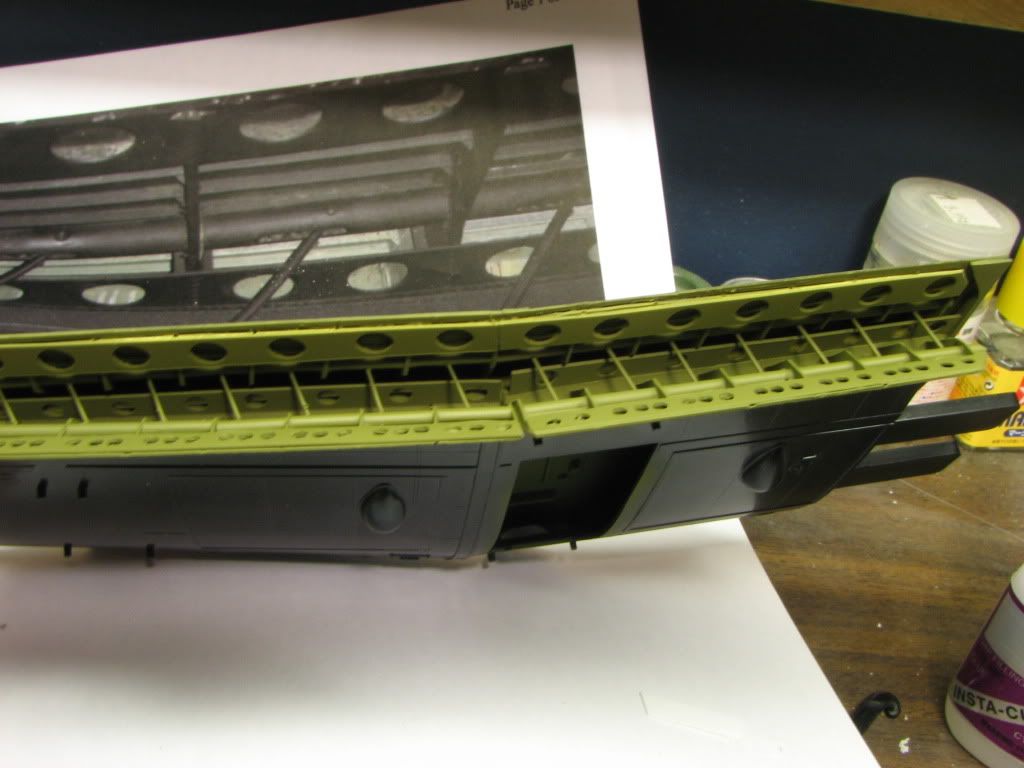
I'm not going for perfection, I'm going for "convincing" I will have to tweak the lip areas a bit but, was pleased with the result.
Now on to the other wing.
Yes, The nacelles will be tricky.
working on the engine nacelles tonight.

I got the flap portions of the nacelles cut just right.
Everything was going just fine and then......
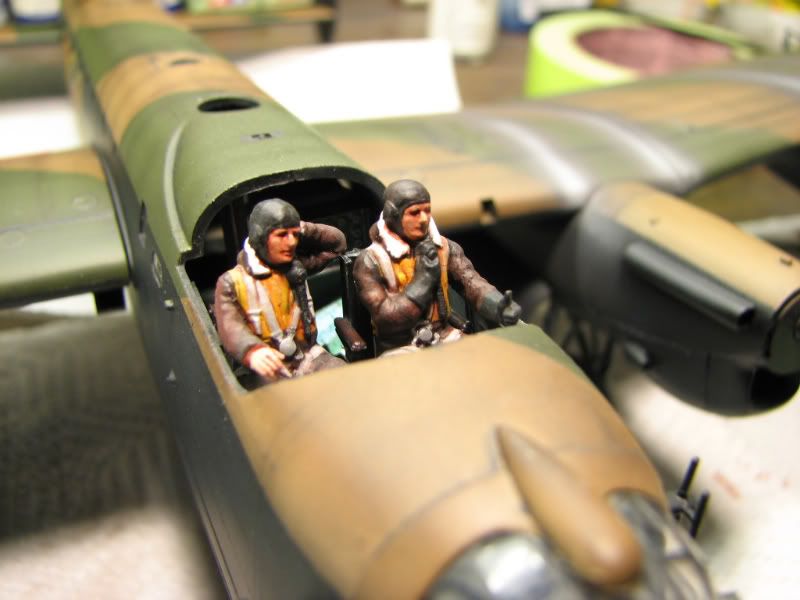
started on the interior and cockpit. I'm not going to go crazy detailing this bit because it will not be visible but, as you can see I had some fun adding some cheeky bits 


Also still working on the flaps for the other wing but keep getting sidetracked by summer......
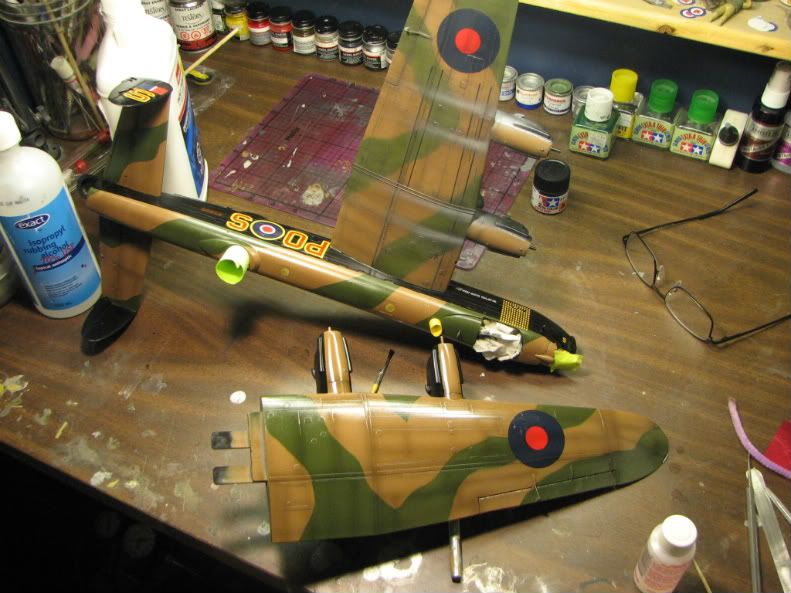
The logbook on the radio desk is a super shrunk copy of one of the actual log books from this aircraft "PO-S".
start on the port side flaps.

and some done on the starboard engine nacelles.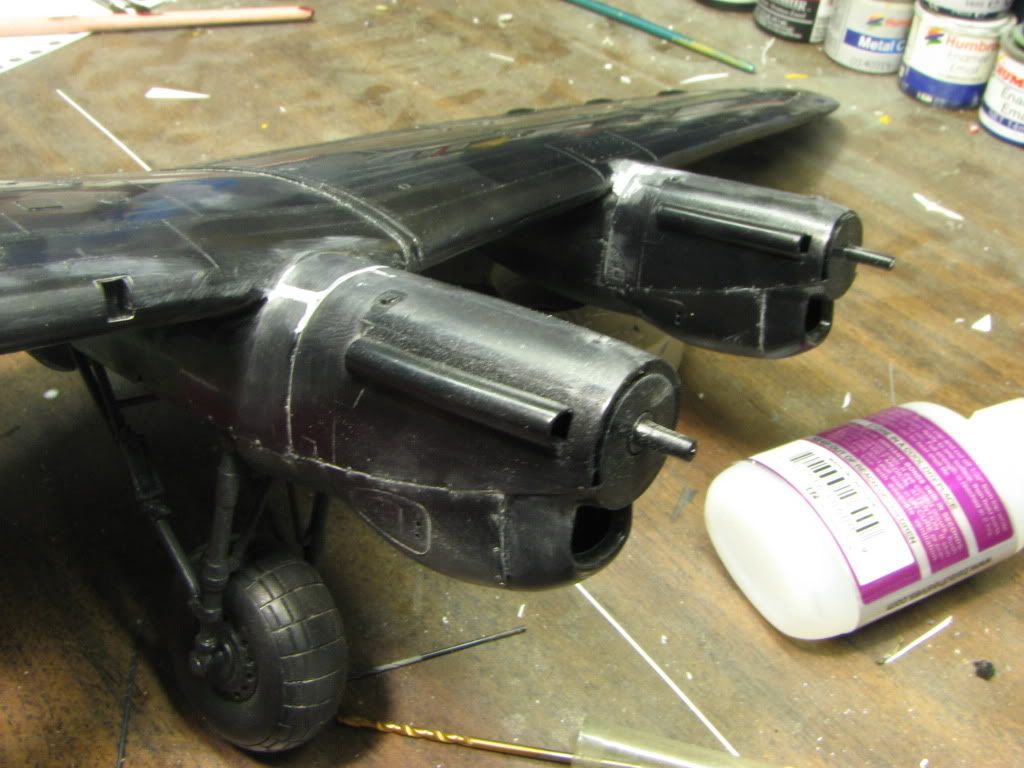
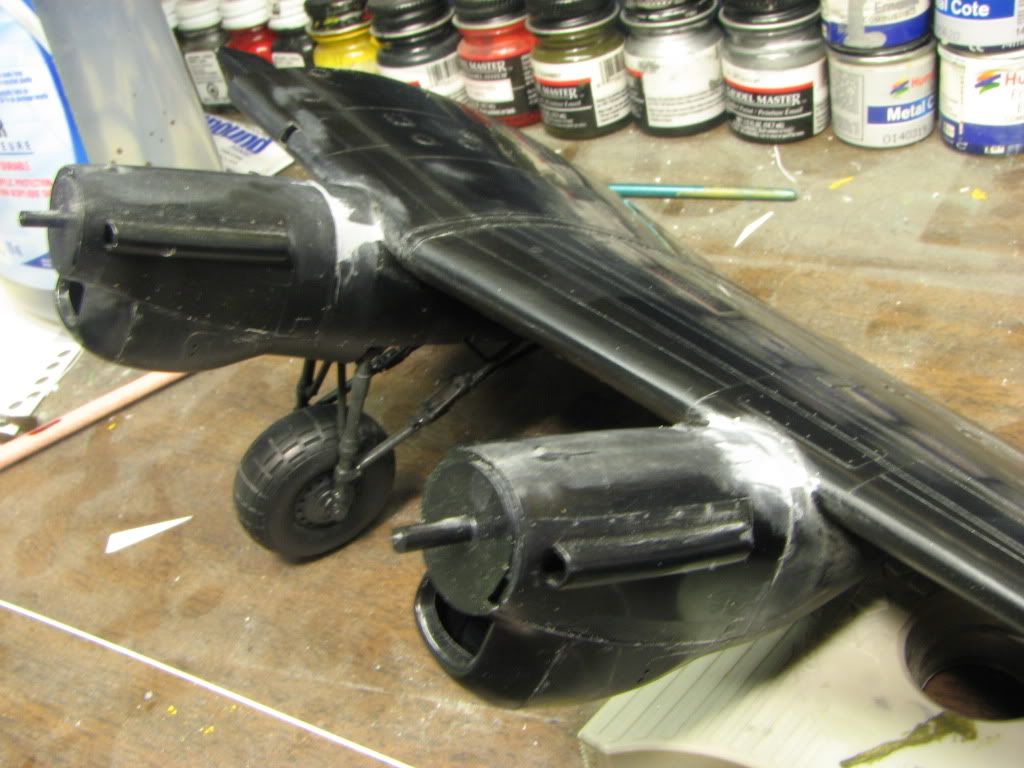
They aren't too bad of a fit but required some filler work and carefull sanding as to try and save my raised details.
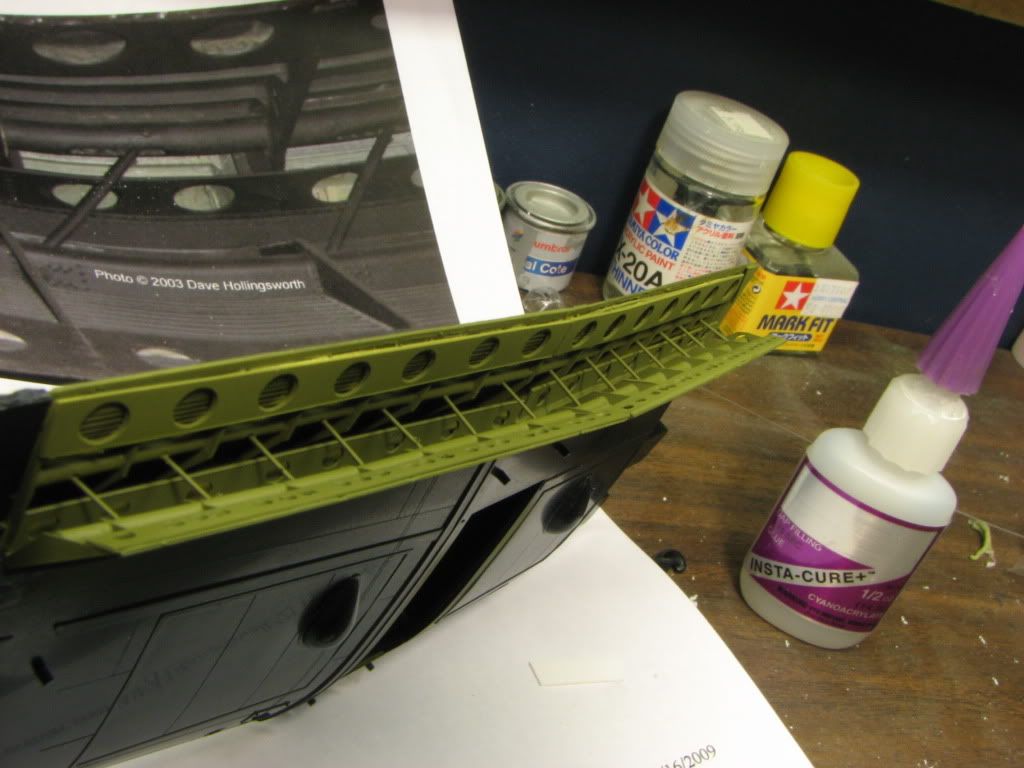
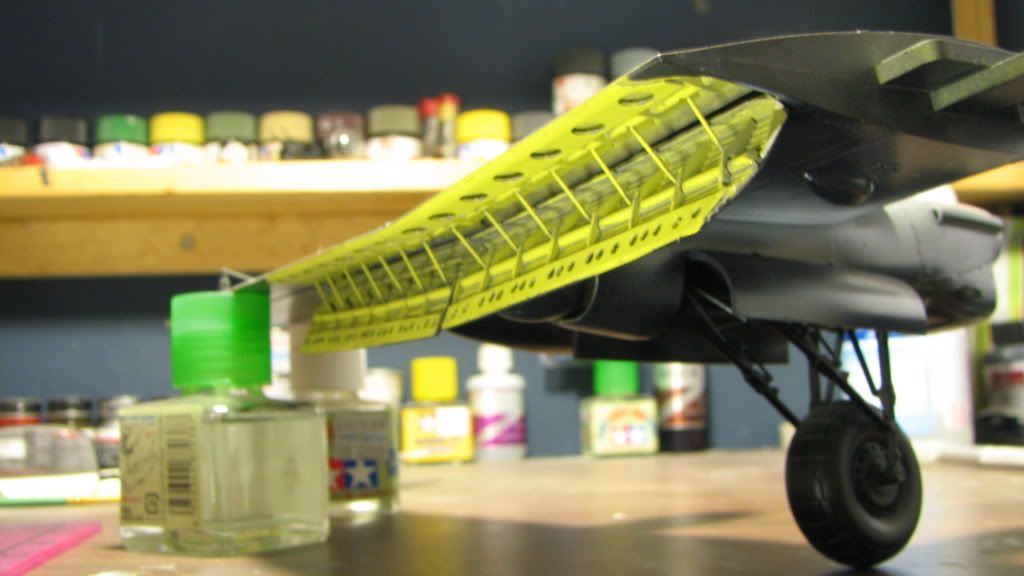
I've decided to paint my flaps Chromate yellow as POS is currently sporting that interior colour.

I think it will really set the flaps off contrasted with the black underbody.
Wearing chunky tires on it's feet. I know it likely had smooth ones during the war but I have to admit, They look way cooler chunky .
.
DONE! But not finished...did that make sense?? I'm going to extend them a bit for a more "Dropped "look but, this is the basic idea.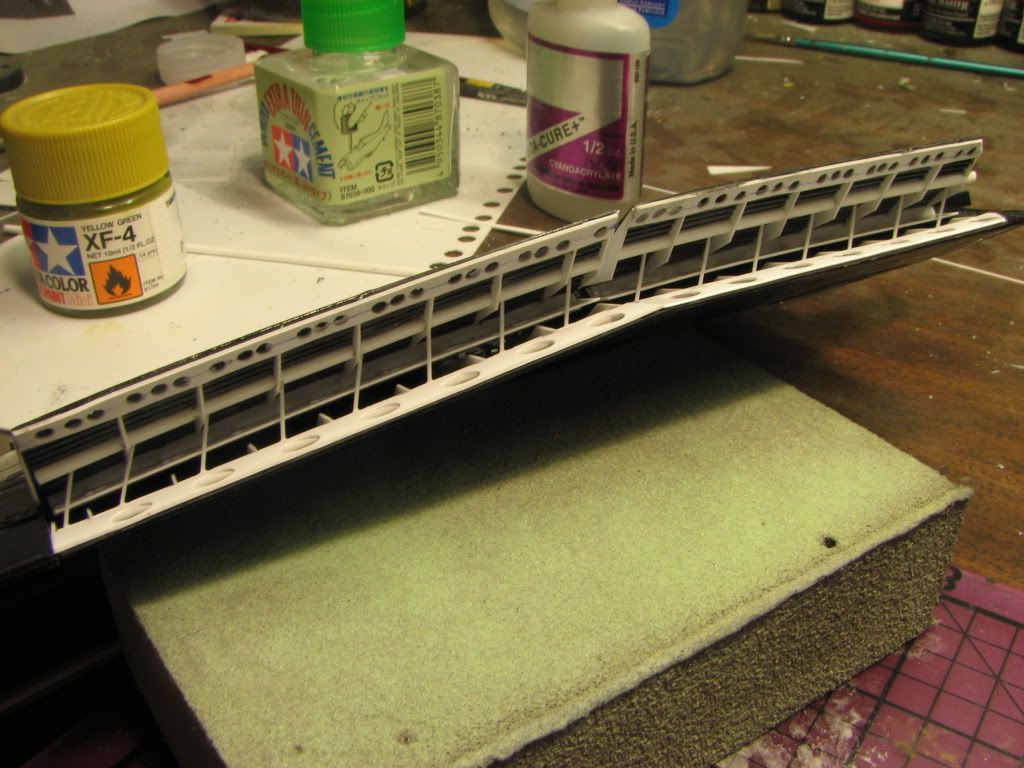
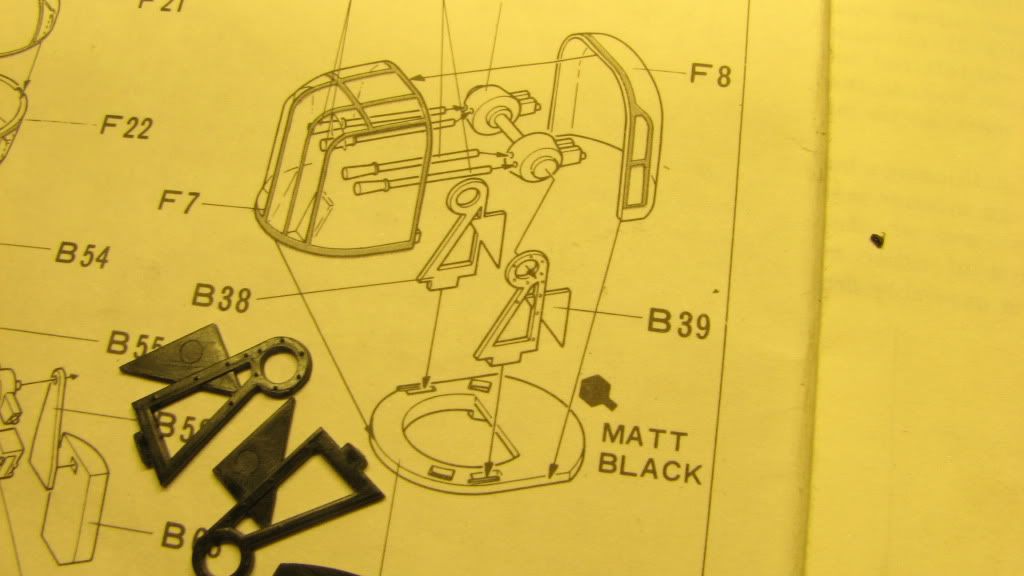
Started working on the rear turret tonight and was checking my referances and found an actual mistake in Tamiya's instruction sheet.
Notice the direction of the supports for the browning's.
Here's the reference photo: Notice the direction of the supports.....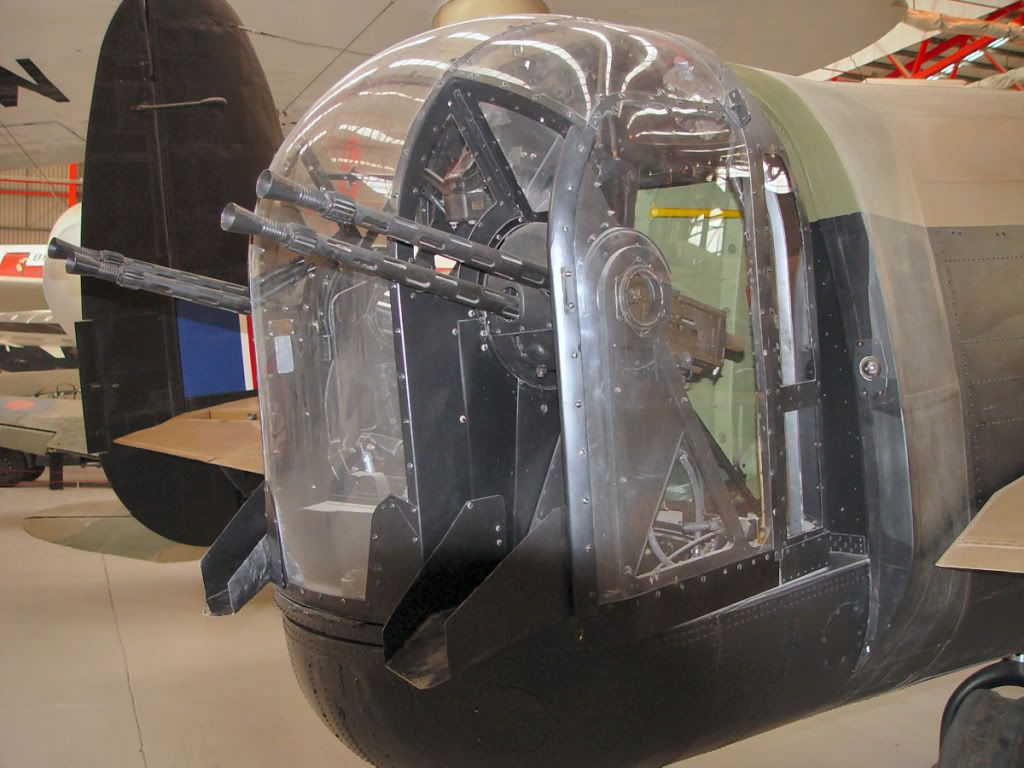
decided to fix the ailerons as they are completely out-to-lunch. I have not found one example of them having these "ribs" and of course the tip of the surfaces are way too thick.
Reference: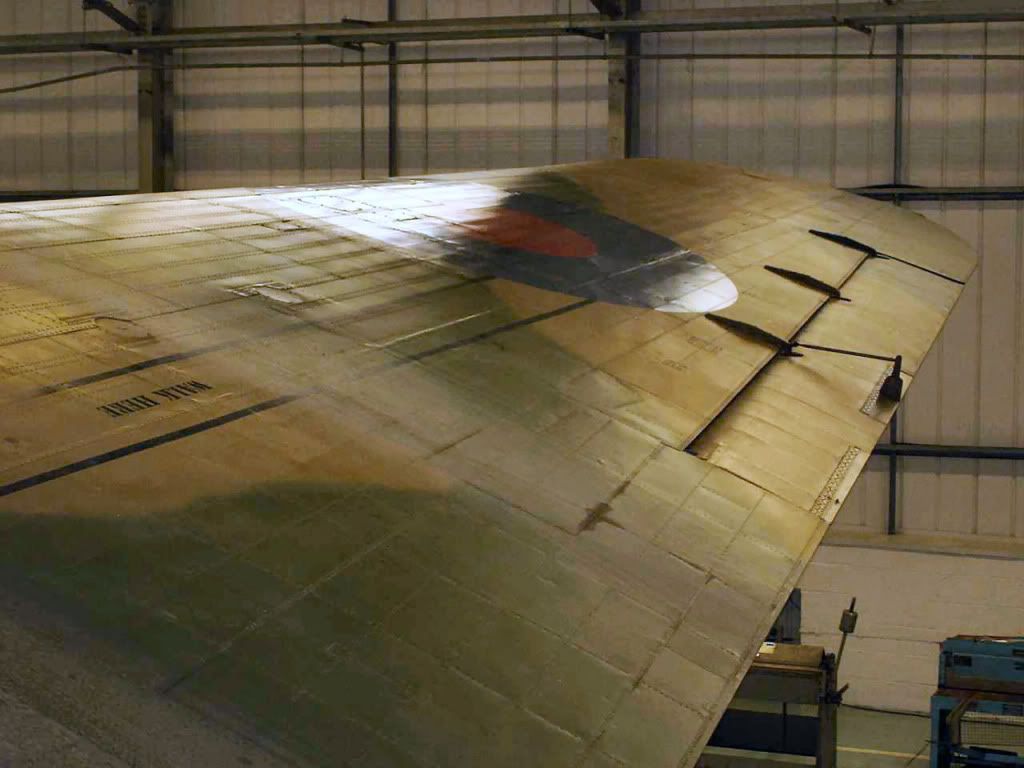

Grinding them down with the dremmel.
After that was done, instead of sanding for the rest of the evening I decided to just laminate some thin card stock on the control surface.
I re-scribed and re-riveted where neccesary and VOILA!!
Much thinner control surface now and a little more accurate in my opinion
Air Intakes......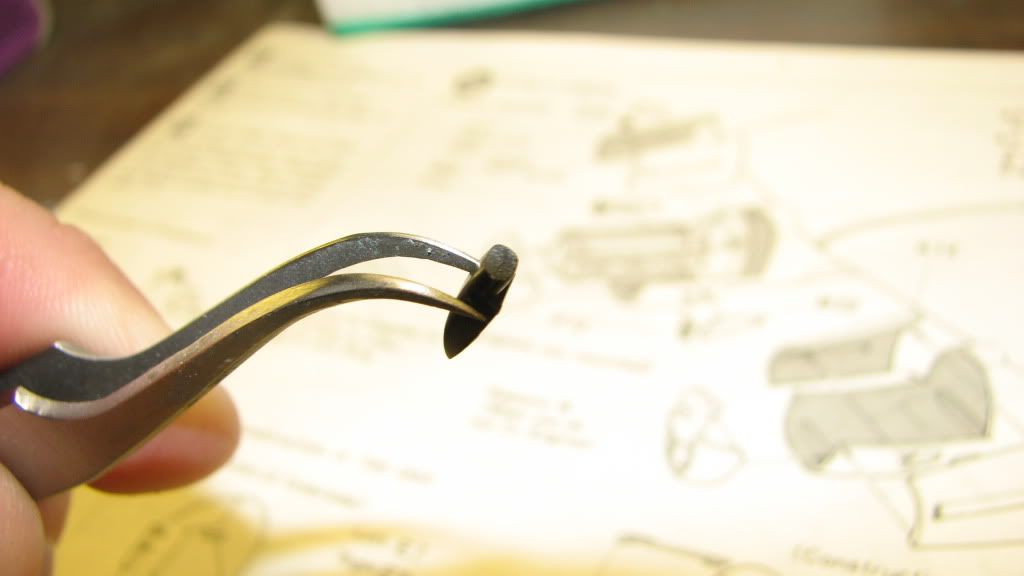

It's been fun updating Tamiya's tooling for this kit, I have to keep reminding myself that this is NOT a super build.
pre-shaded before so thought i'd give it a try. Primer first( of course) due to the black plastic.

I got a bit carried away (ya first timer) and covered most of my preshading so some post shading was needed.
A bit over the top for my taste so I knocked it back with my camo colours VERY thin.

I think I can live with that. Have to do the black yet. Havin Good Times!
Colours: Tamiya XF-67 Nato green
Tamiya XF-60 75%- XF-9 25% To achieve a Dark tan colour.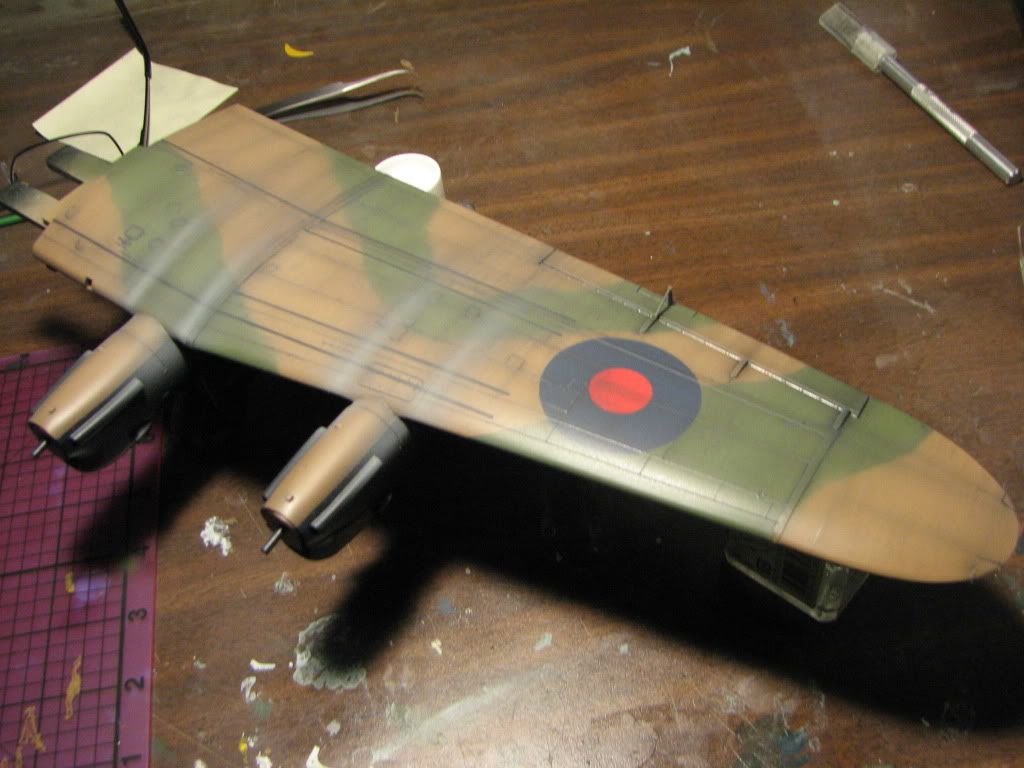

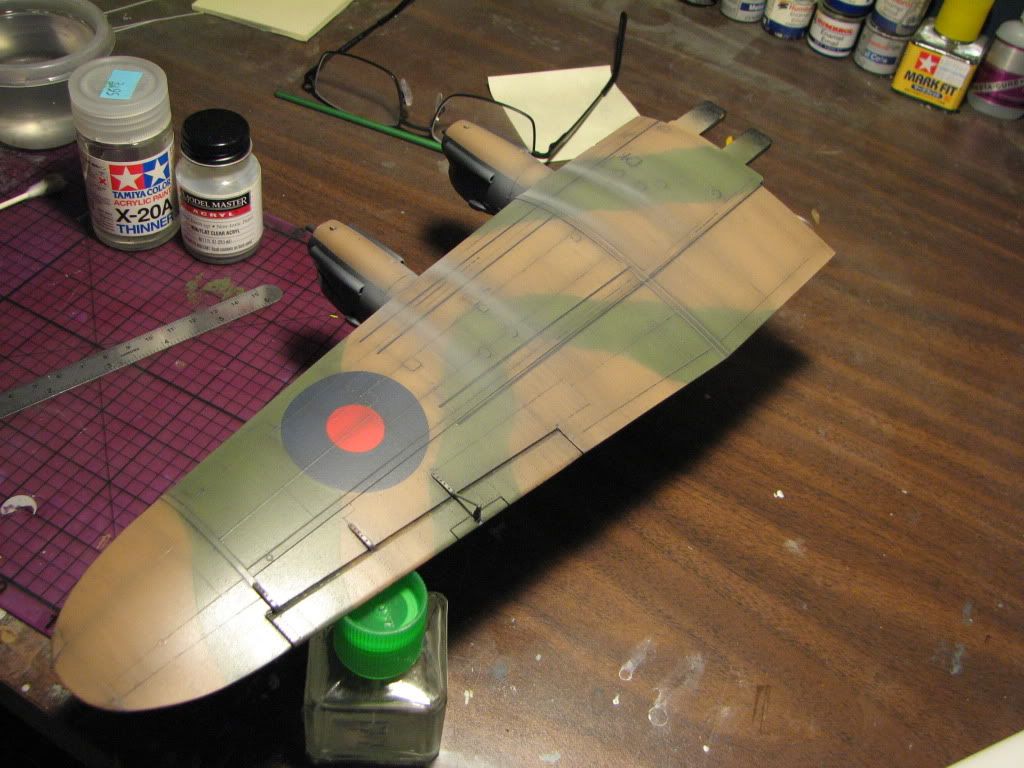


This was really fun, I still have some detailing to do underneath, right now it's just painted a black semi gloss, some shading and then future, I have the red stripes to do yet as well.
I'm so glad I gave myself a decent time frame for this project cuz there's lots to do and I'm just learning as I go. 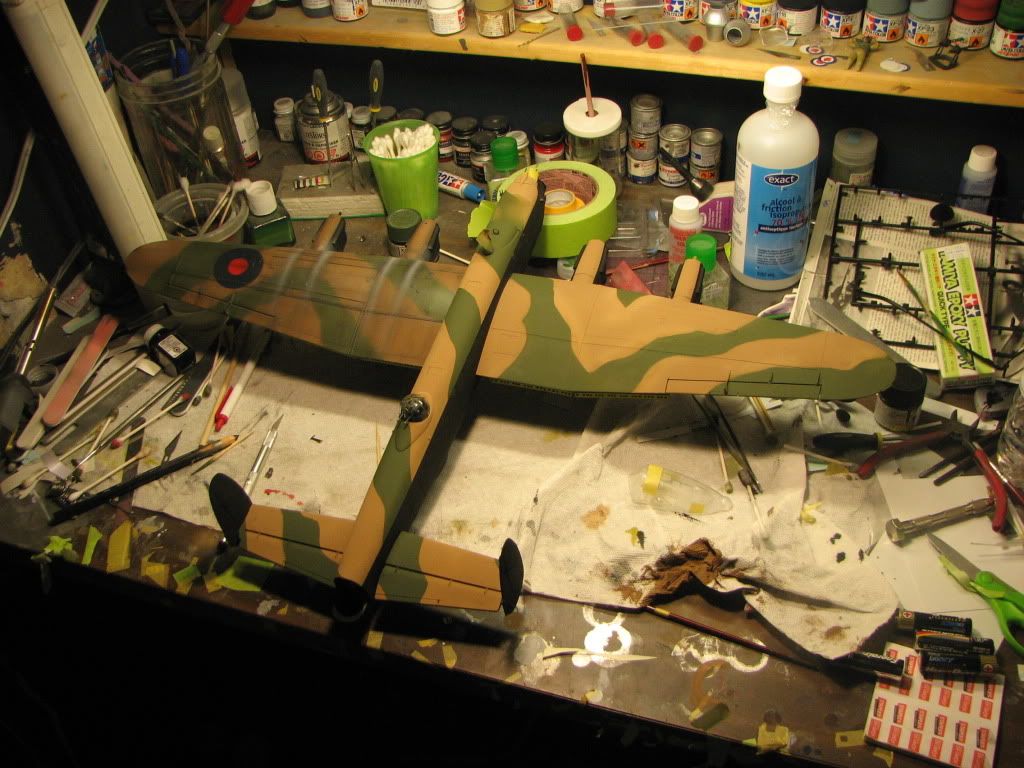
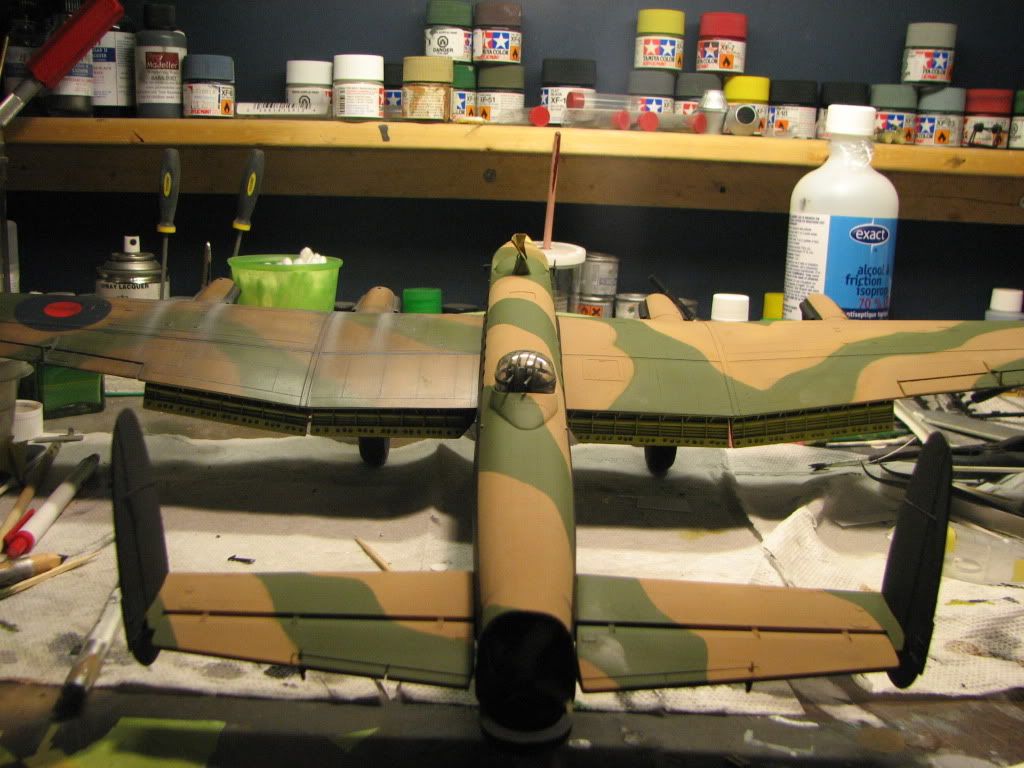
Just a quick fit here, wings aren't glued yet, I have to fix some camo alignment and some other paint touch ups then we'll make her permanent.
lots left to do...............
Started my decaling, this is 2 days and 10 coats of sol. the decals have been very ..dry? I'm not really sure but they take a lot of coats to respond to the panel lines.
6 coats for the roundels, turned out pretty good but lots of slicing and pin pricking. This has a coat of future over it.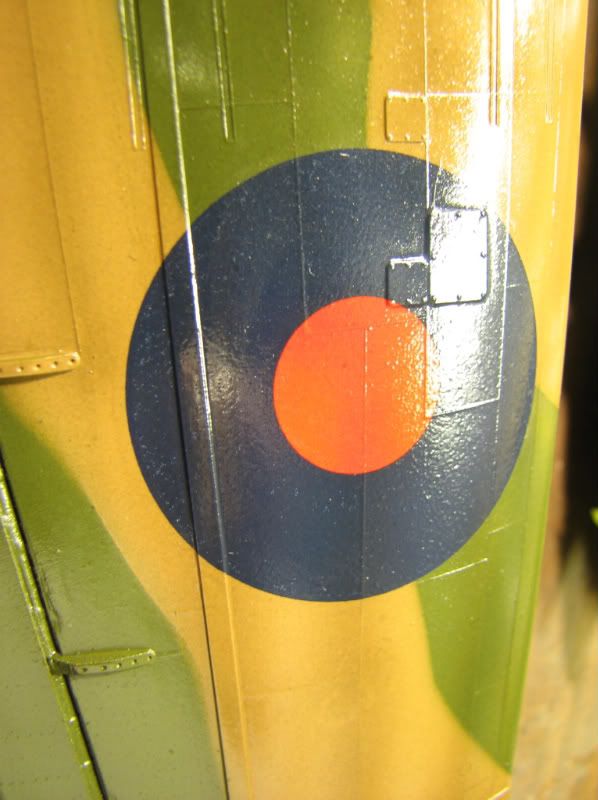
Still steaming ahead, I have more glasswork to do, prop blurs, and the landing strip to do...as for the landing strip dio at this point I have no plan...
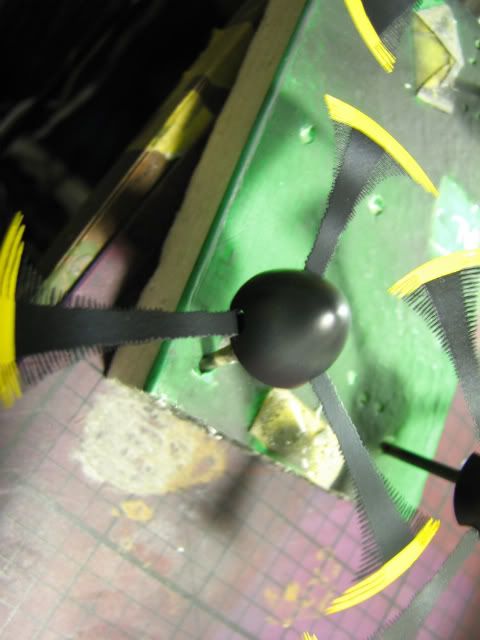
start on the props.
I got the cones cleaned up and separated my blurs from their trees.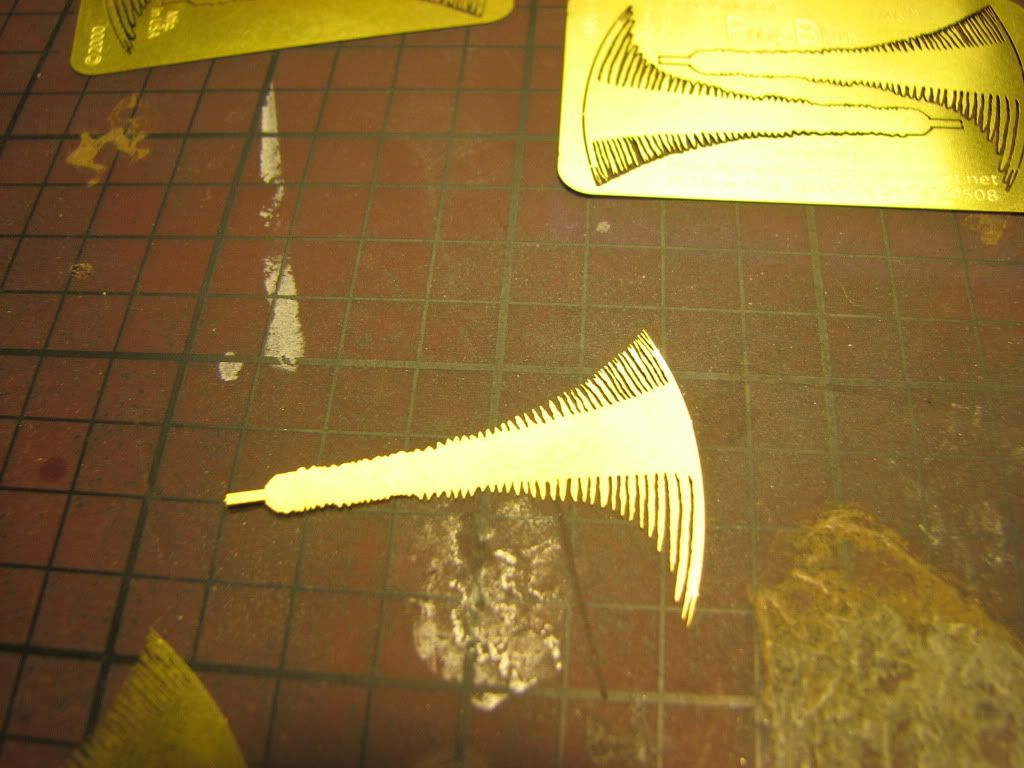
I then took a kit prop and cut it down to the same circumferance as the cone. I put a slice down the center of it to mount the blur.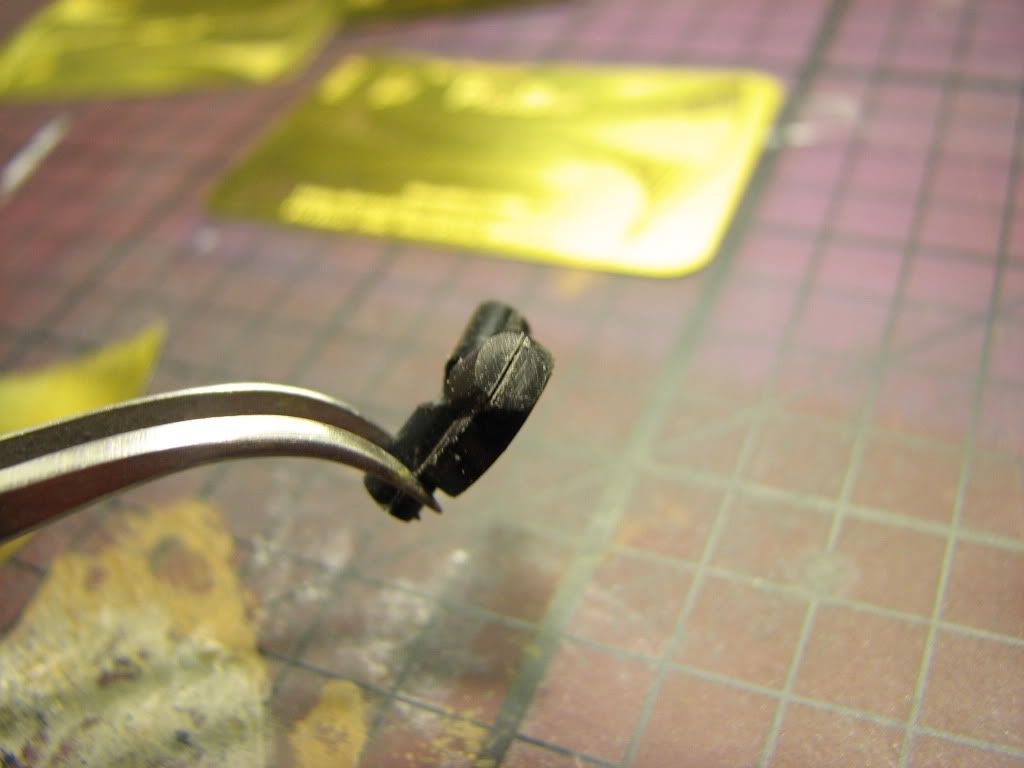
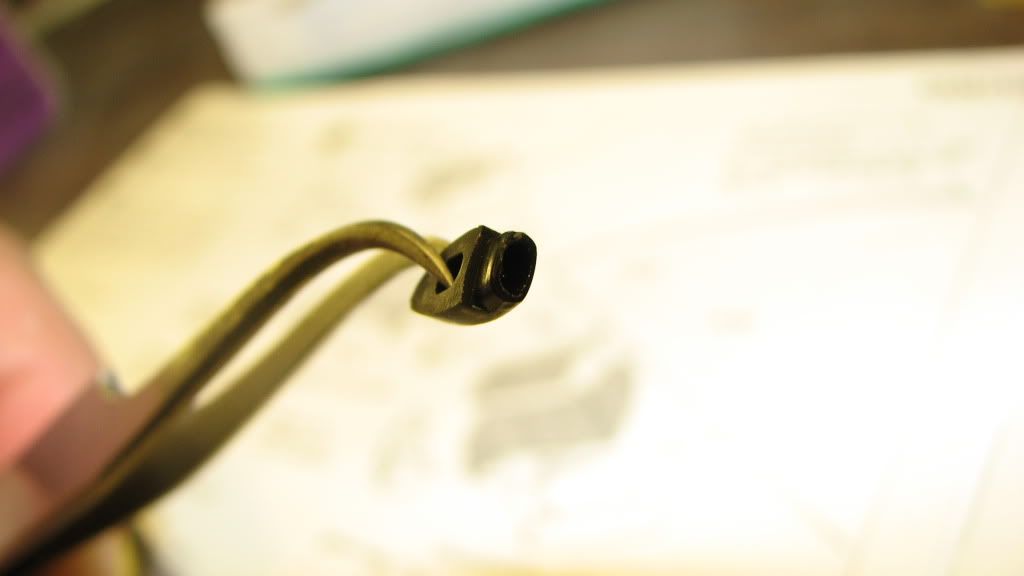
Started puting them together and sealed them up with extra thin, I'll play it safe and put a dob of CA on it when I know I'm happy with it.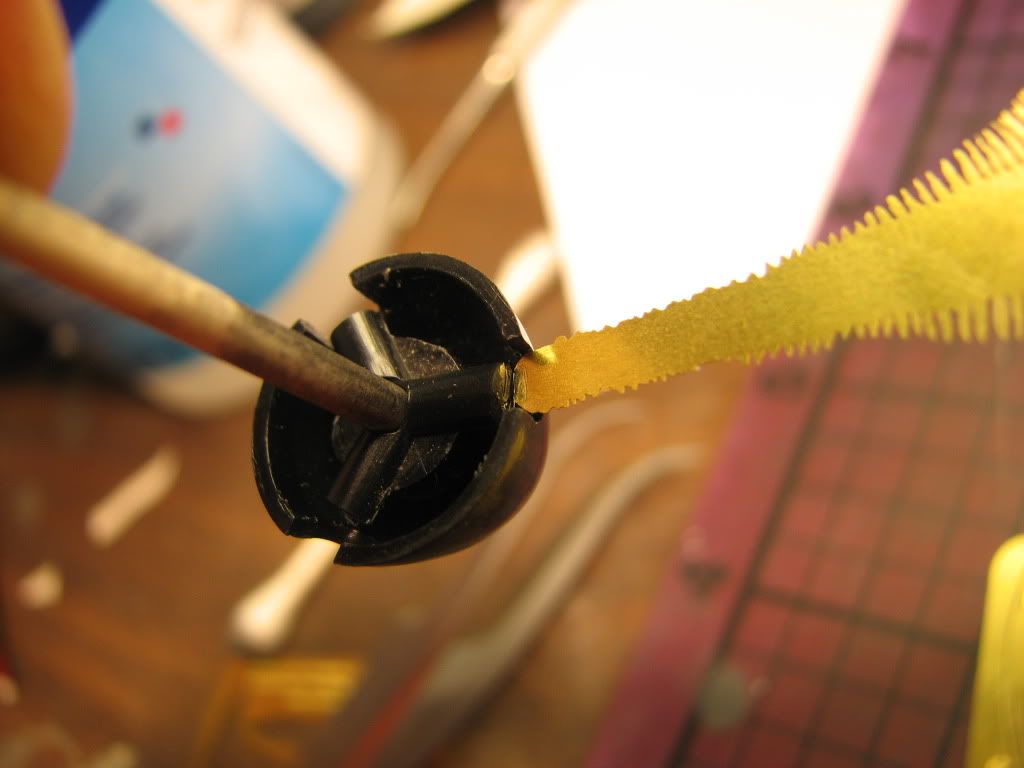
All together now, make sure you have the blurs facing the right way.
I spin it in my hand to make sure it makes a perfect circle, then I know they are all the same length.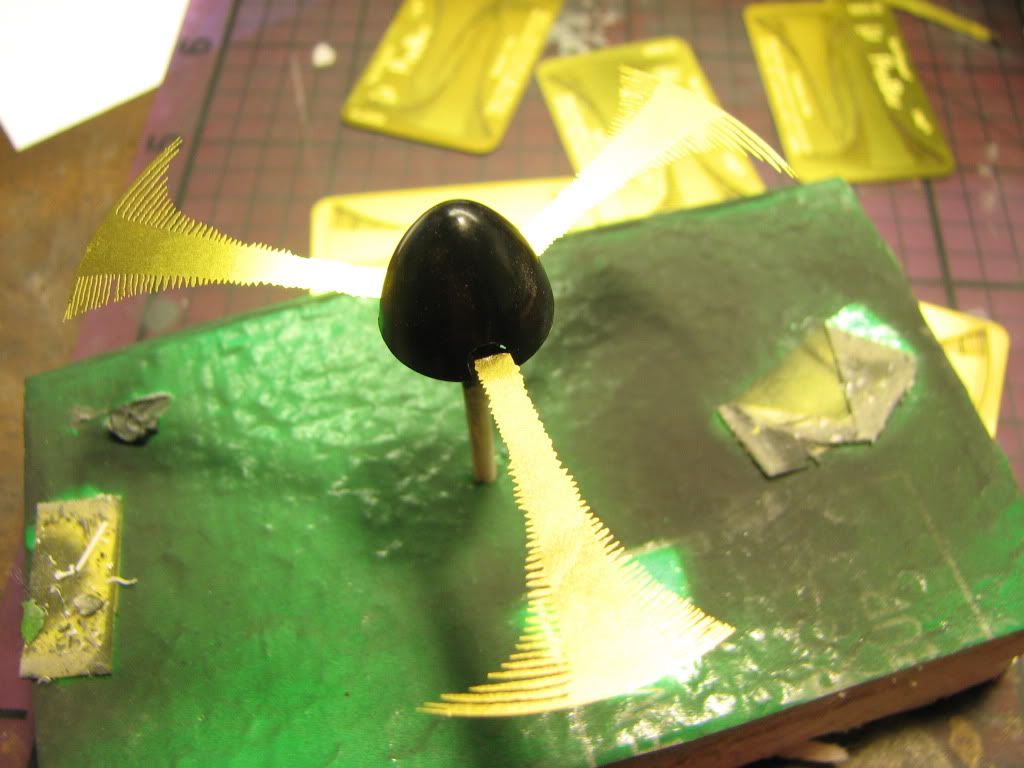
Two coats of semigloss black.

3 more to go and then we'll do thier nails........(yellow tips).
Here it is with promodellers wash taken off and 2nd dullcote just on.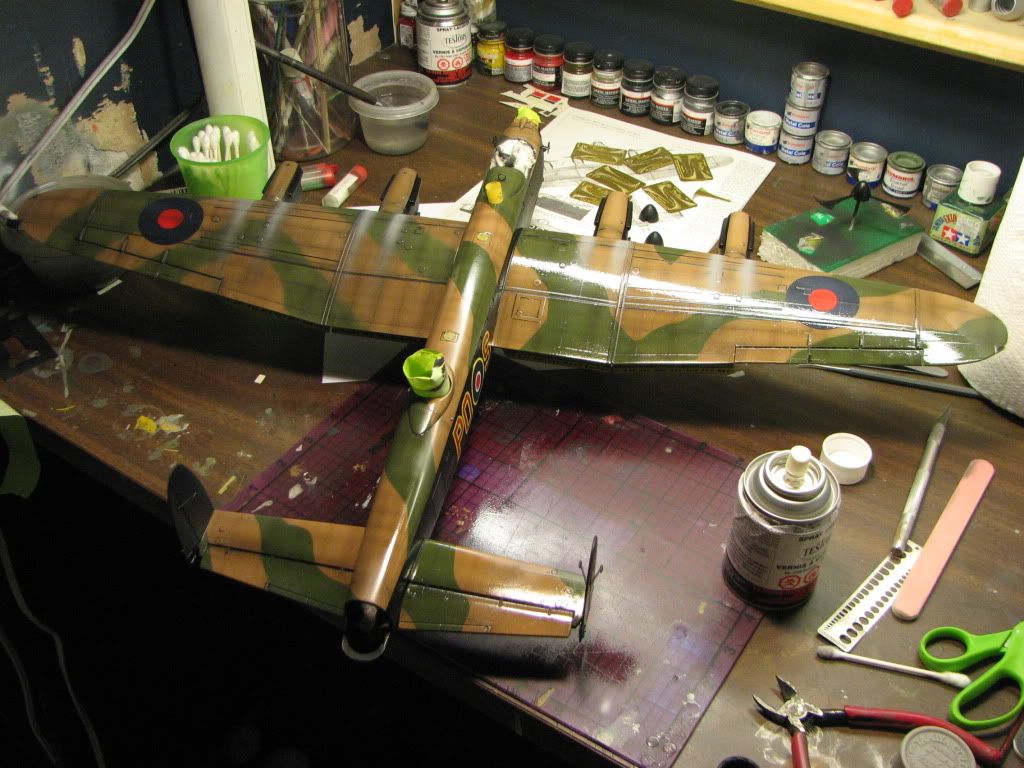
Here she is when dry.
A shot of those pesky decals finished.
You can see the rivit holes in this one.
I'll let this cure up over night and tackle my red striping underneath tommorrow night. Lot's of little details to think of and be careful not to miss.
Coming together quickly now, I'm quite suprized actually.

Lots of glasswork to finish, figures,red stripes,wheels, props and brake lines.
I noticed this as well.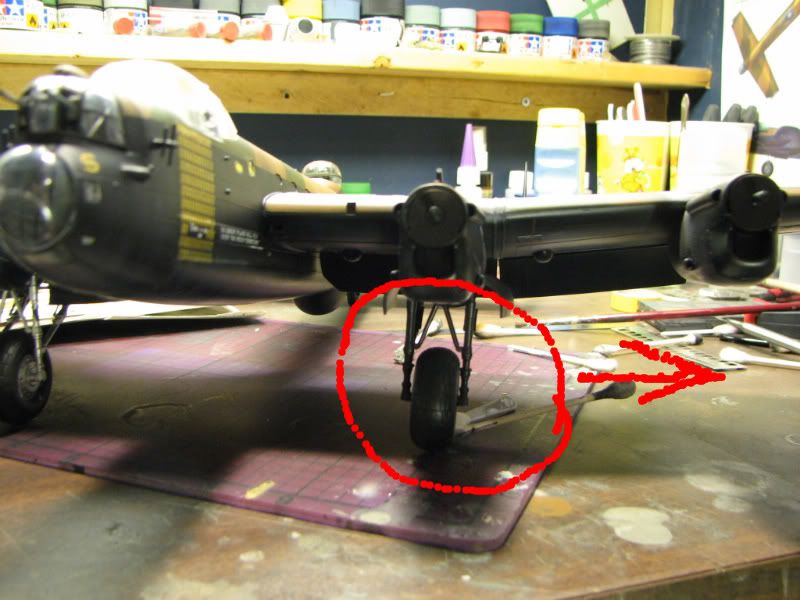
I'll have to cut down the one side maybe, any suggestions?
I spent the afternoon on the figures.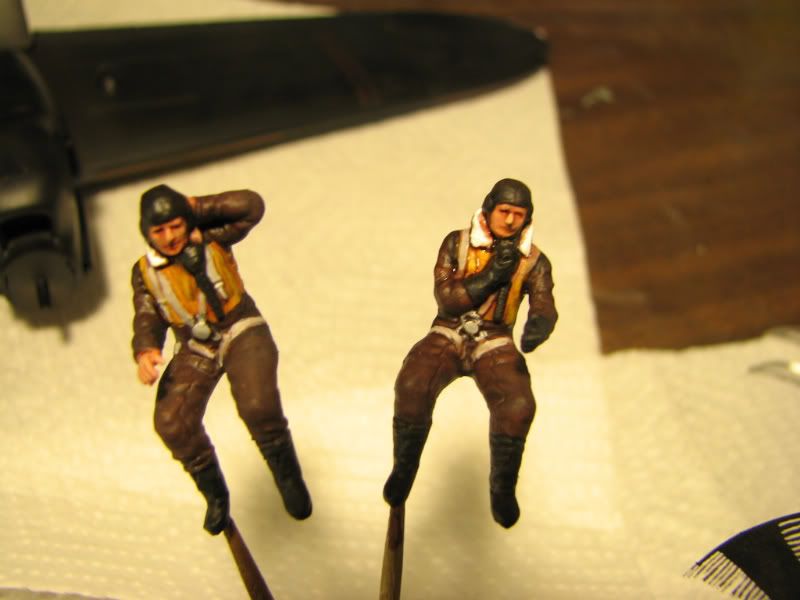
I finished my blurs this evening.
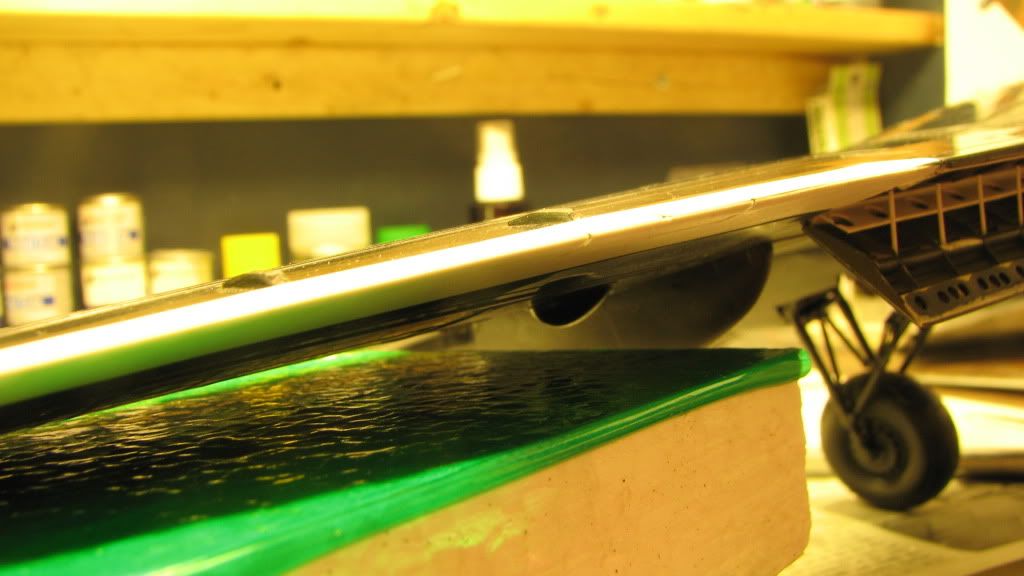
I took some 1/8" aluminium tube and cut it down. After drilling a neat hole into the engine nacelle I took the tube and heated it with a lighter...(not for the faint of heart), I positioned the tube correctly and let it cool.
I'm left with a straight mount and very secure from the process.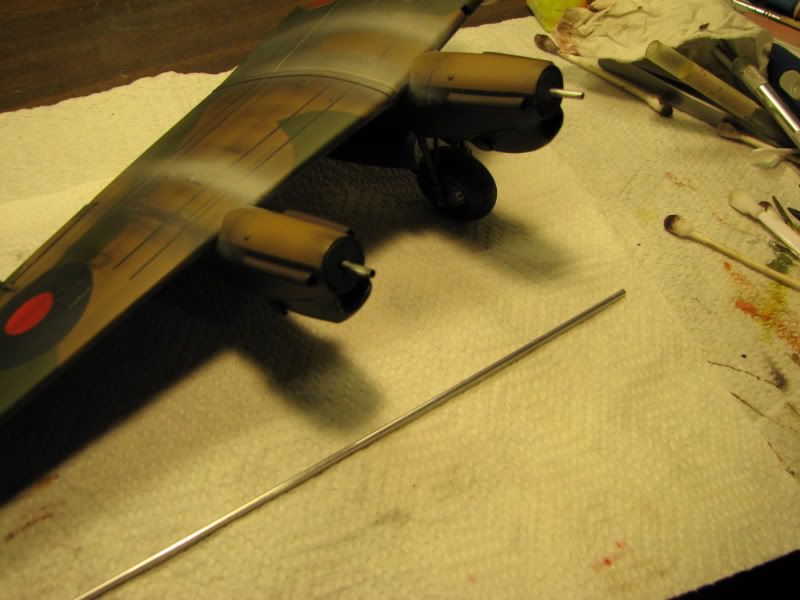
Finished result.
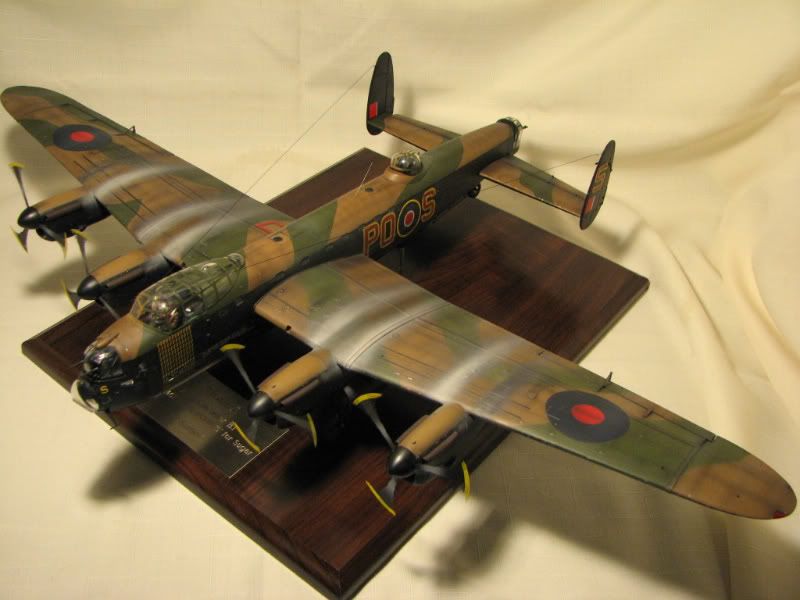
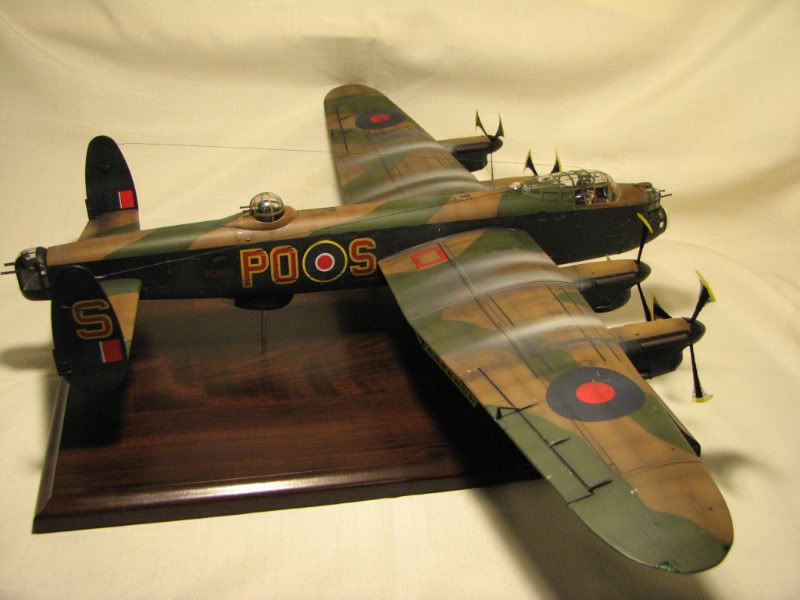
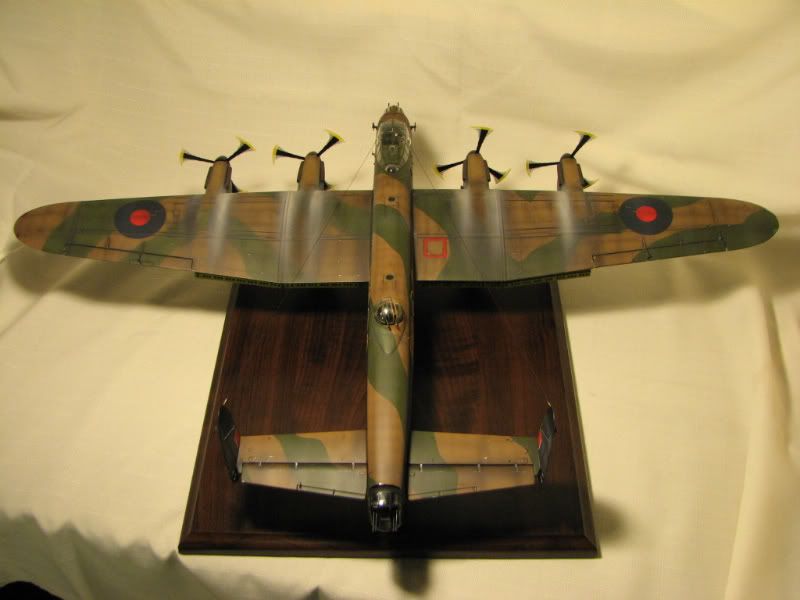
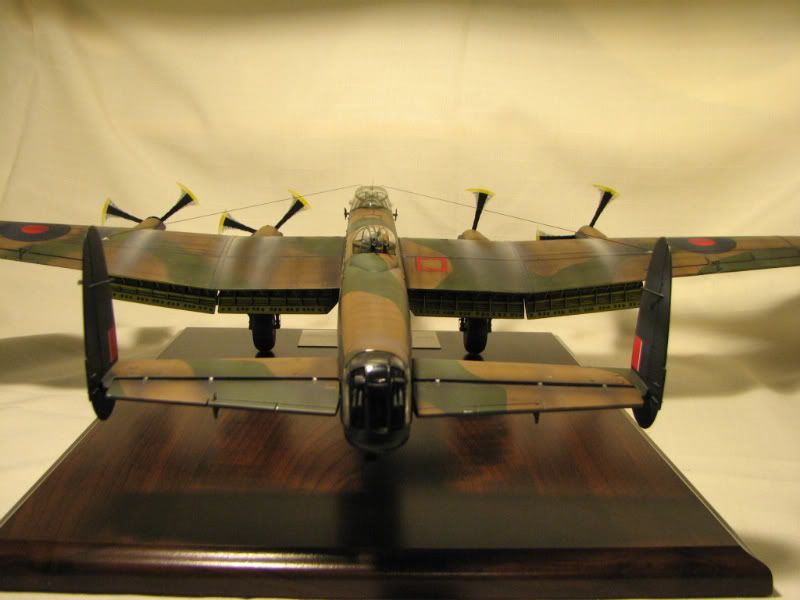
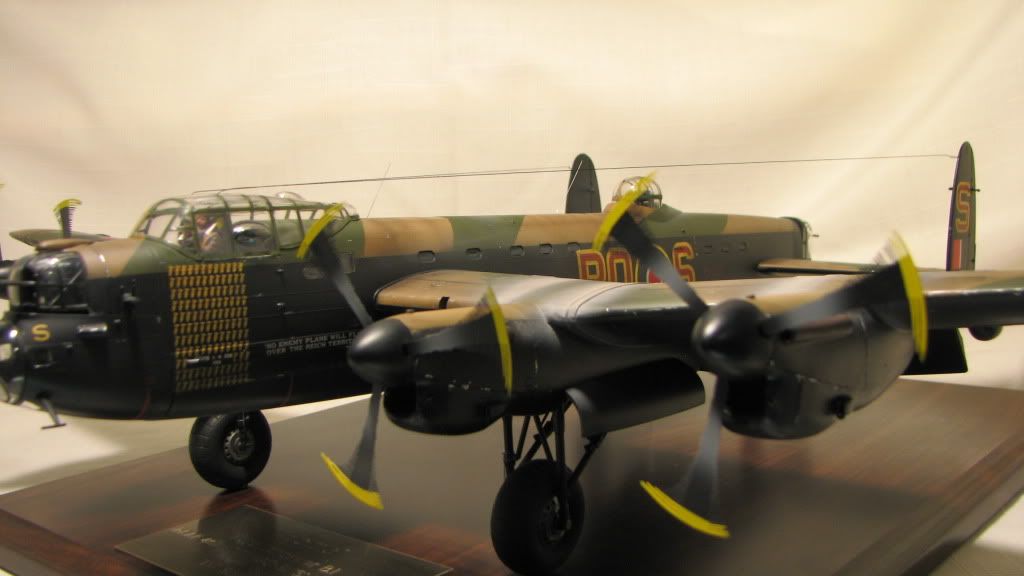
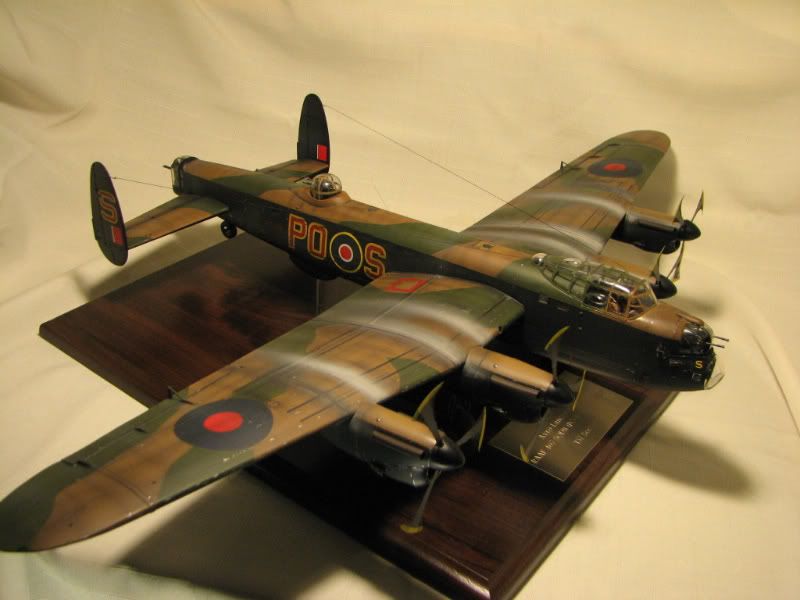
Completed Model Pictures: