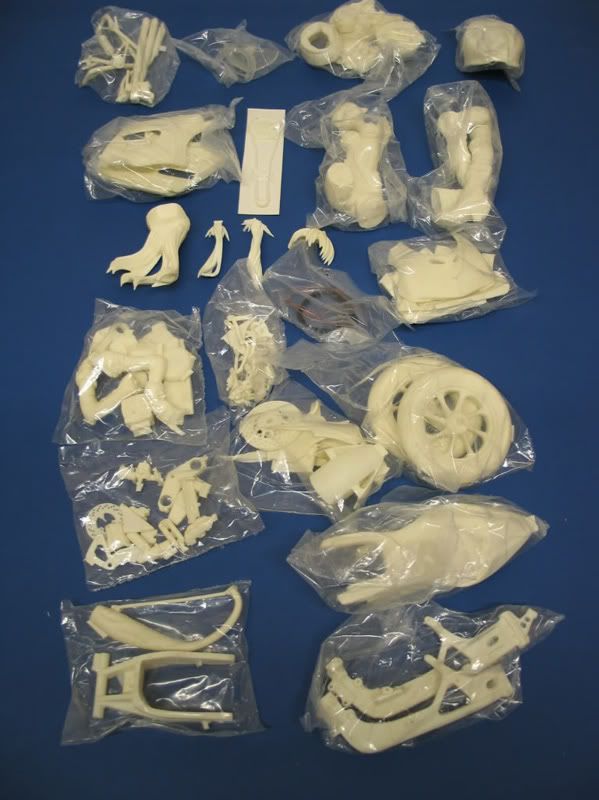
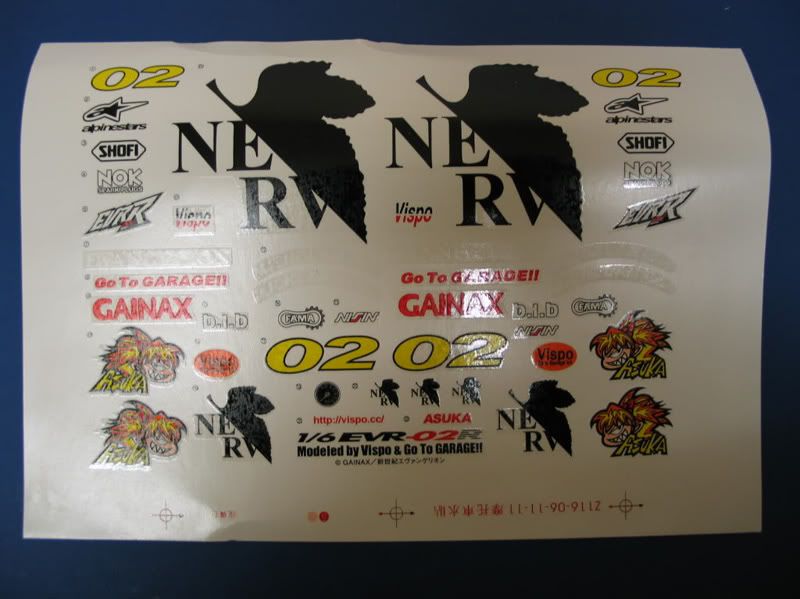
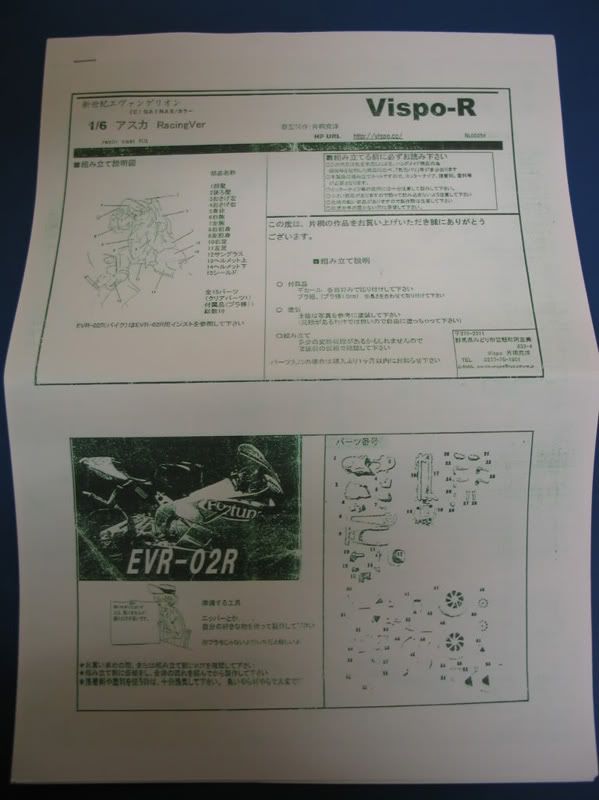
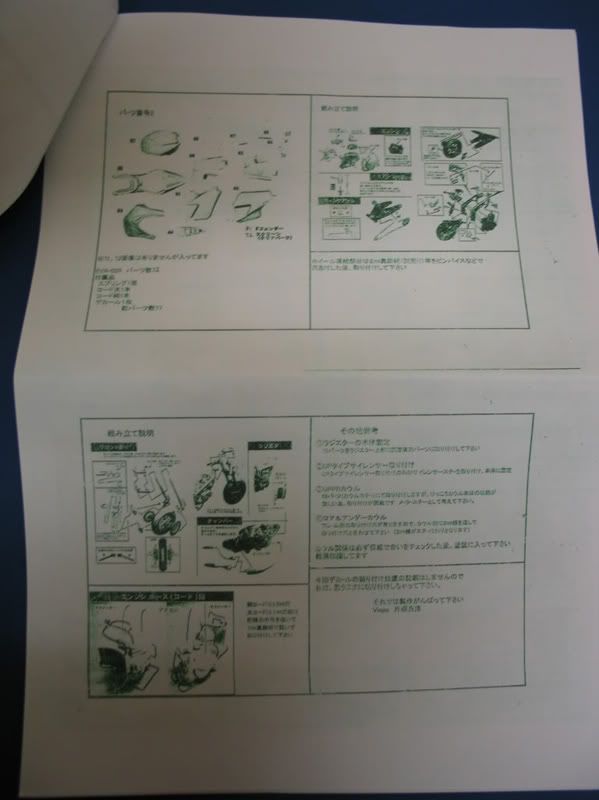
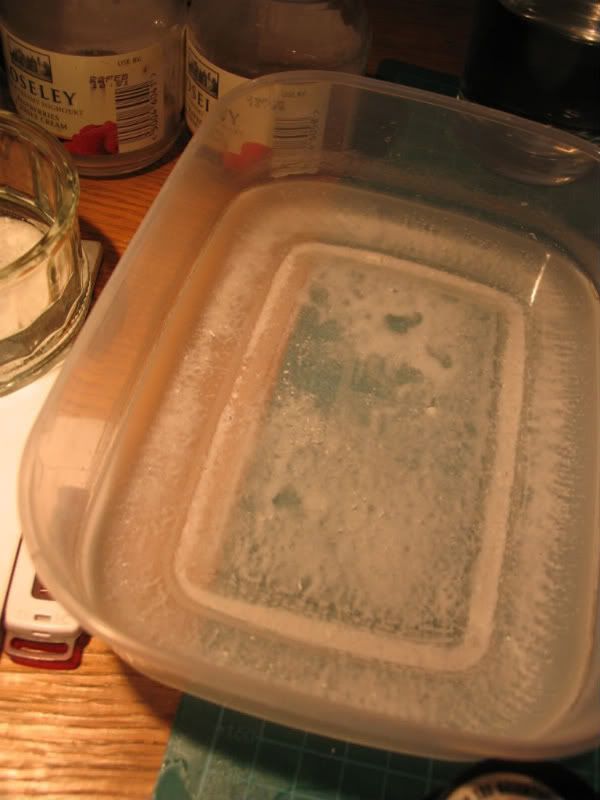
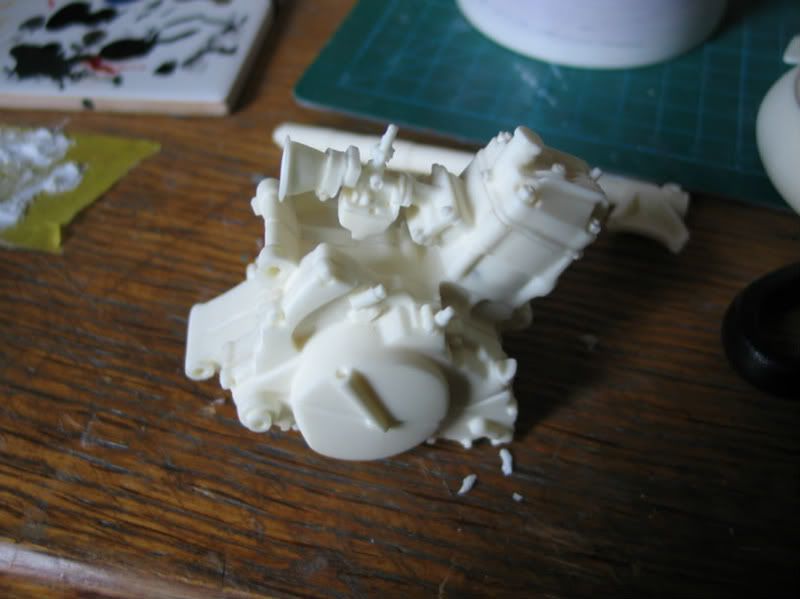
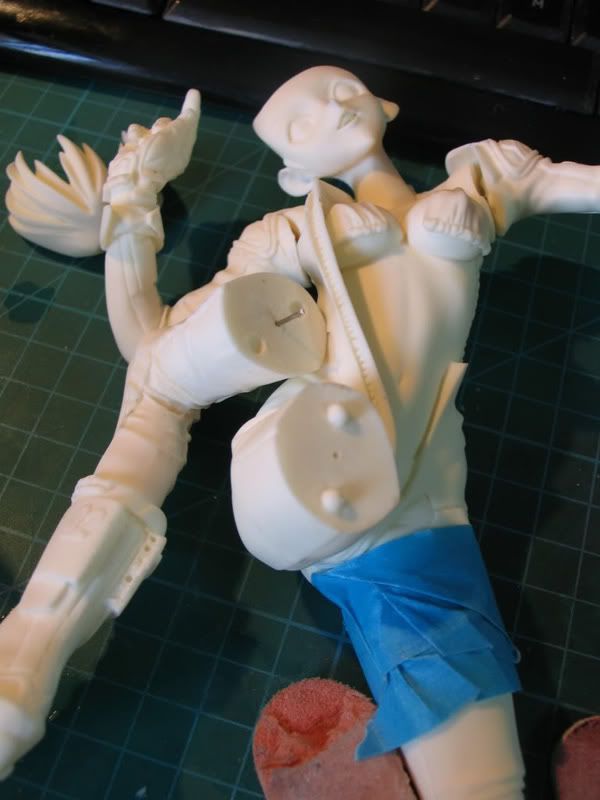
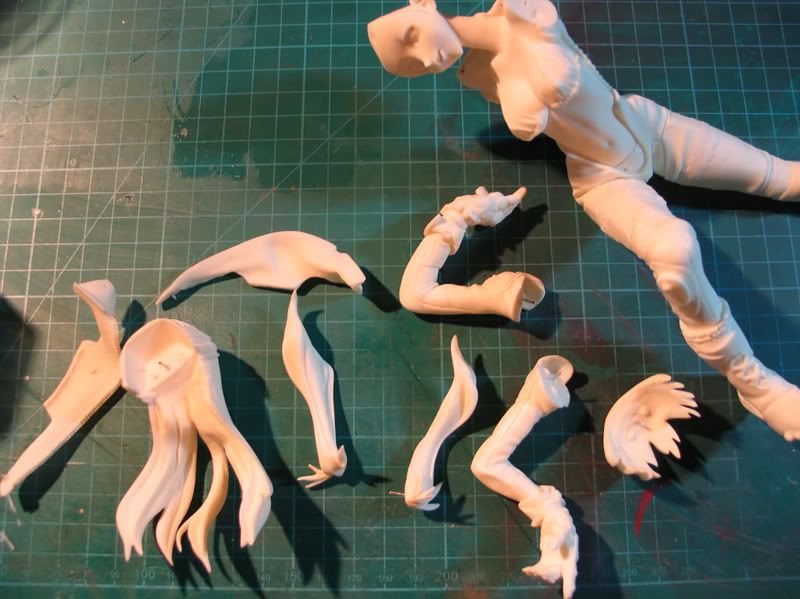
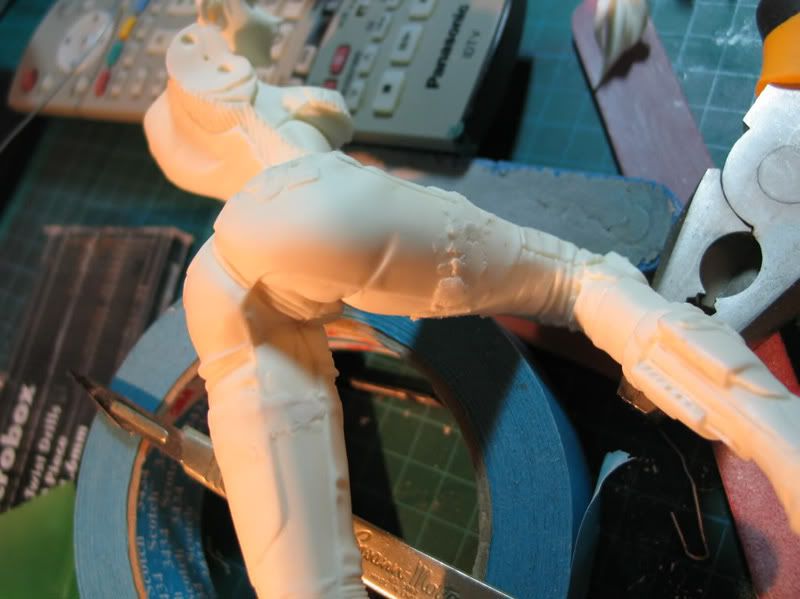
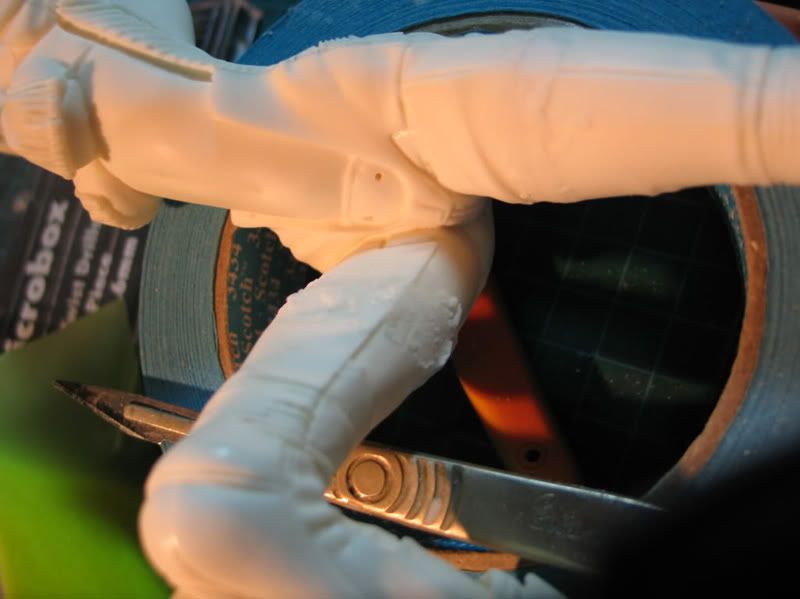
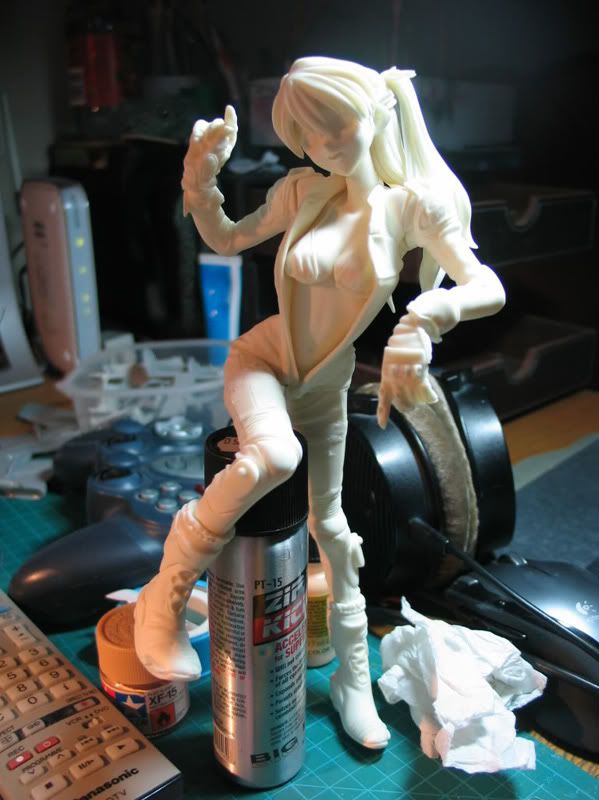
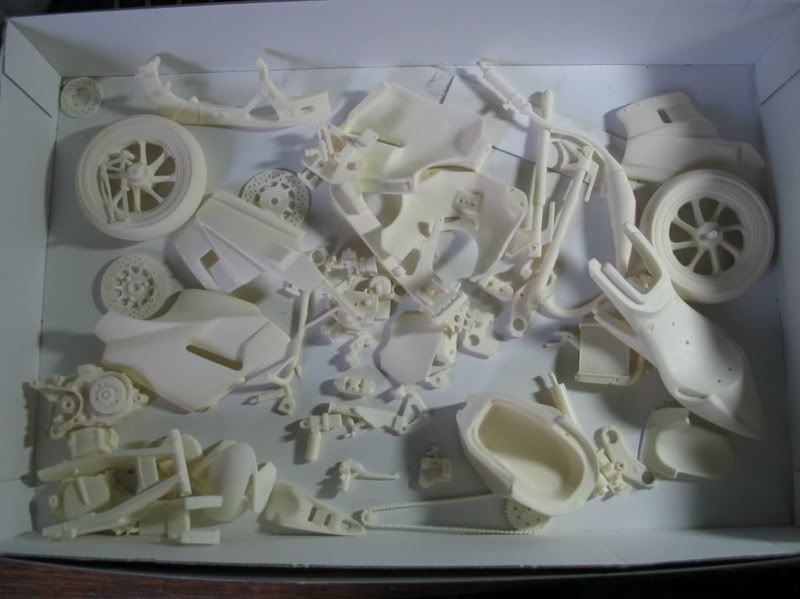
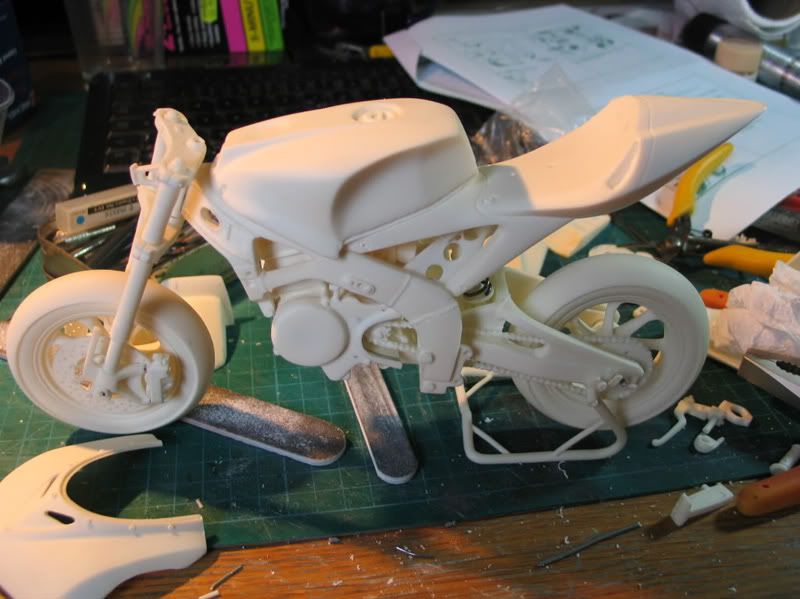
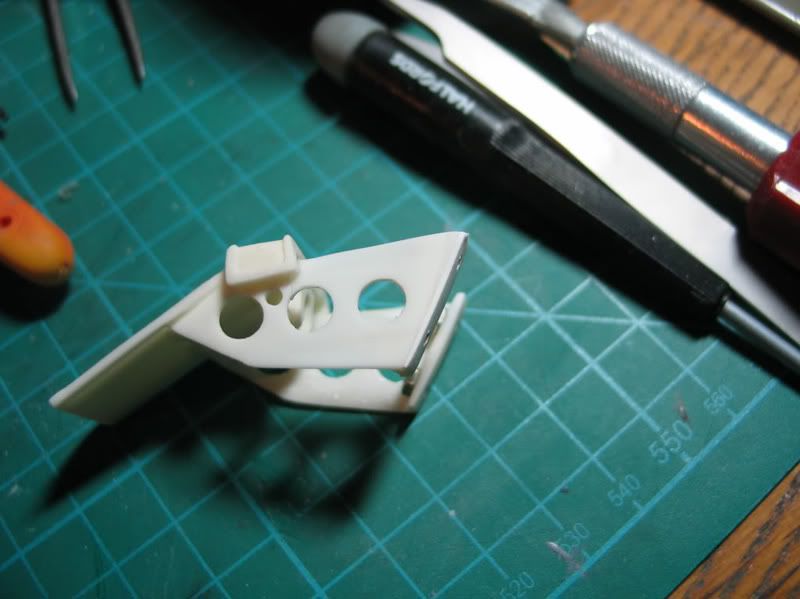
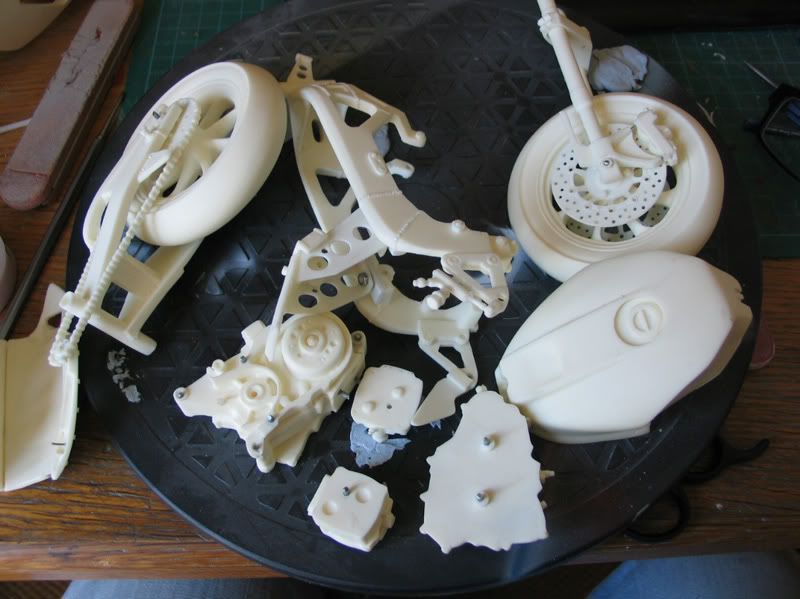
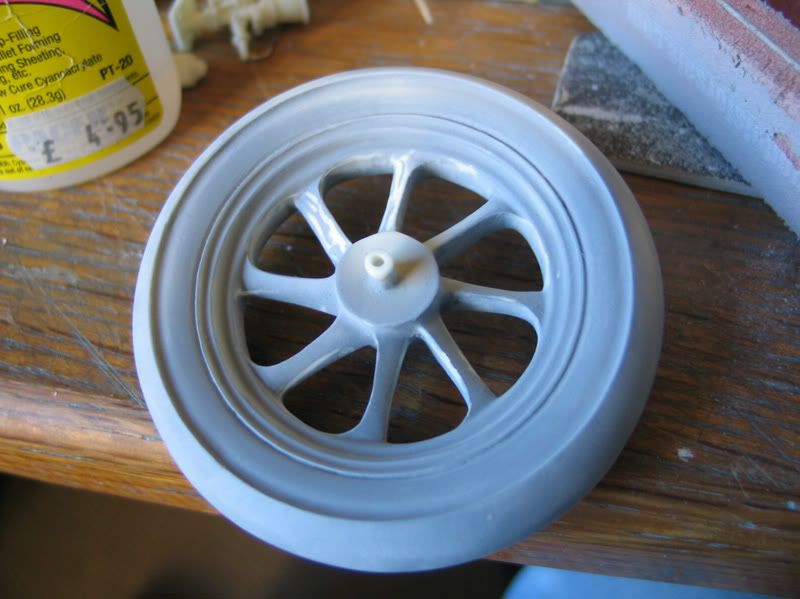
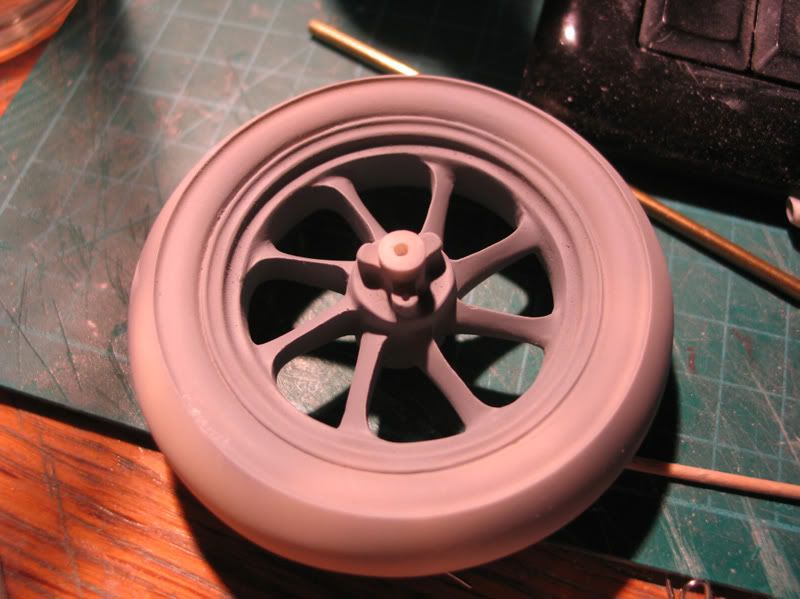
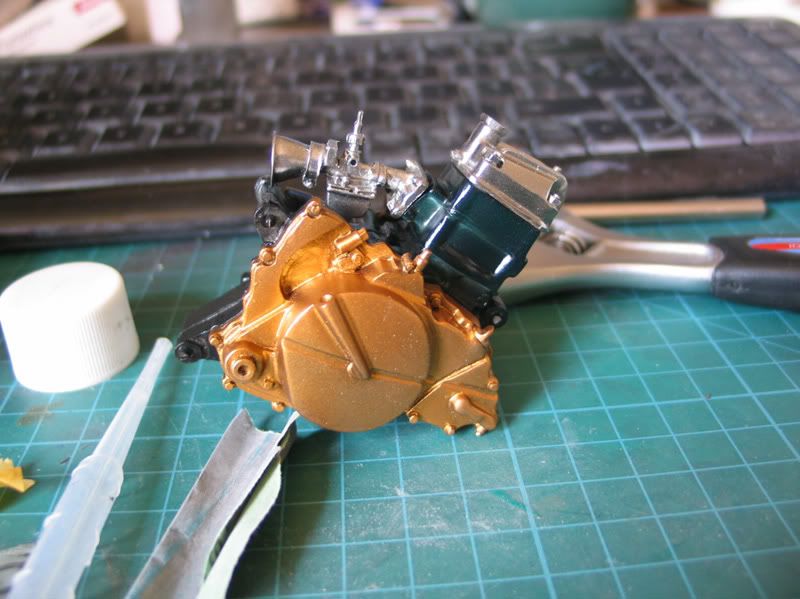
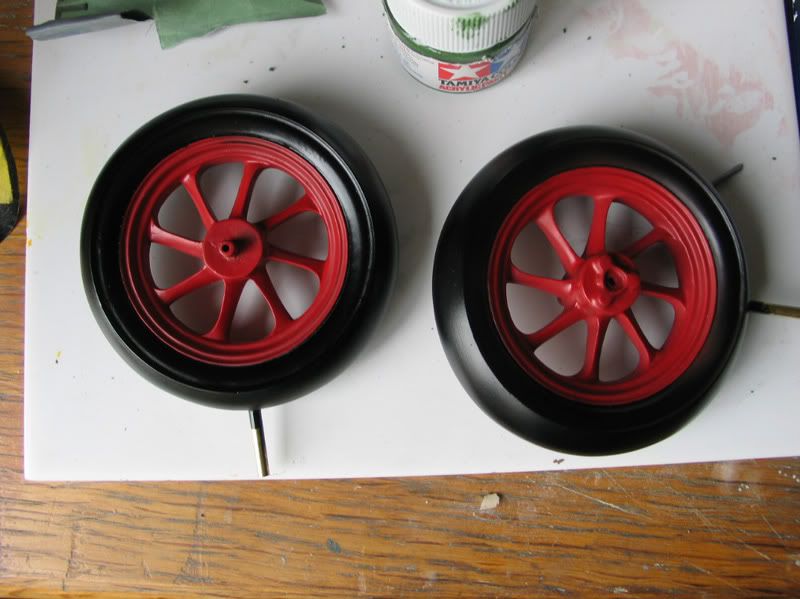
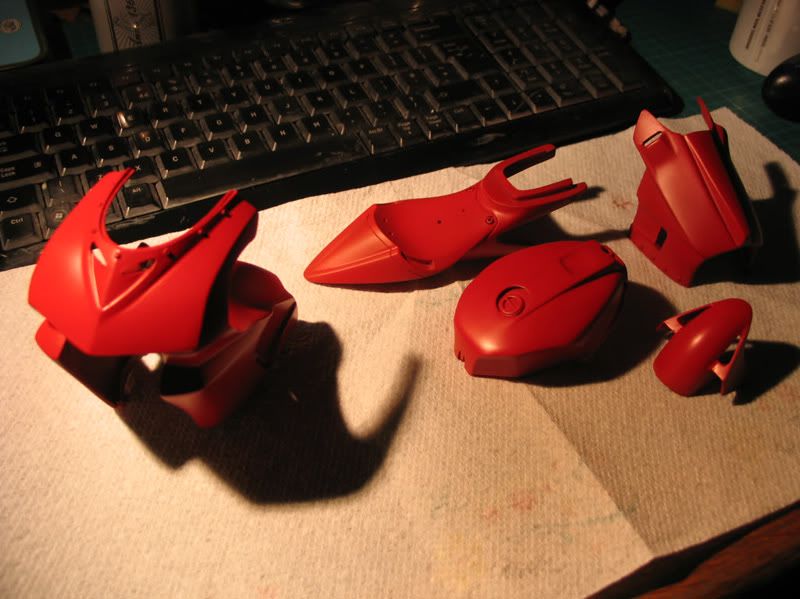
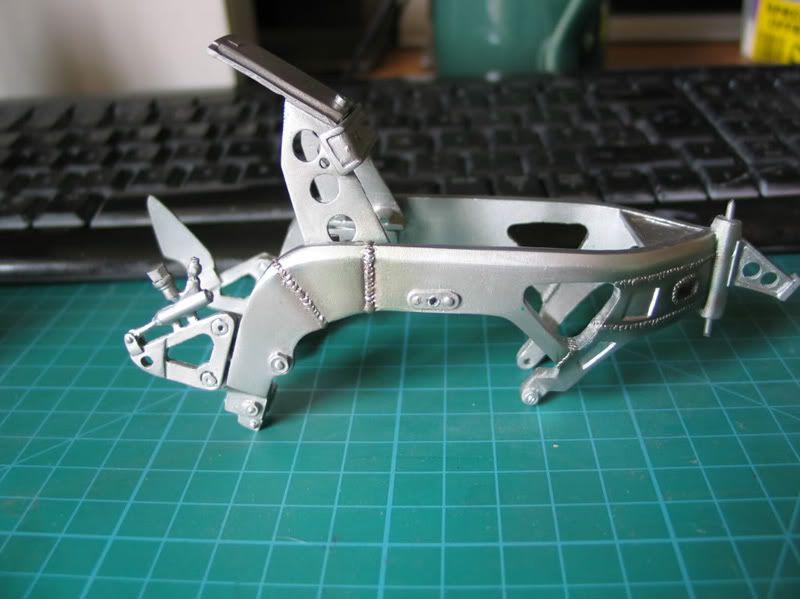
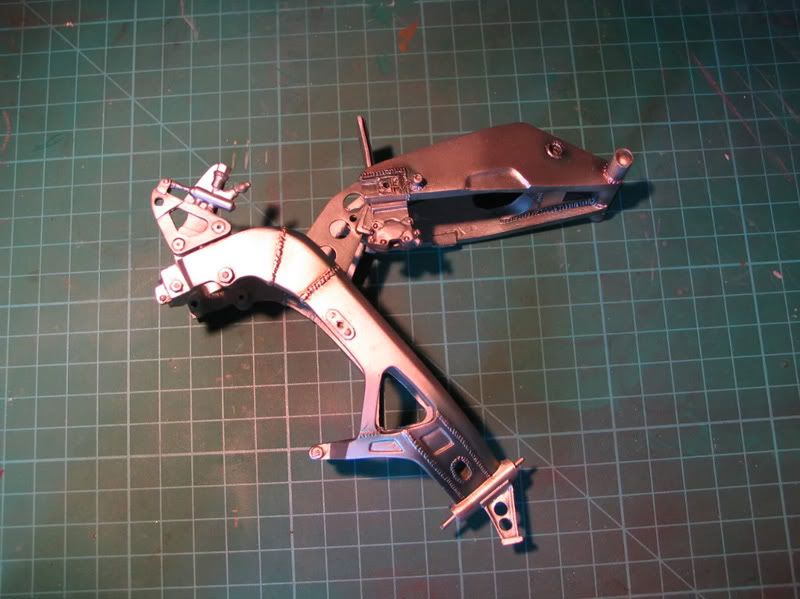
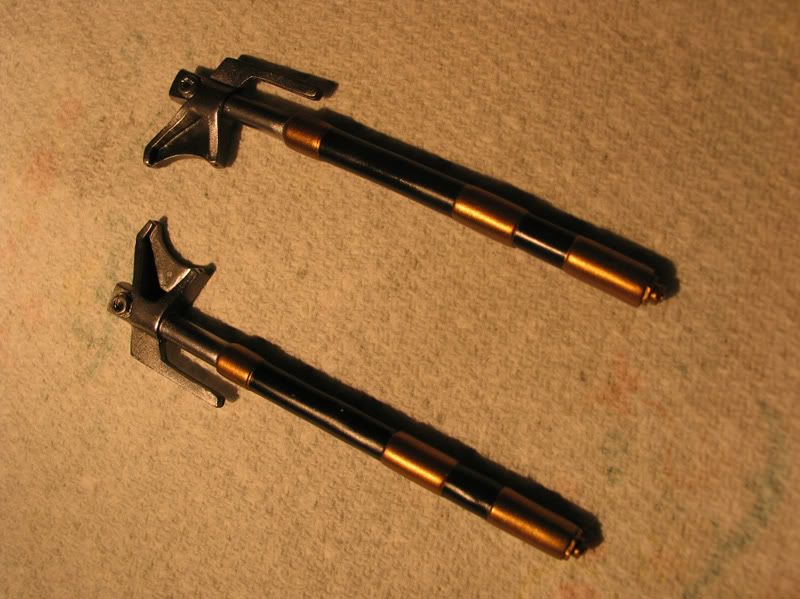
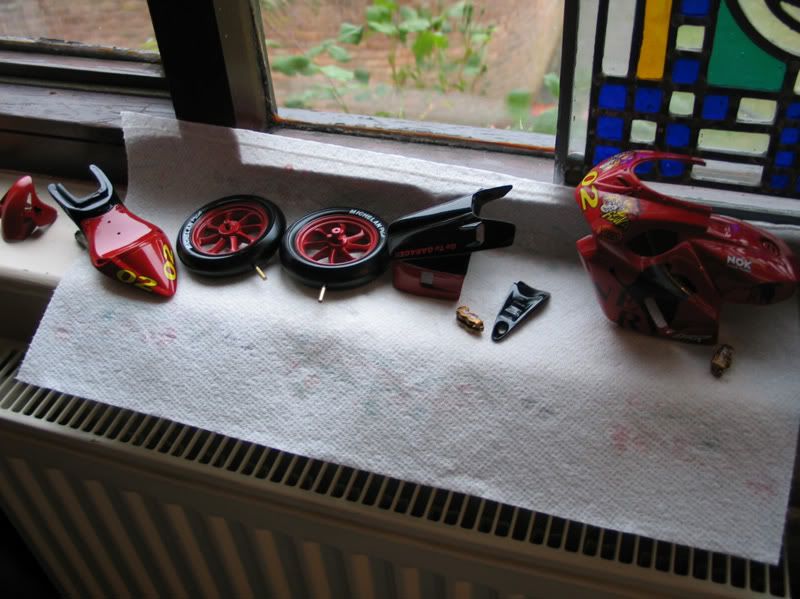
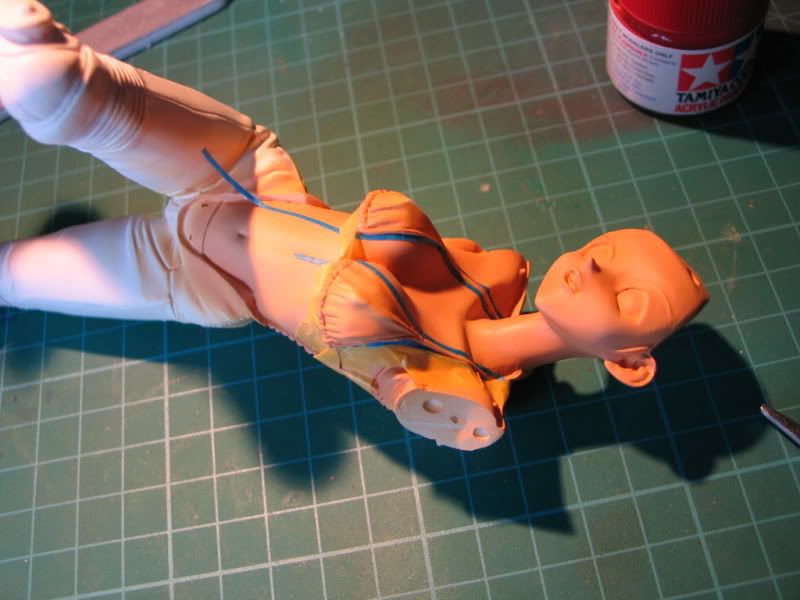
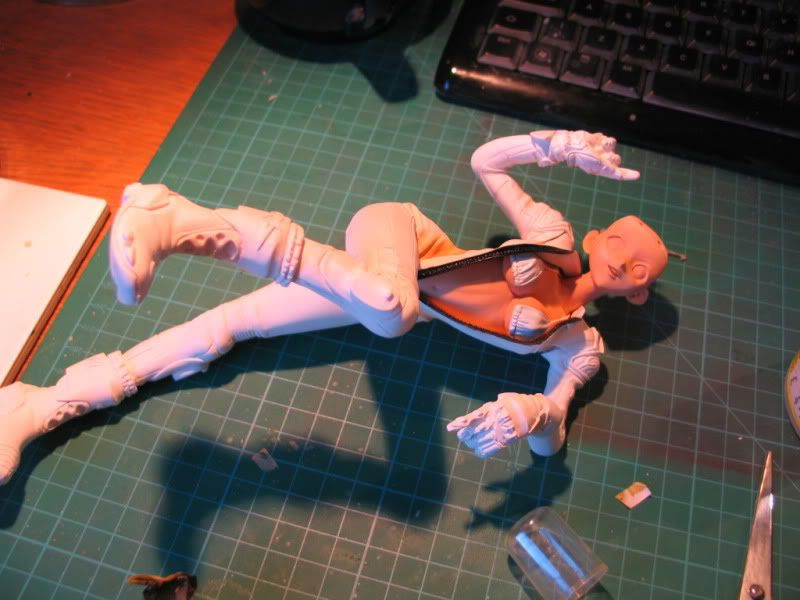
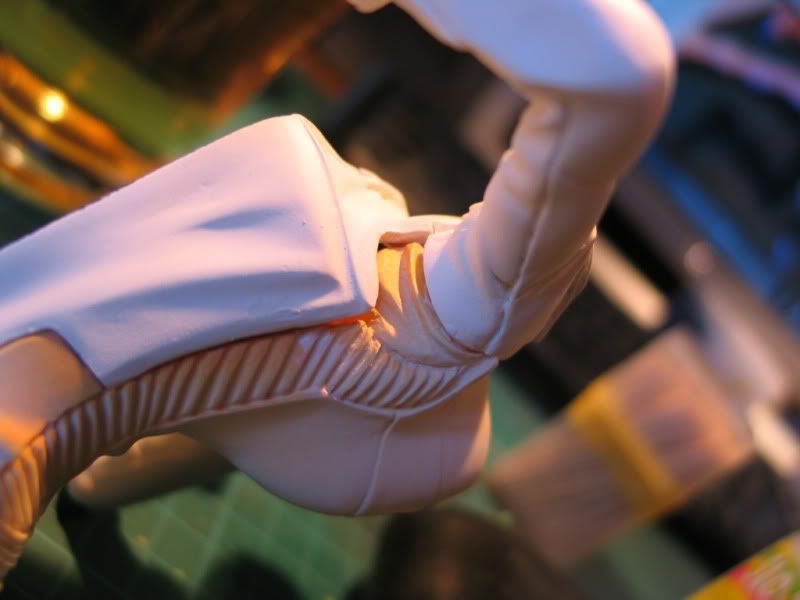
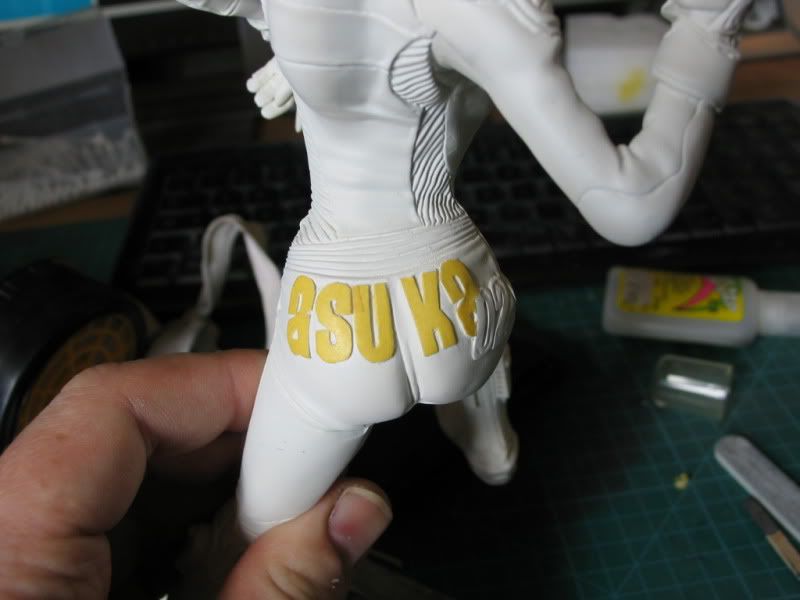
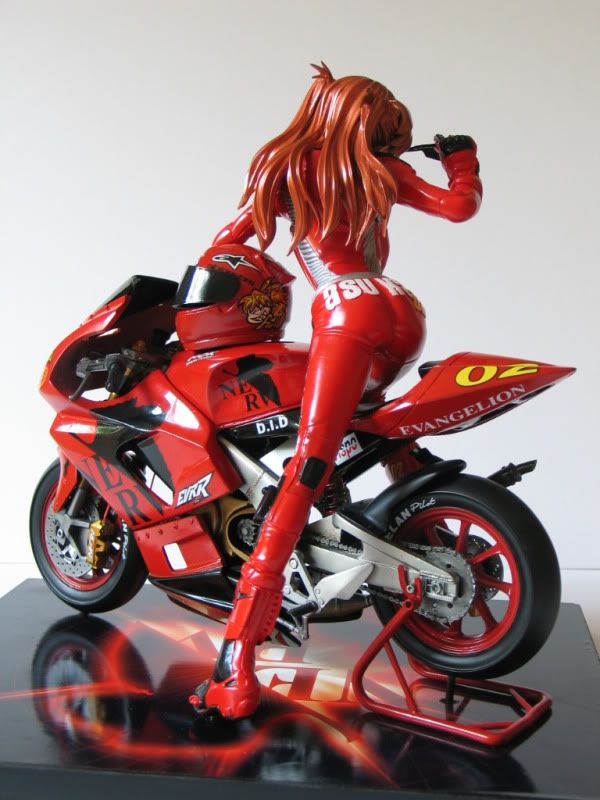
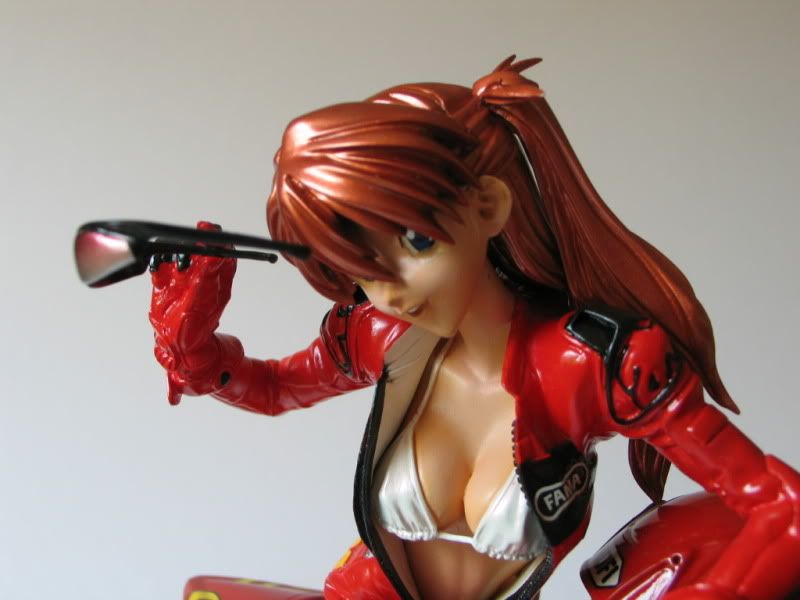
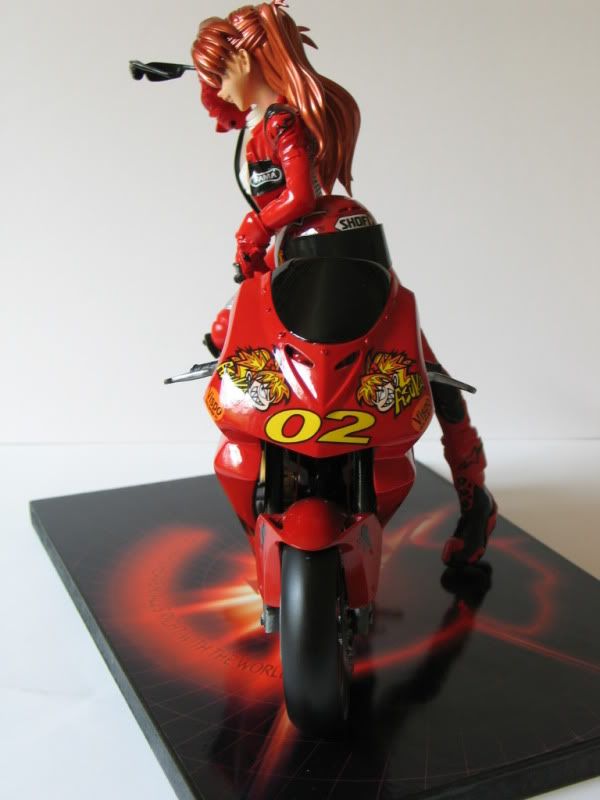
1/6 Neon Genesis Evangelion Asuka Langley with Motorcycle This is a resin kit, supposedly in 1/6th scale. It is very complex and i suspect will be very challenging. The subject is Asuka and her race bike from the Evangelion manga/anime series..Here is the box art and 'sprue' pics. Decals The instructions are poorly printed and in Japanese, useless! After days of wet sanding most of the parts are now roughly cleaned up. Most of them had big resin gates on them that needed to be cut off and or sanded. Because the kit is virtually all resin I wet sanded to save me from the evil dust, as you can see... The engine cleaned up and dry fitted, not too bad.... I then moved on to the girl. The legs and arms were 'blind' pinned and the pins glued into one side. The pig tails for the hair were held in place and drilled through. A pin was then inserted and the hole in the top filled. The same was done for the rest of the parts. I used superglue mixed with talc as a filler and epoxy to glue the pins in. All the bits were then roughly sanded. Last of all i glued the legs on. I didnt glue the arms or jacket on as I will have to paint her torso underneath first. A quick dry fitting of everything.... With Asuka roughed up i turned my attention to her ride. All the parts make it a bit duanting. Add to that the instructions are mostly useless and i see a headache coming but after a few hours of pinning and careful dry fitting I got this far... Quick Tip: If like on this kit a lot of the resin items are warped. Grab a mug of boiling water and fully submerge the part in the water for about 10 seconds or until you scald yourself, then whip the part out, bend and hold in the correct position until it cools. Let go and you will be pleased to see it doesn't spring back. All the pins were glued in with CA, Epoxy would also be fine for this. All the parts required a lot of sanding, filling and priming. The engine is nearly finished.. As are the wheels.. The body parts of the bike sprayed with Zero Paints Ducati Rosso Red : (they were actually repainted about 5 times until i was happy/worn out) The frame was painted with citadels. Alclad pale burnt metal, jet exhaust and the hot colours sprayed sparingly on and around the welds. These show up nicely at different angles and in different lifgt conditions as these next pics show. The forks painted with zero Nero black, citadel shining gold and alclad stainless steal. The 'Clear' parts. something will have to be done here..... With the bike ready for decalling. I decalled it. The bike assembled after a clear laquer coat. Shame the clear part is very thick and doesnt fit. I'll sort it though Finaly got started on Asuka herself. I primed her bits with Zero paints white primer. painted the skin tones using Tamiya's Flesh colour. Not sure of the XF number as I am away from home at the moment. I masked around the bikini top using Jammy tape then filled in the gaps with Tamiya tape until all the skin was covered. I sprayed the bikini white and then gave it a coat of liquitex interferance red. The interferance colours are clear with tiny red titanium shards which give a nice sparkly gloss sheen. I then removed the Tamiya tape which pulled not only the skin but the primer off. So I had to do the last few steps again The arms were stuck on and areas needed to be filled. I used Milliput epoxy putty and smoothed it with water. The hair was painted Liquitex copper. All the white lettering was masked up and the Yellow numbers sprayed. These were then masked over and she was completely sprayed zero paints red. All the black areas were hand painted with vallejo MA 057. The helmet assembled, painted and decalled and. One of many things that tested me with this kit is parts breaking under the weight of all the resin. You will remember this part, which i spent hours rebuilding. It broke in so many areas and was more glue than resin in the end. It just shattered. This kit has tested my skills and nerves to the max. Bits added since my last update are a base which was made from MDF and a printout made from an image from the Evangelion series. I also added the joining peice for her bikini using lead wire. 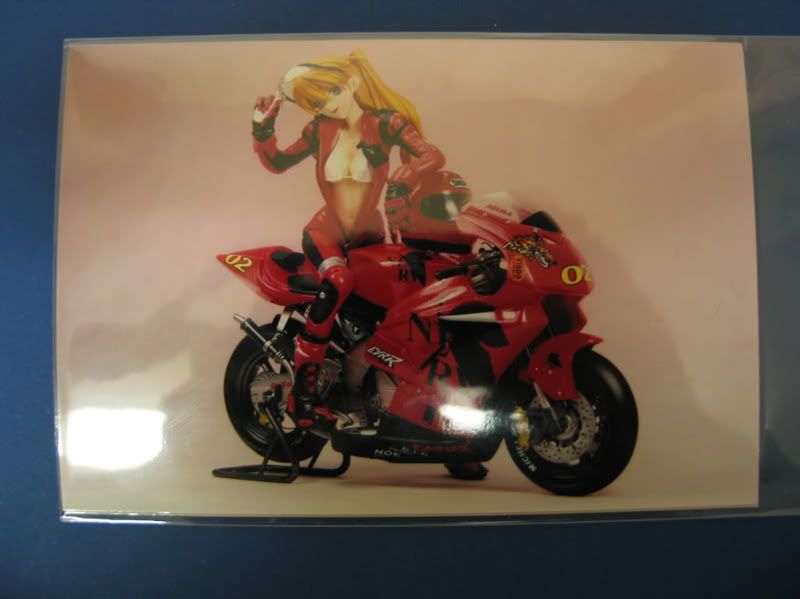

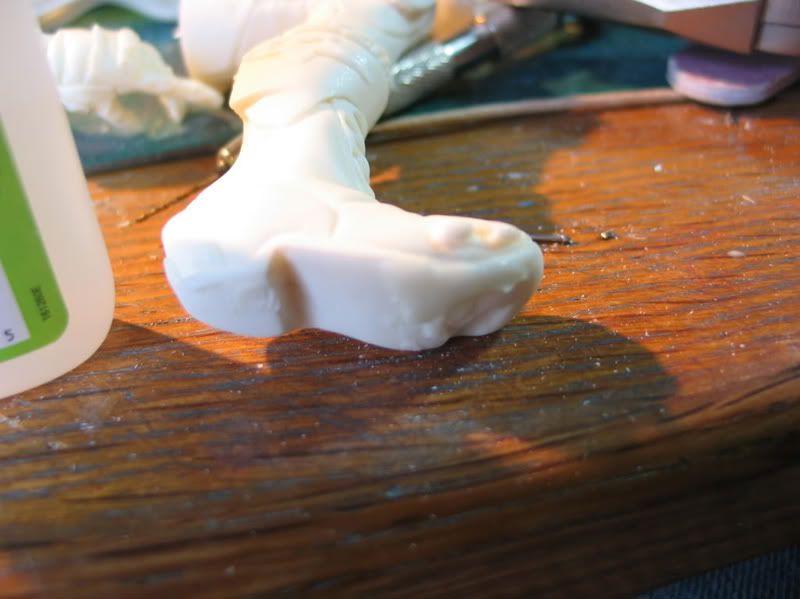

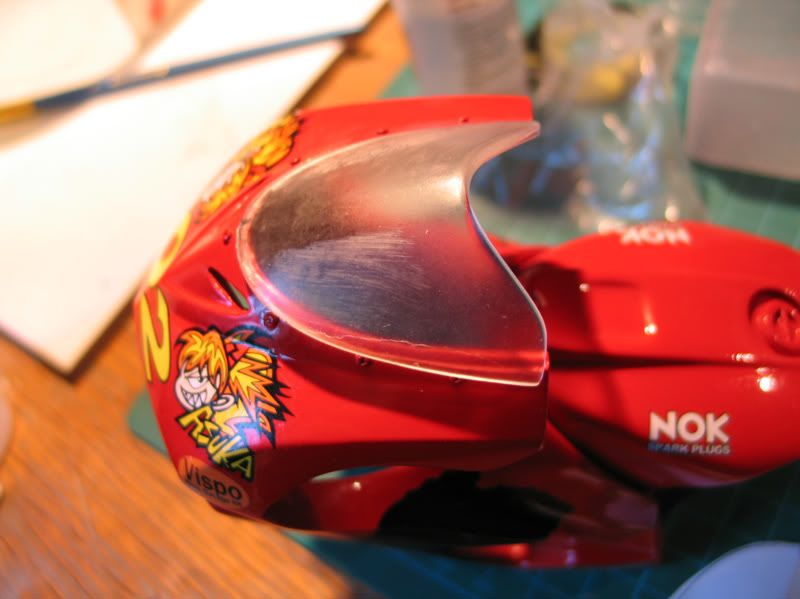
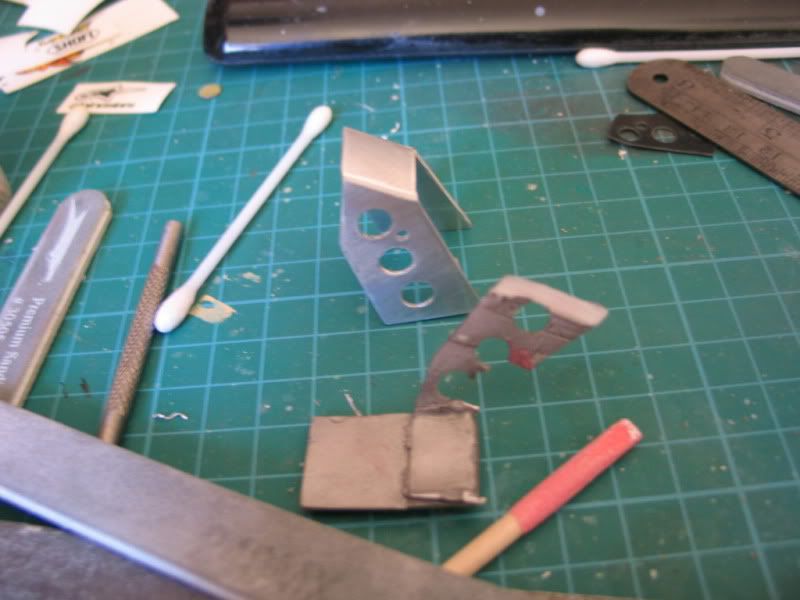
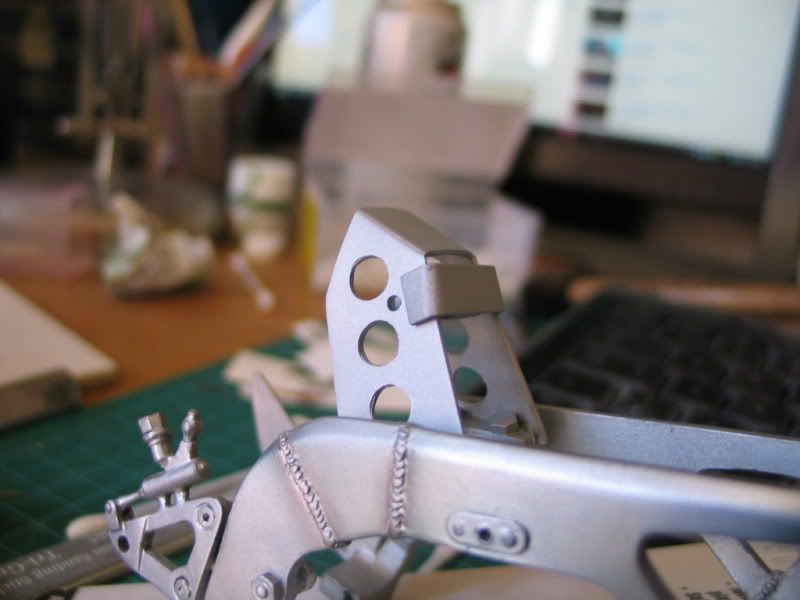
A lot of the parts were warped and needed this treatment plus items like this one needed to be partly rebuilt because it was so warped and covered in lumps of resin. You can see the plasticard shims i added to the bottom to level it out and i also added some small nuts which were filled to look like bolts.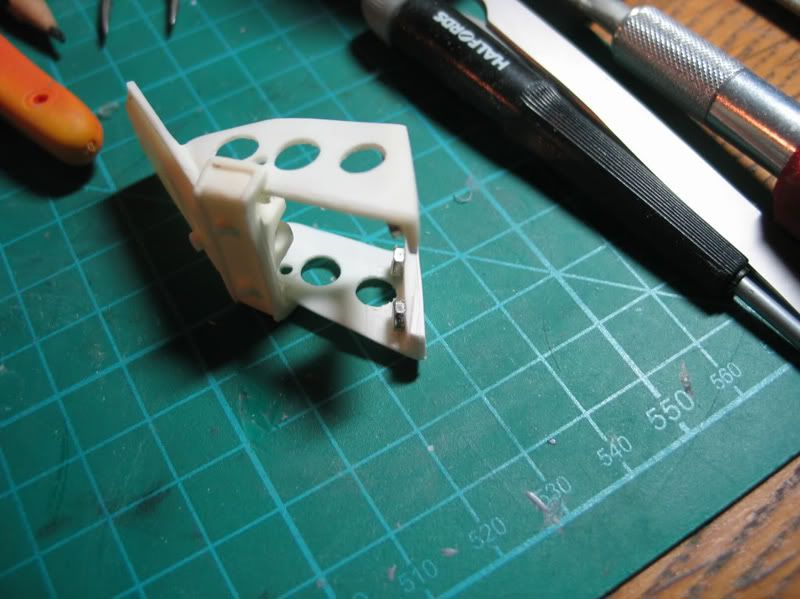

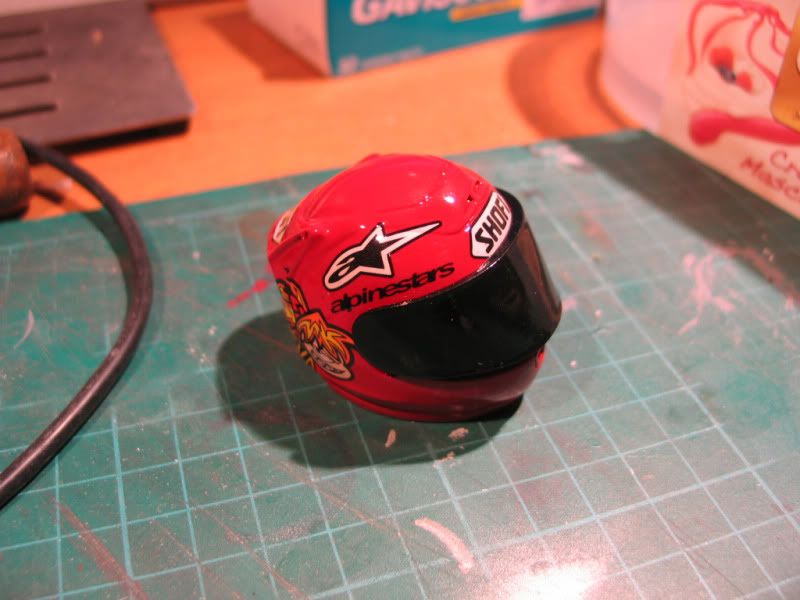
Zero paints Ferrari Black added then coated with Zero Prethinned clearcoat.
NB. Don't be conned by "prethinned" It requires at least a 60%-40% mix in favour of cellulose/laquer thinners.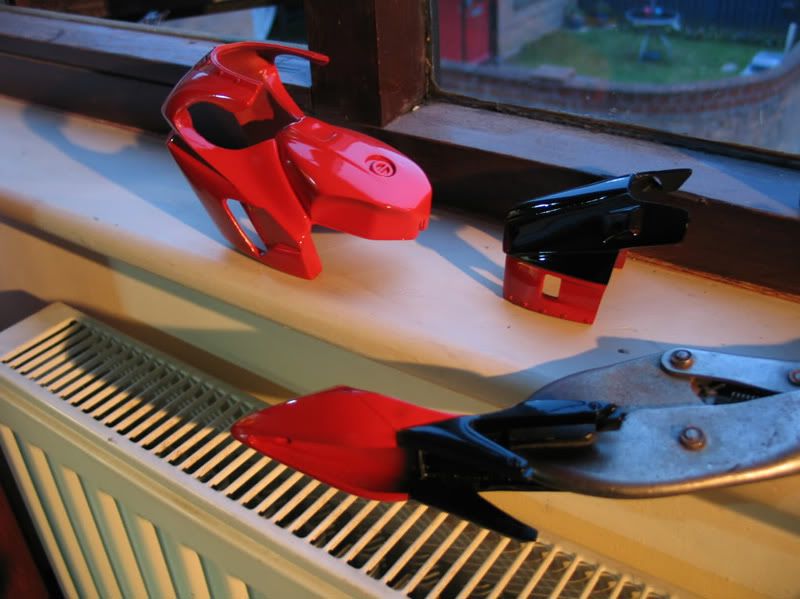
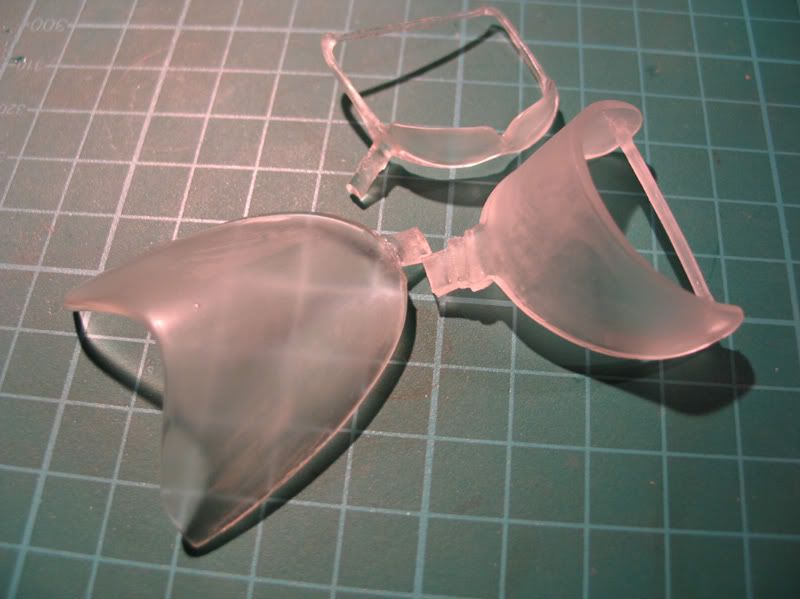
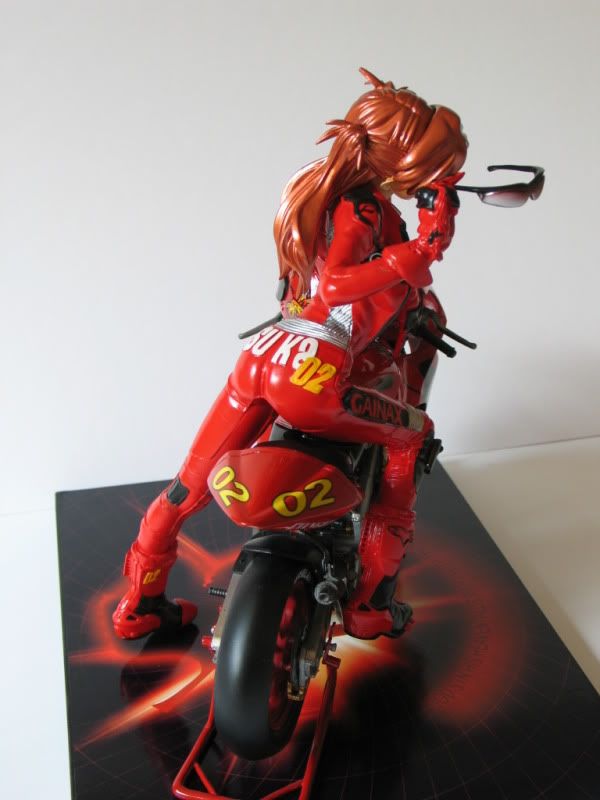
and it has... For the sunglasses at least. Sprayed with Alclad black primer then the lenses sprayed with Alclad Chrome and Hot Red.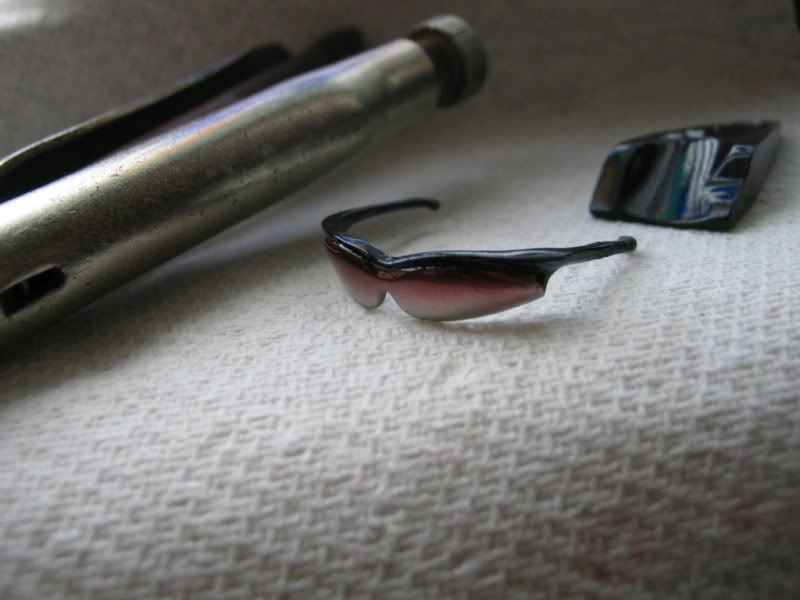


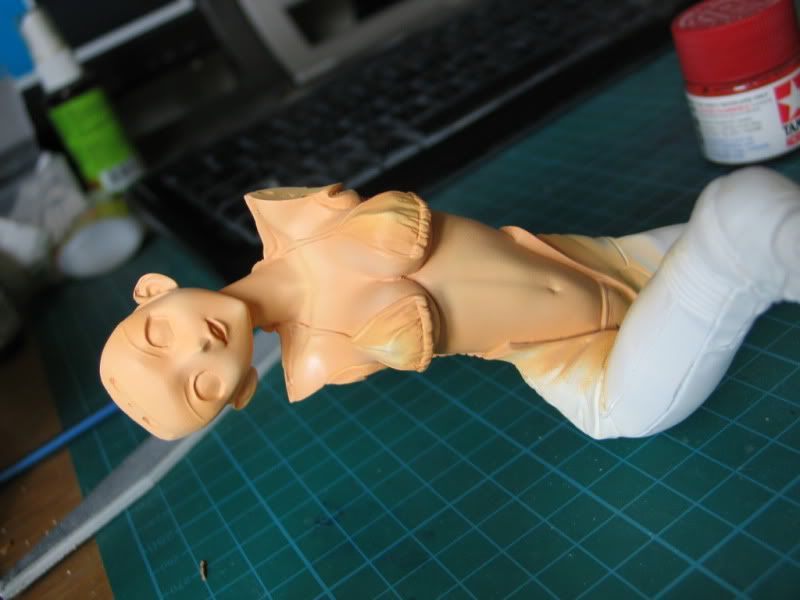

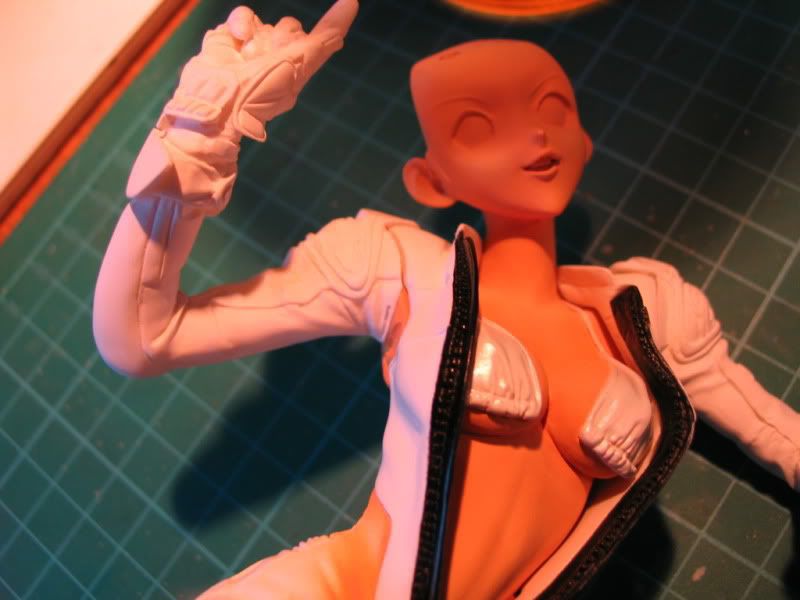
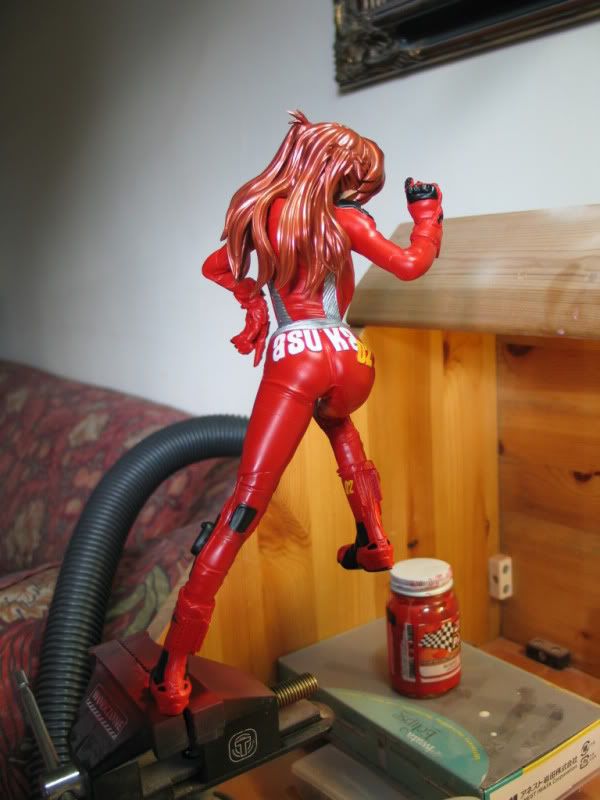
I sprayed the inside of the leathers to be attatched to the front. I used Zero white primer oversprayed with Interferance red. The zip was sprayed black and they were stuck in place then the whole area including the zip, skin, bikini etc. was masked over.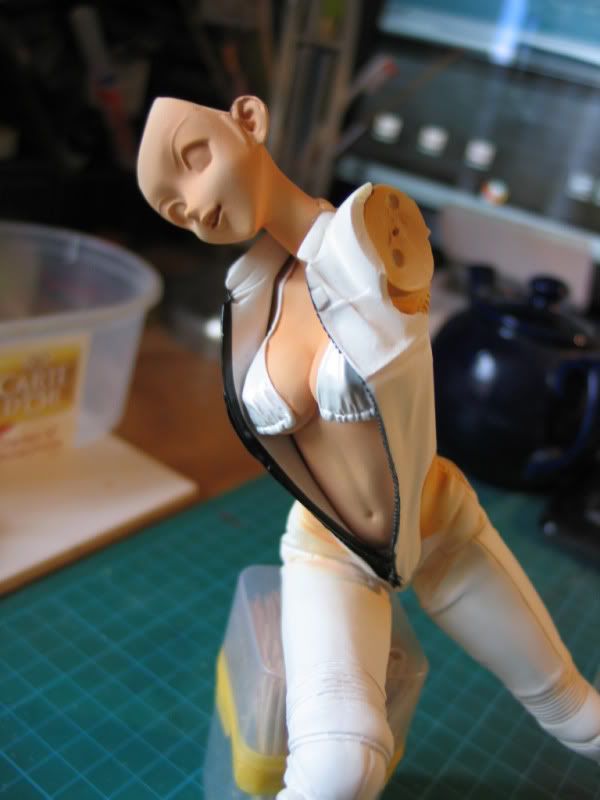
she was then unmasked and the eyes were hand painted with vallejo model airs. I used metalic blue, black and white.
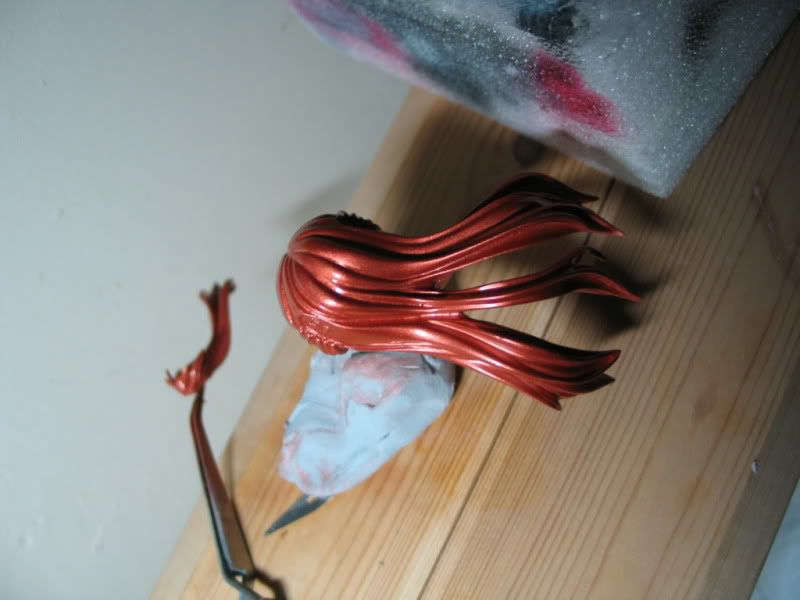
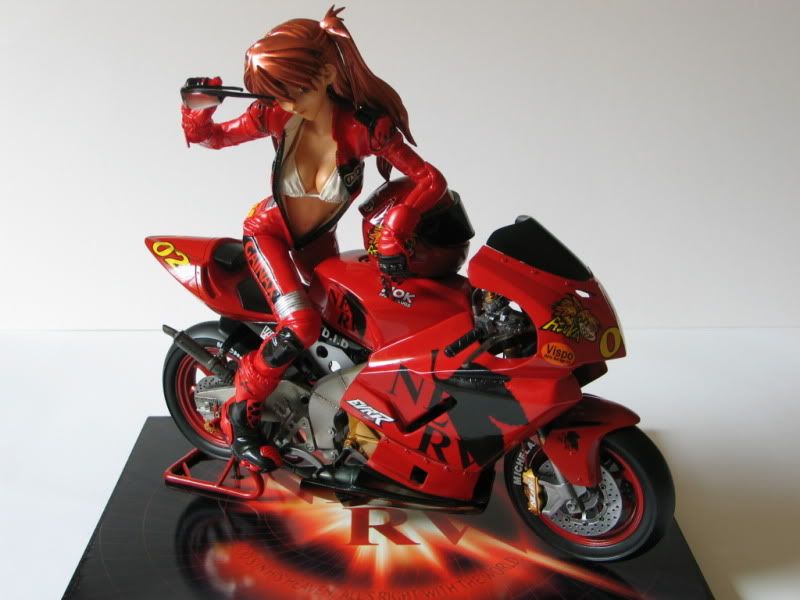
The hair was added. A coat of Klear and here she is..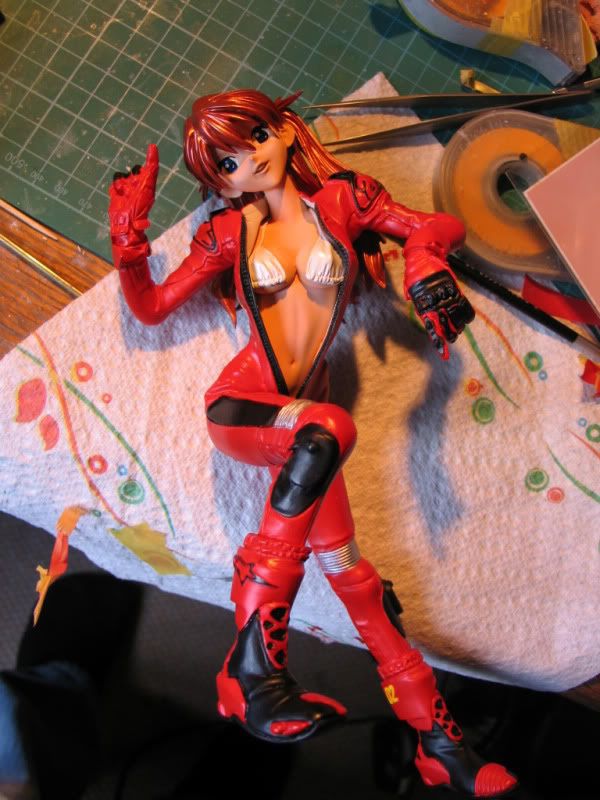
I glued it back together roughly then took measurements and rebuilt it using 18 swg aluminium sheet.
Thanks for following the build and i hope you like the result.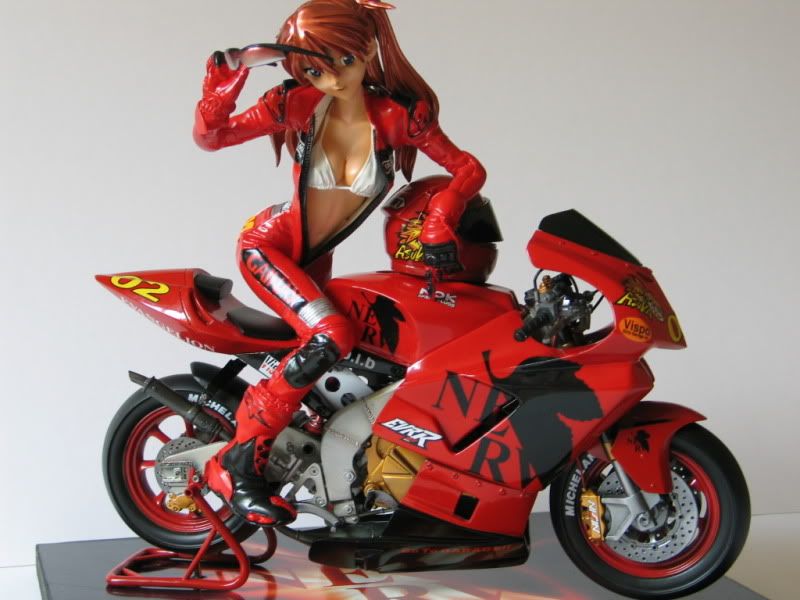

Cheers


Store


Kit Reviews

Video Builds


P&M Models