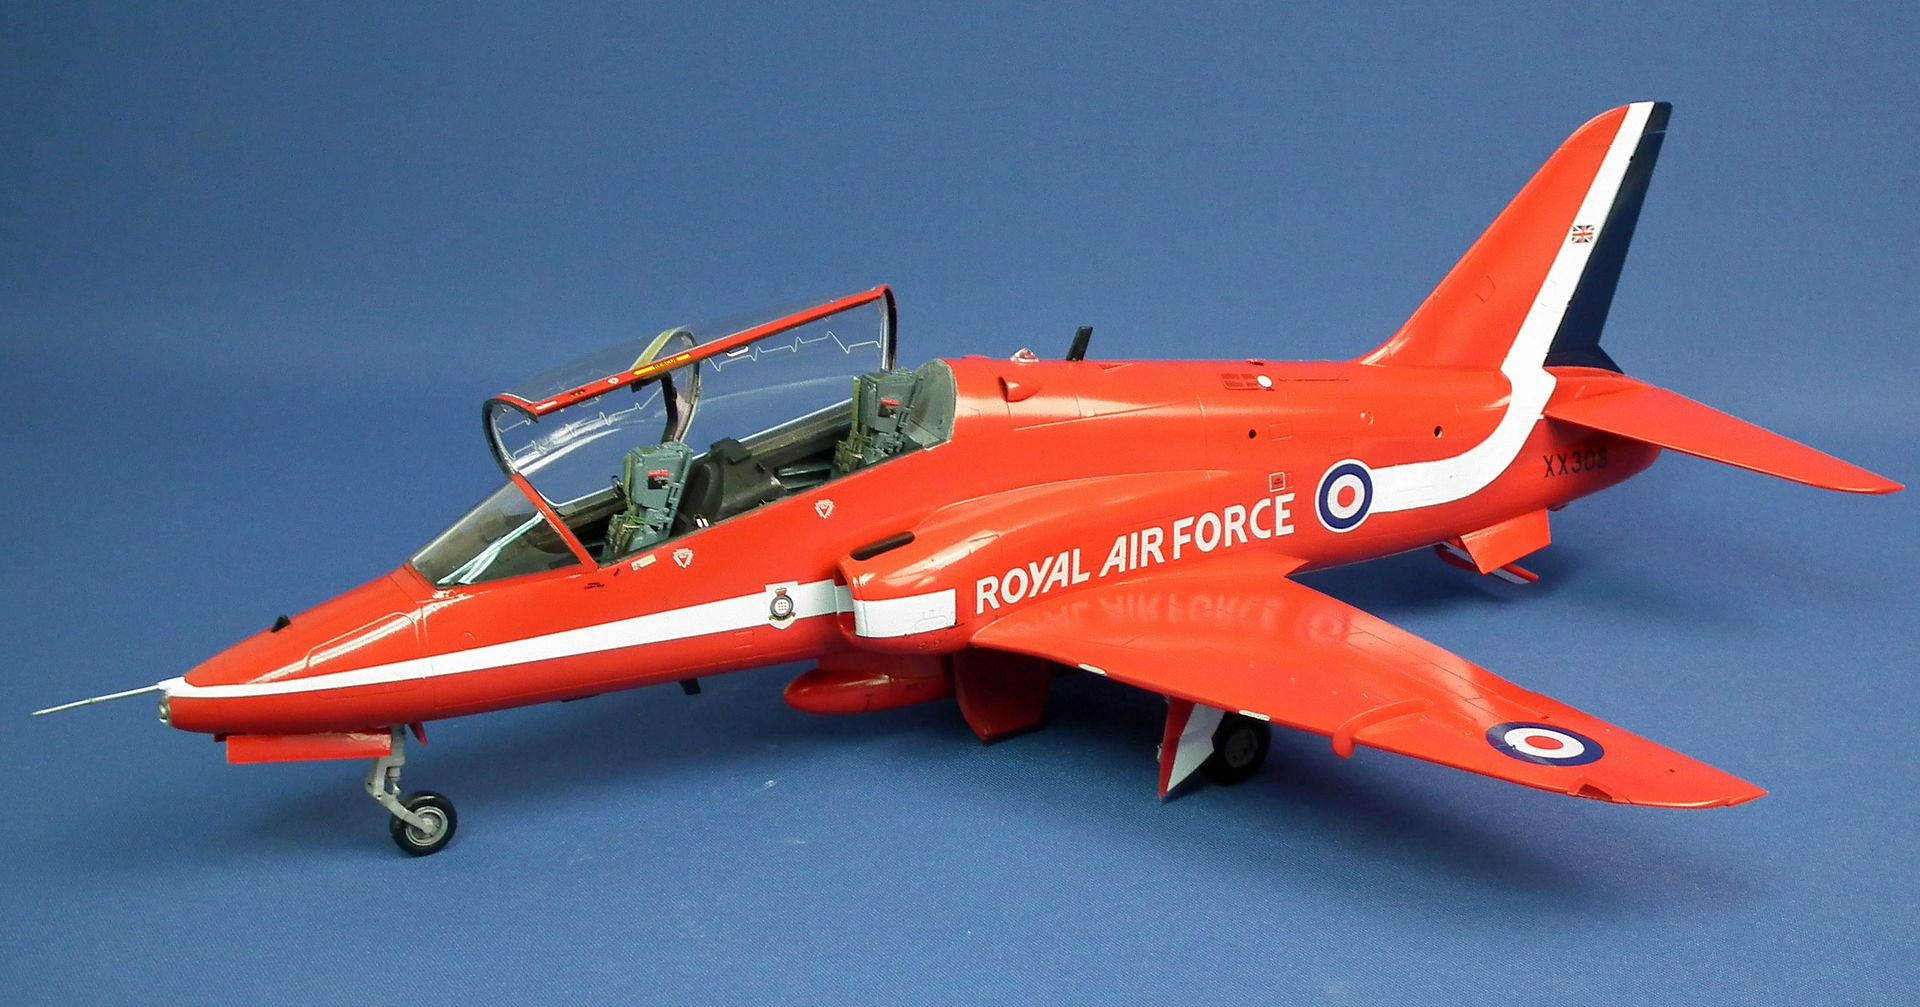
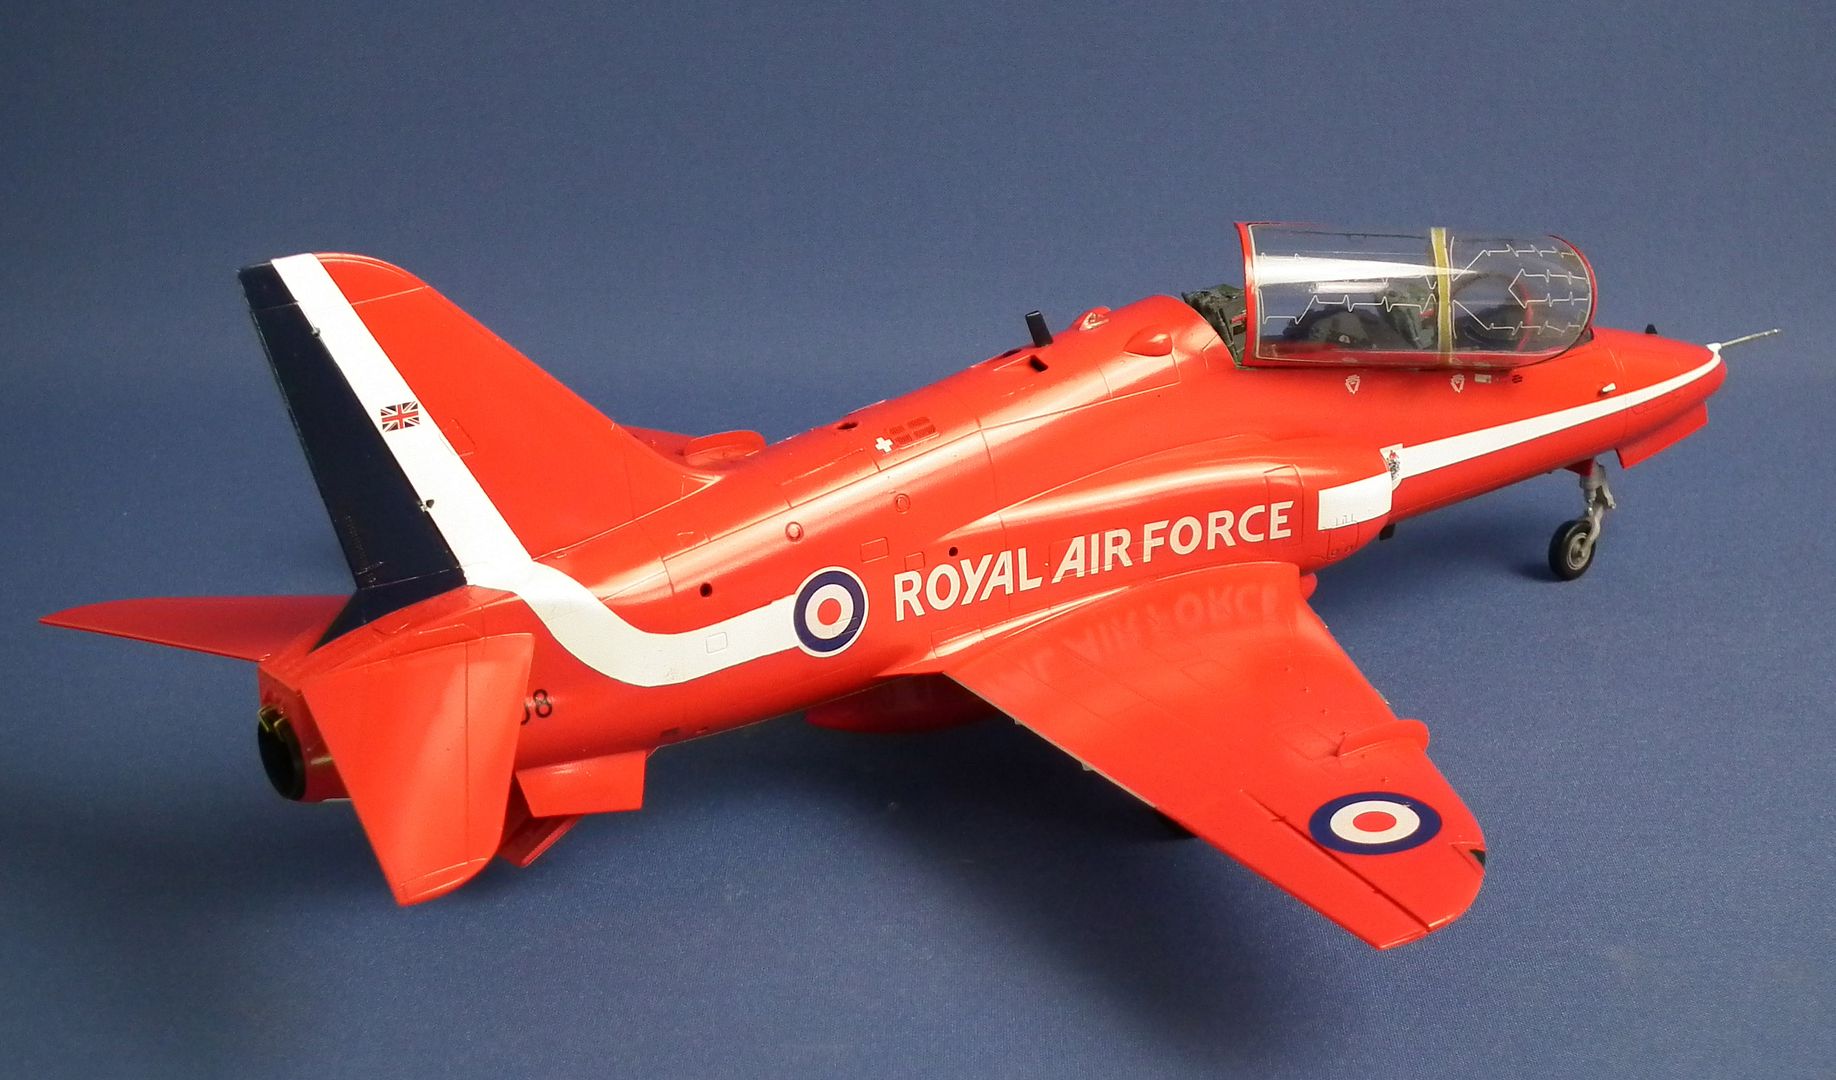
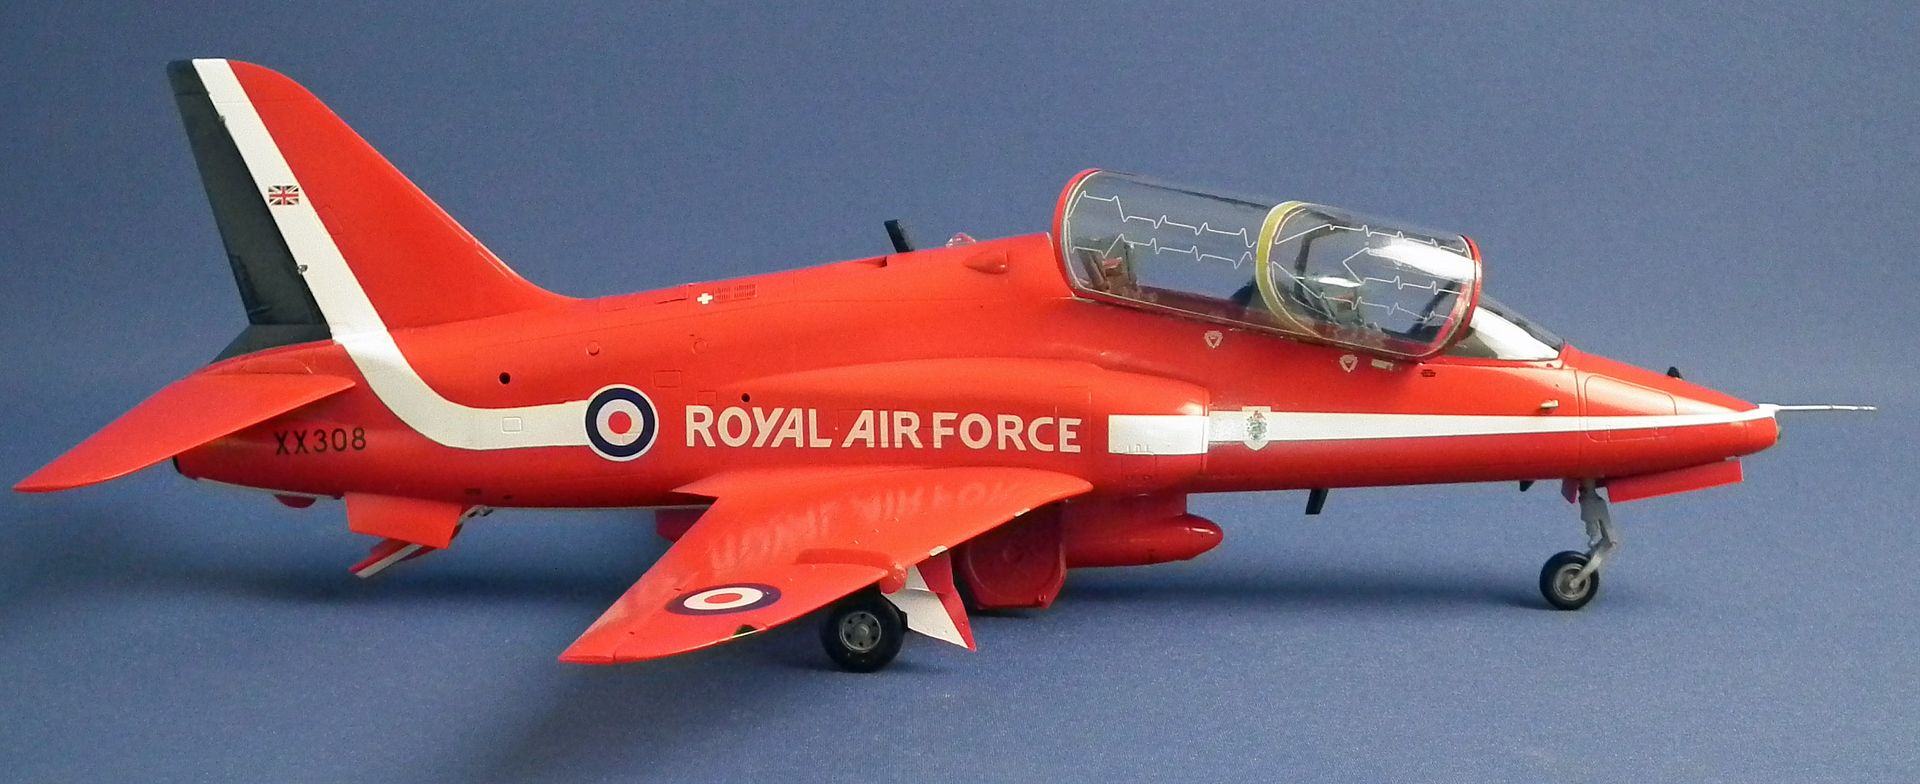
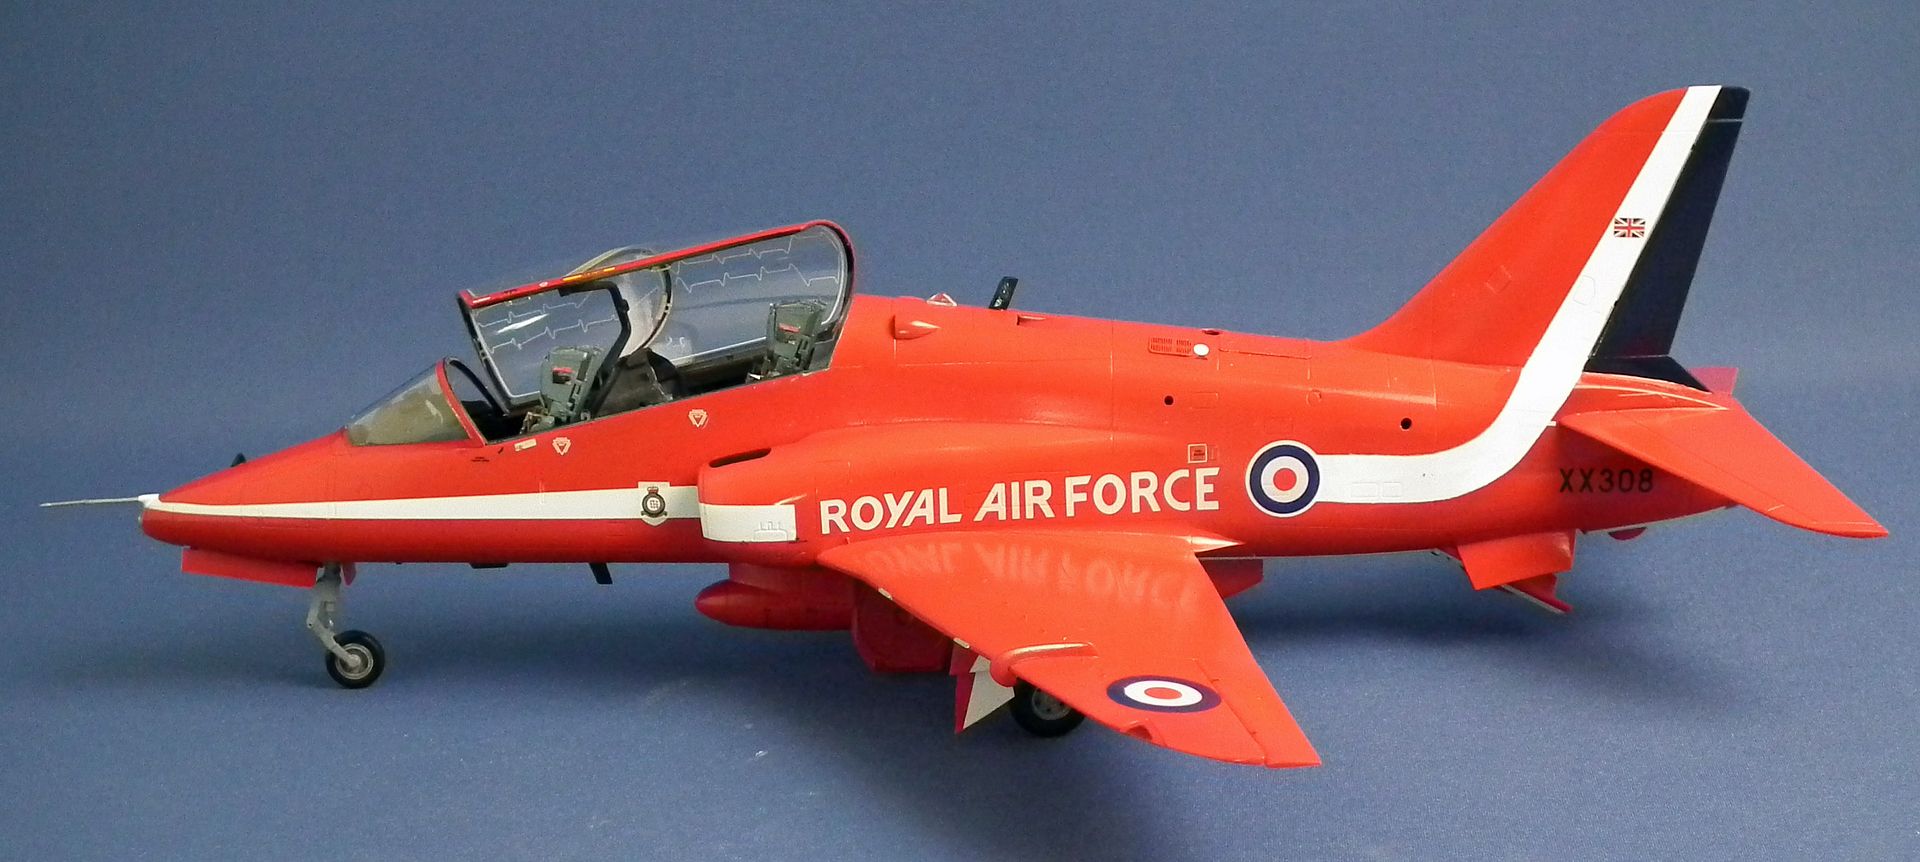
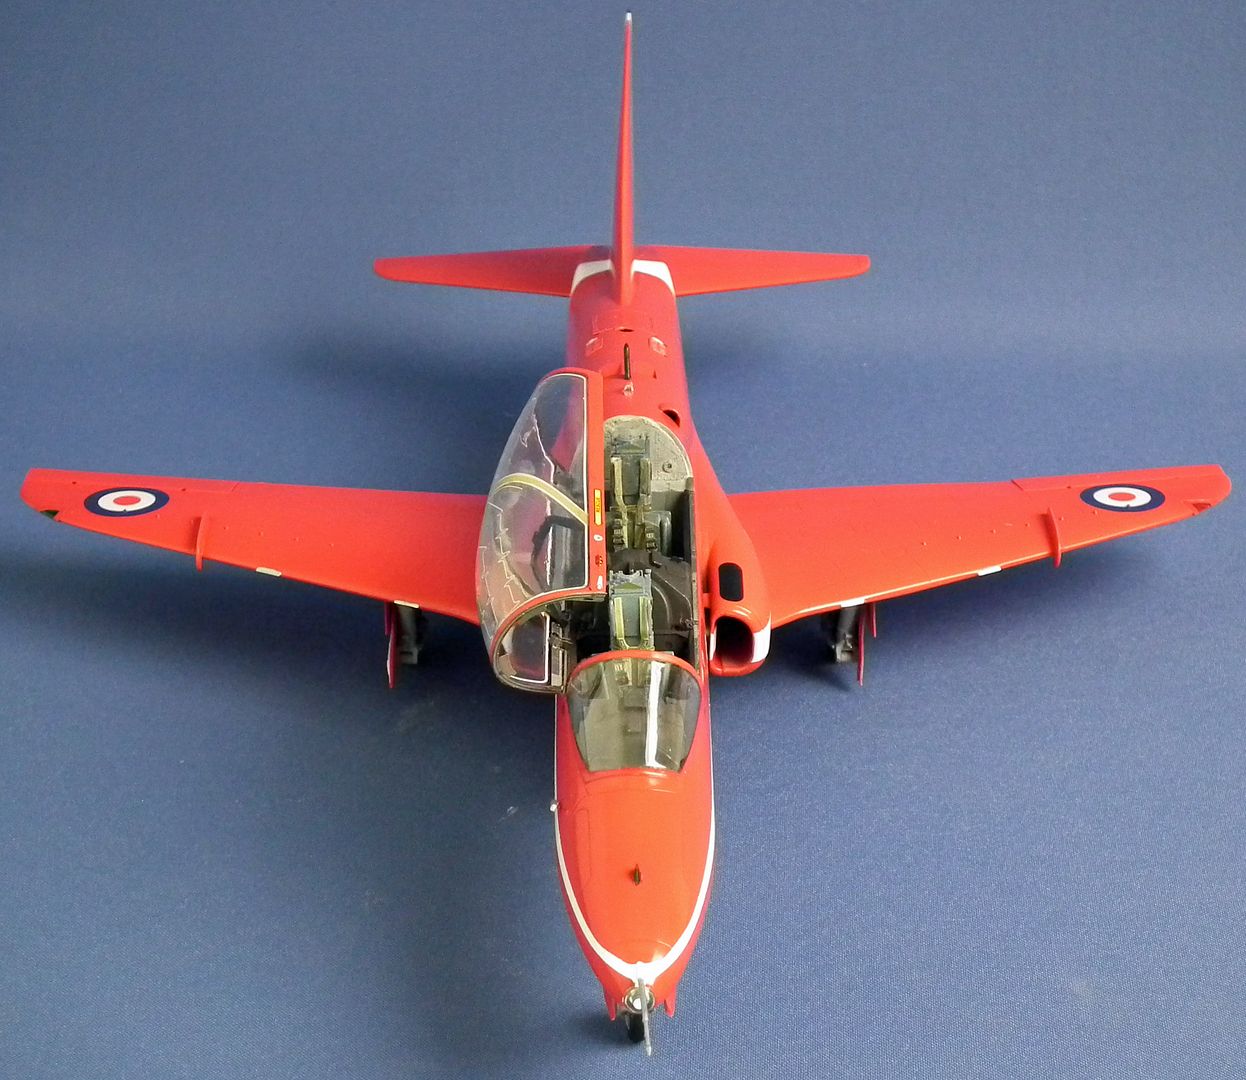
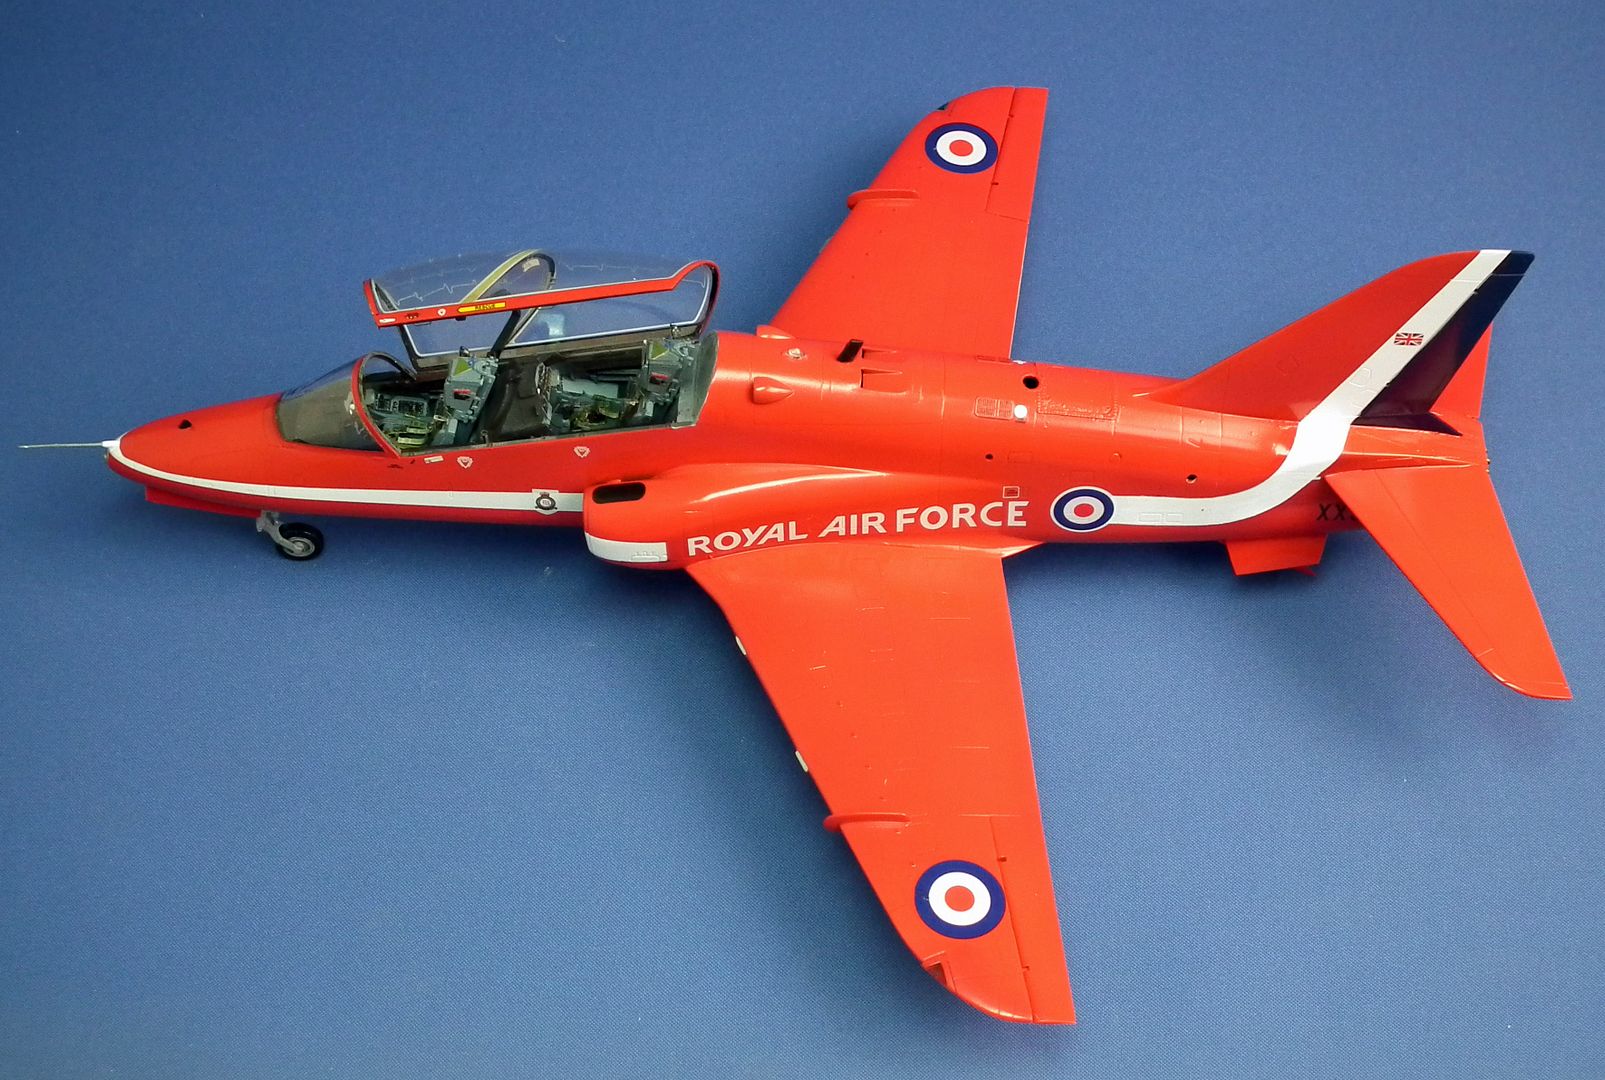
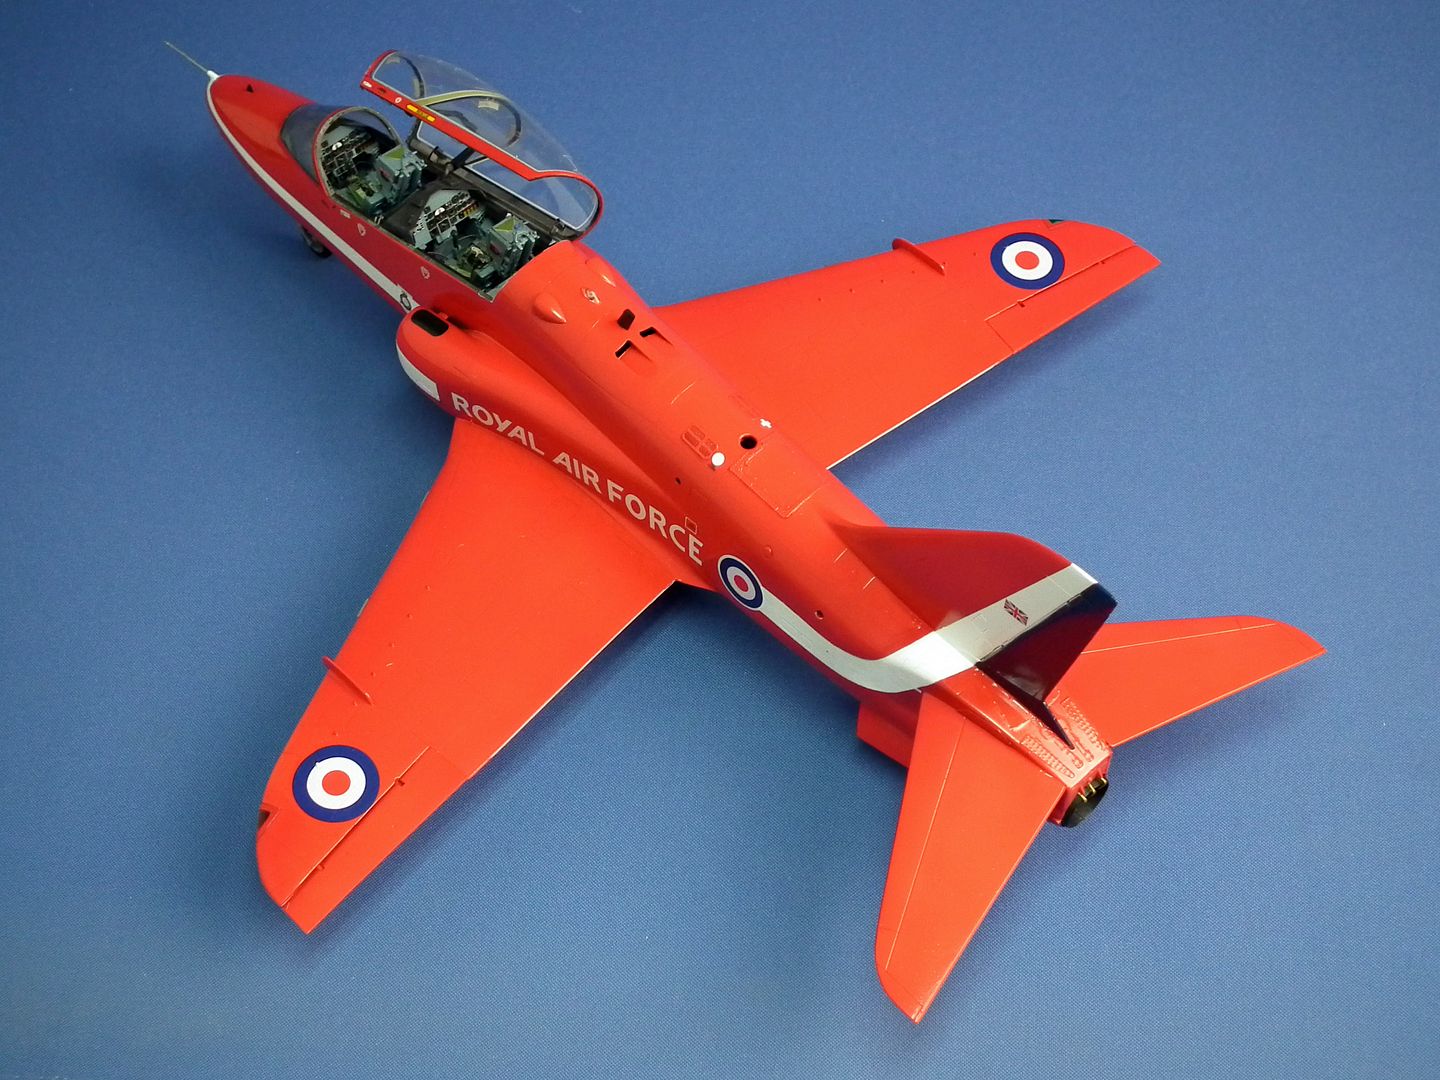
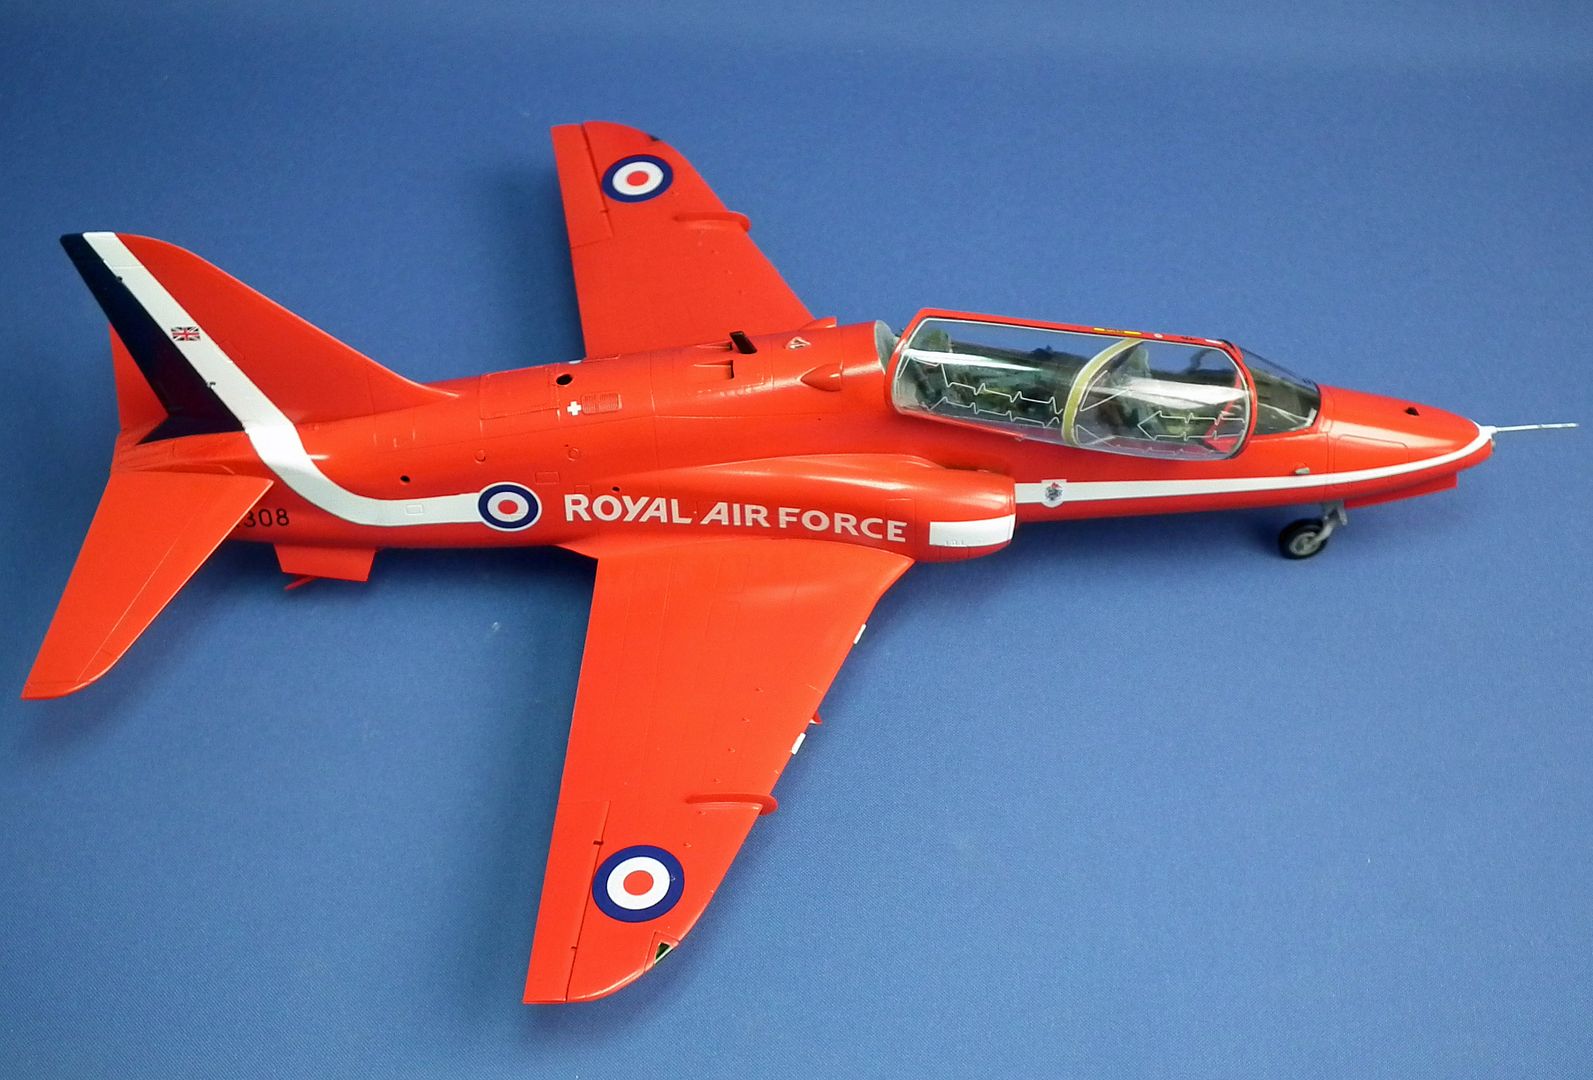
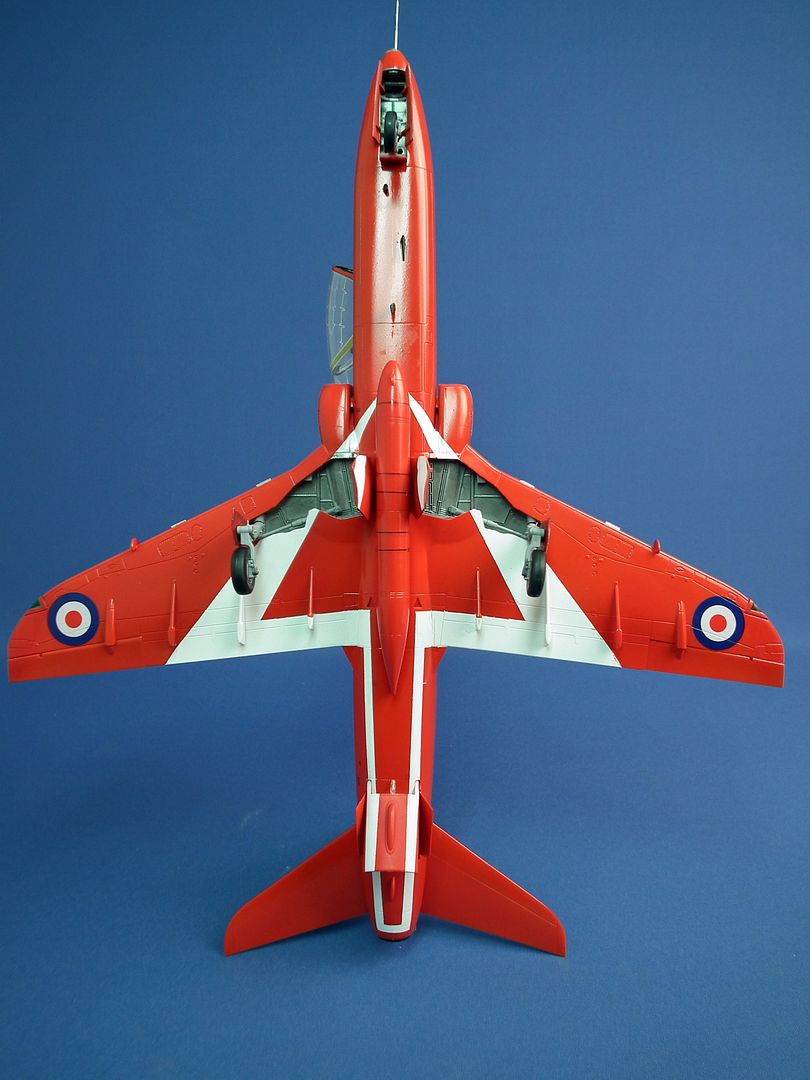
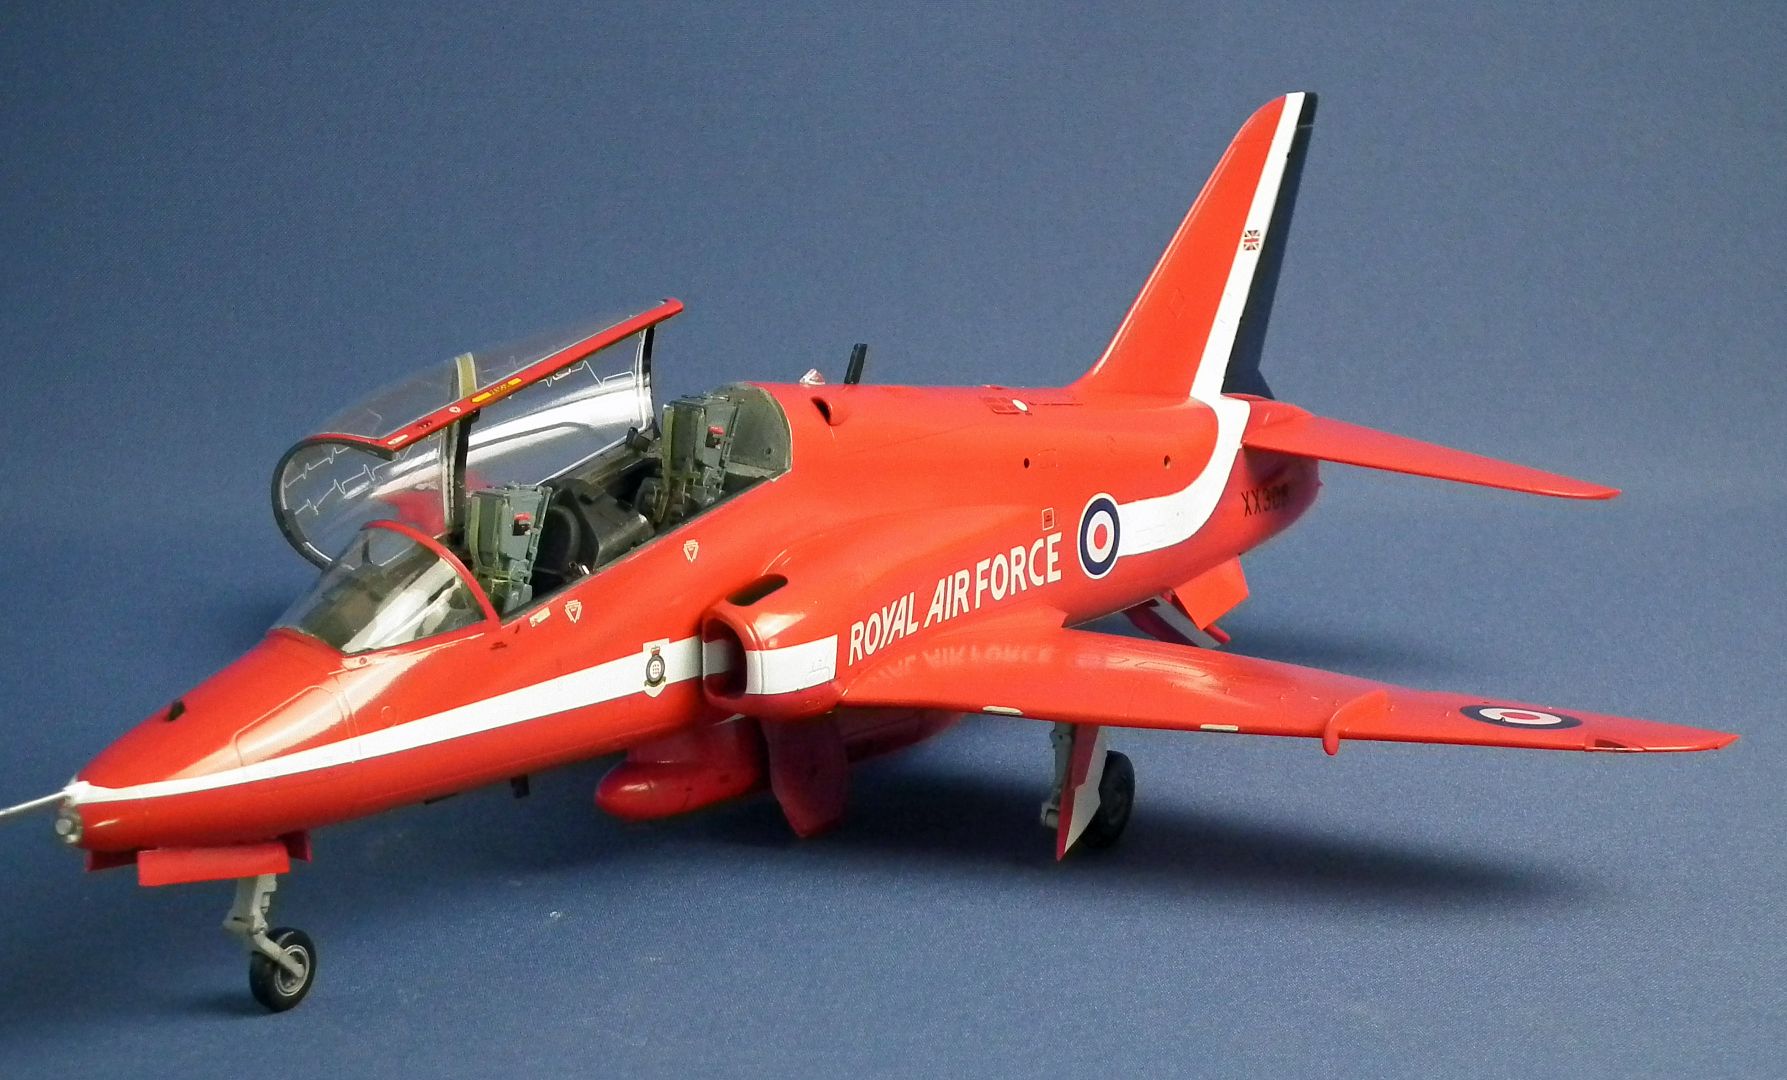
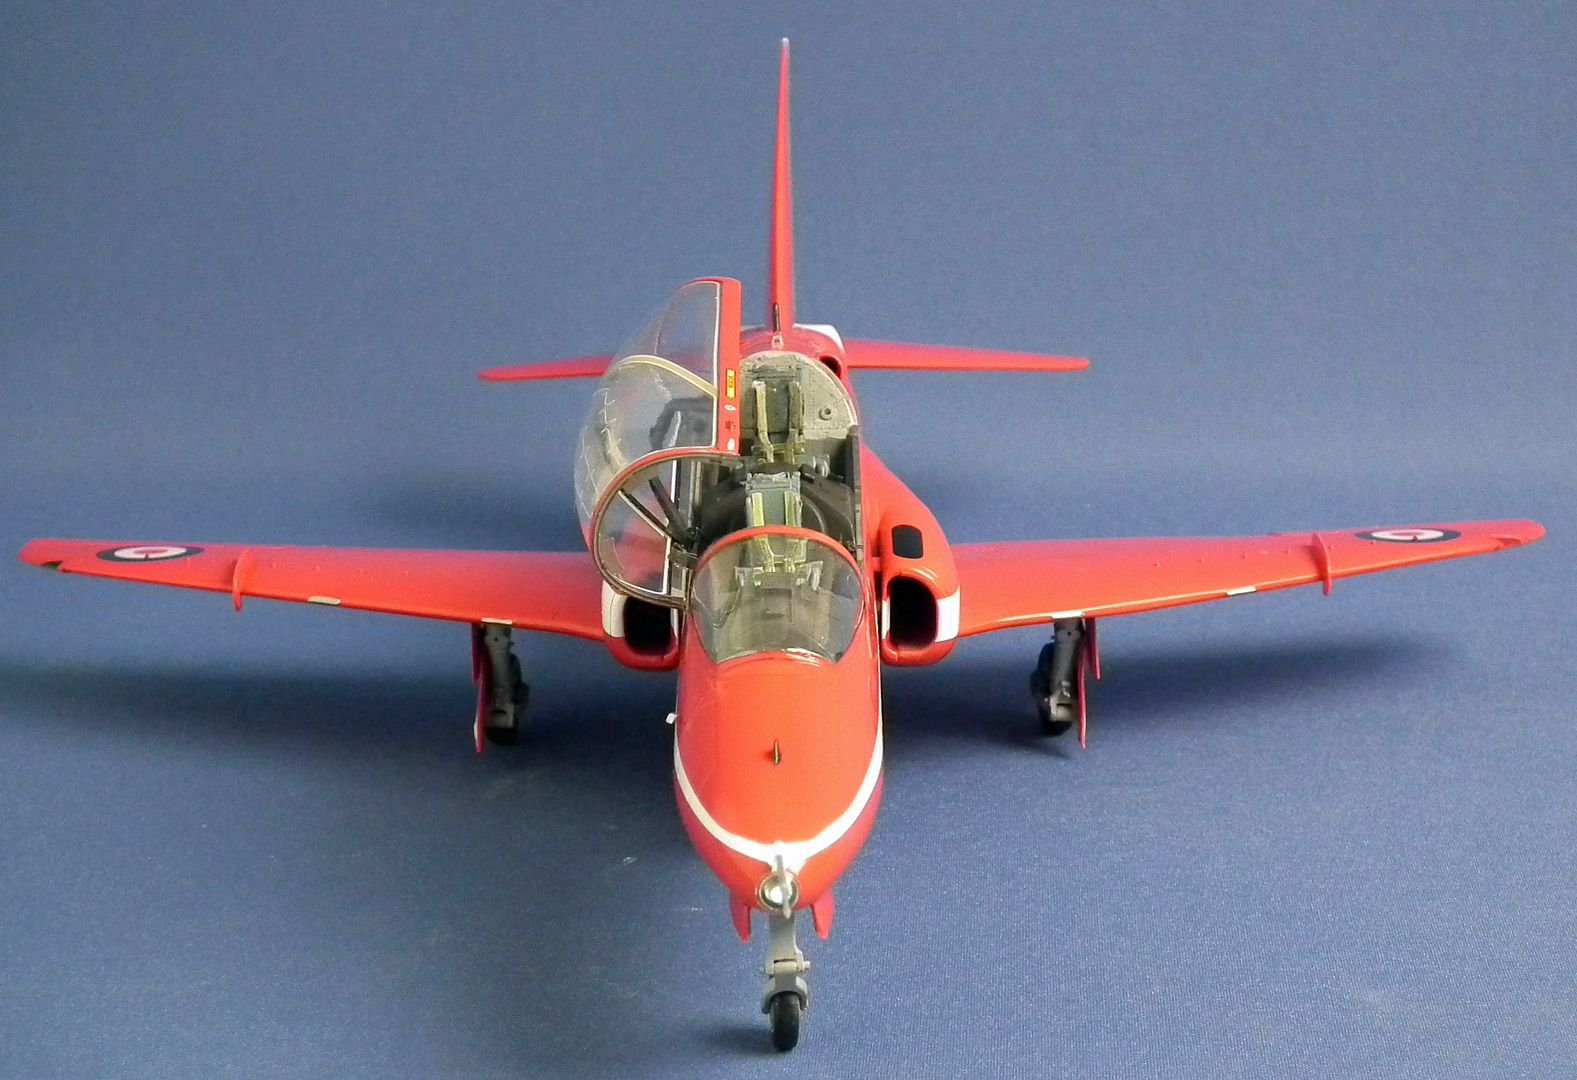
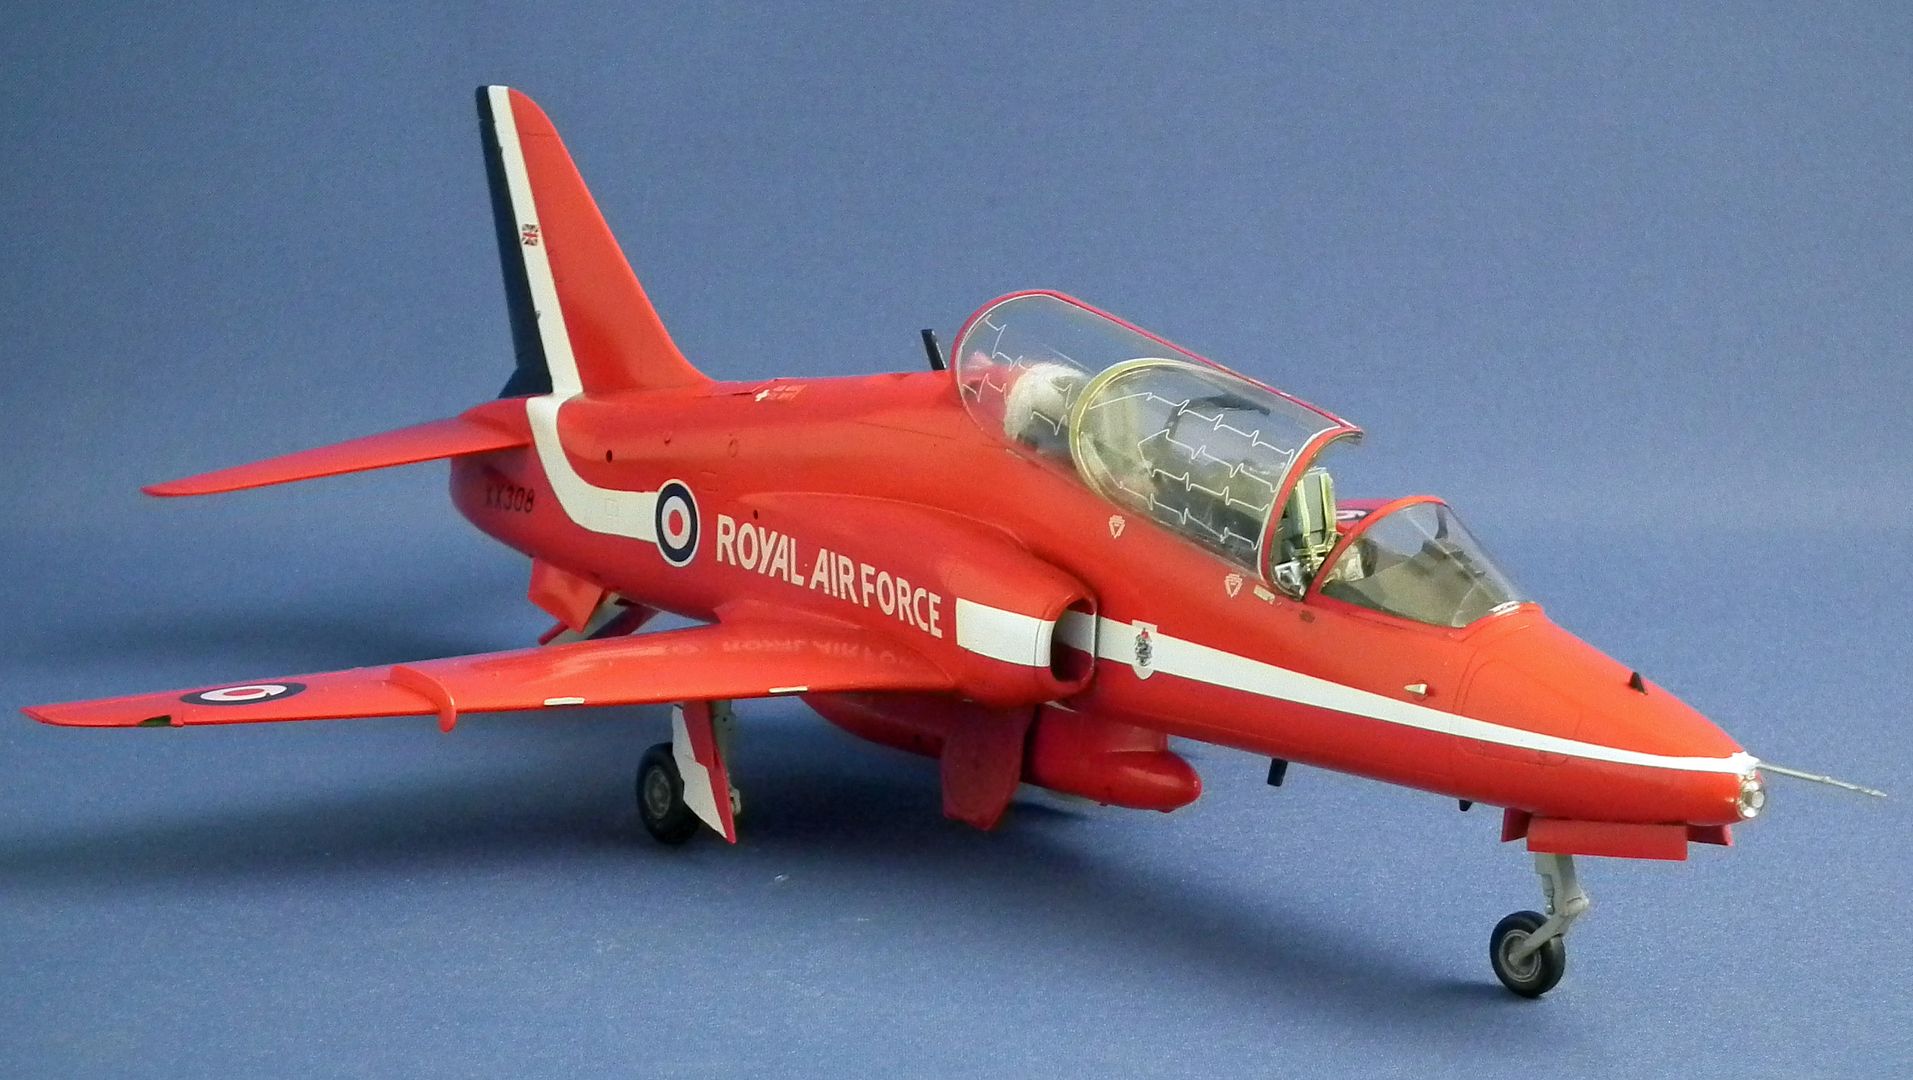
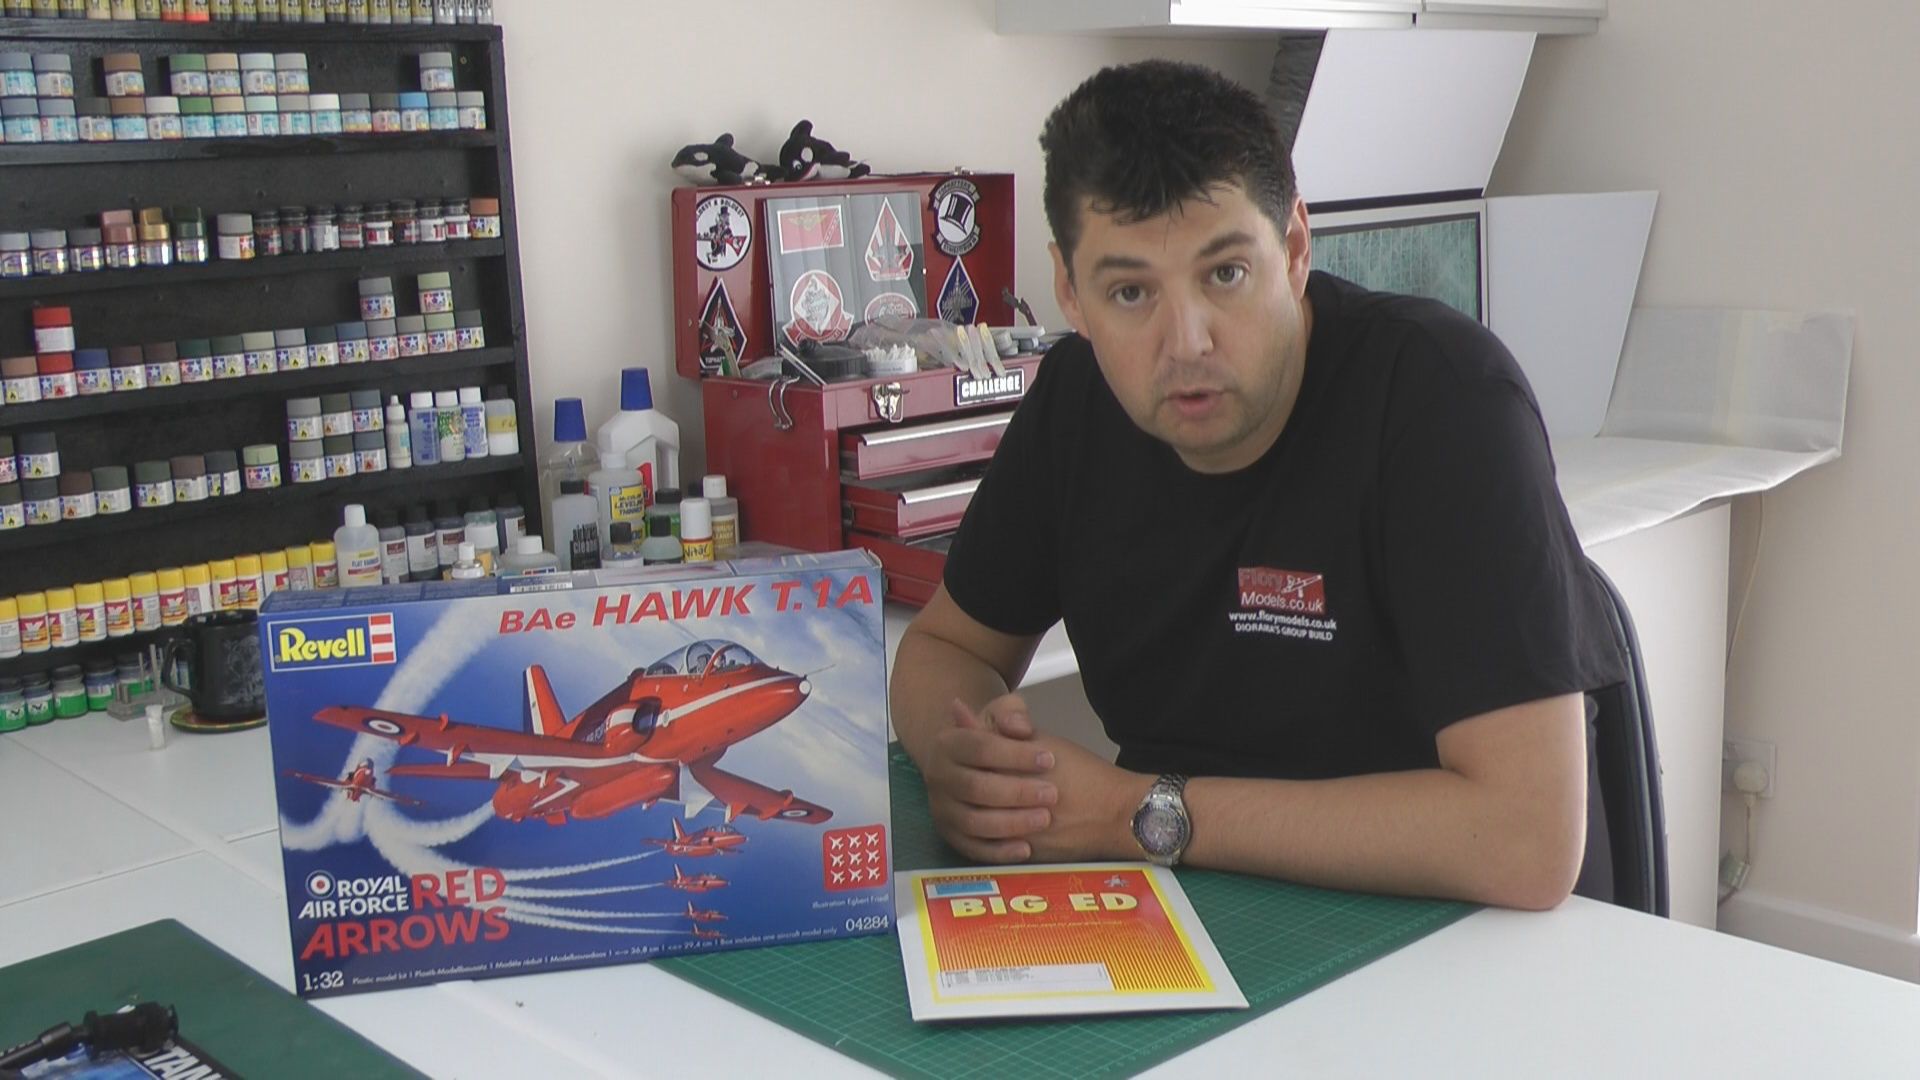
Bae Hawk T1
Scale: 1/32
Manufacture: Revell
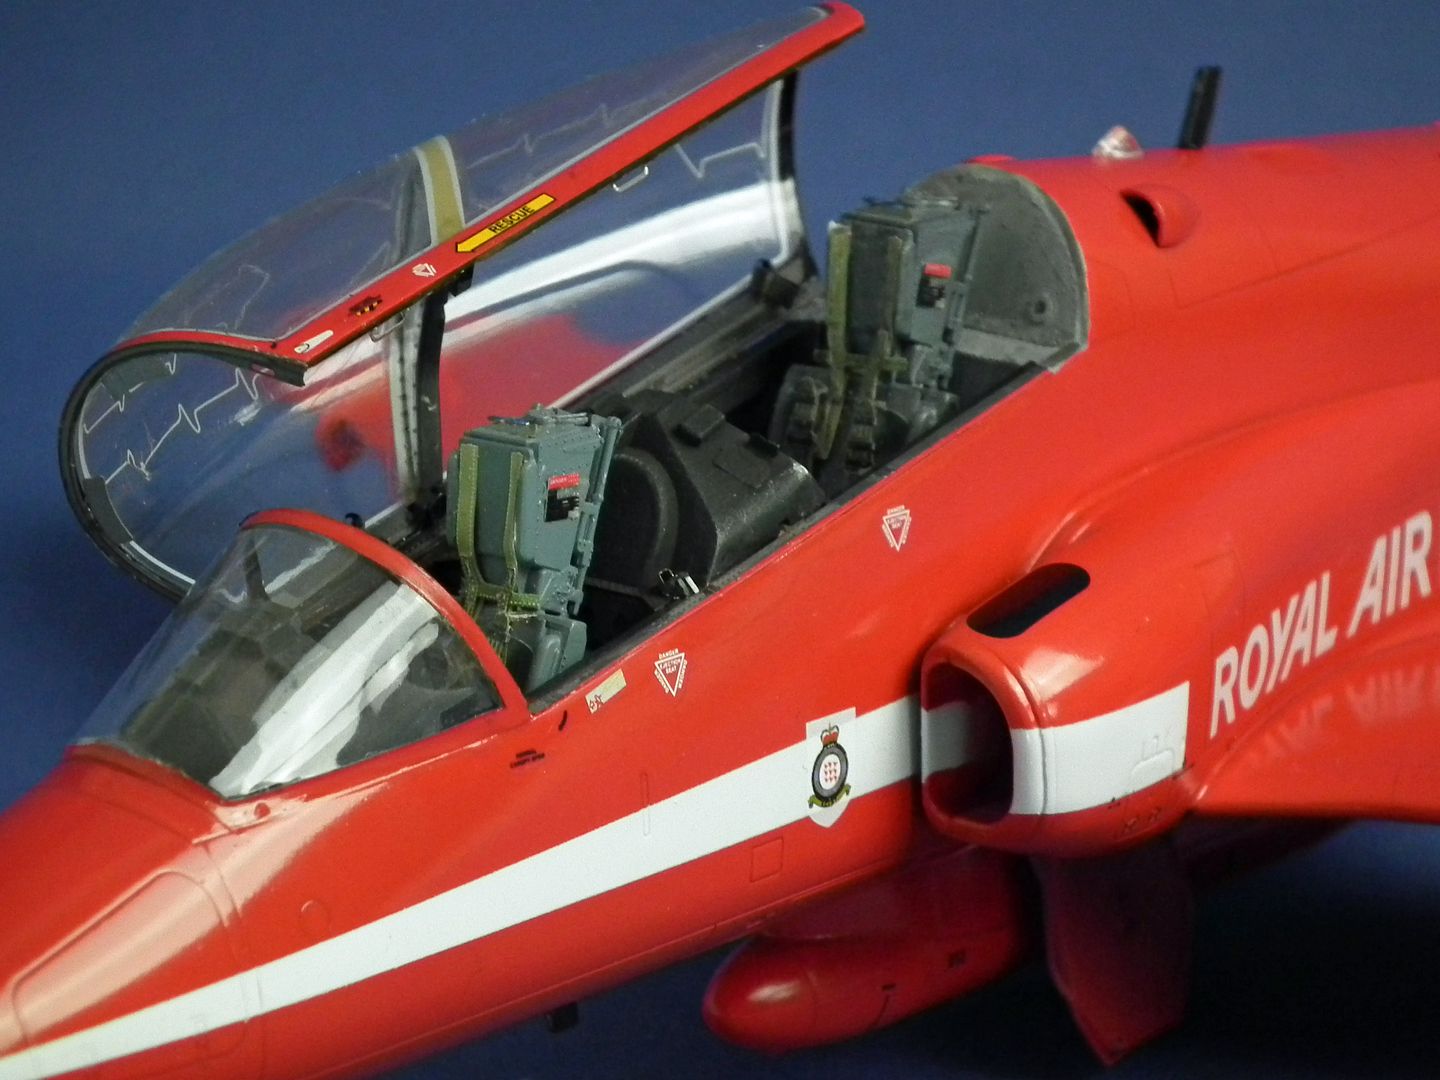
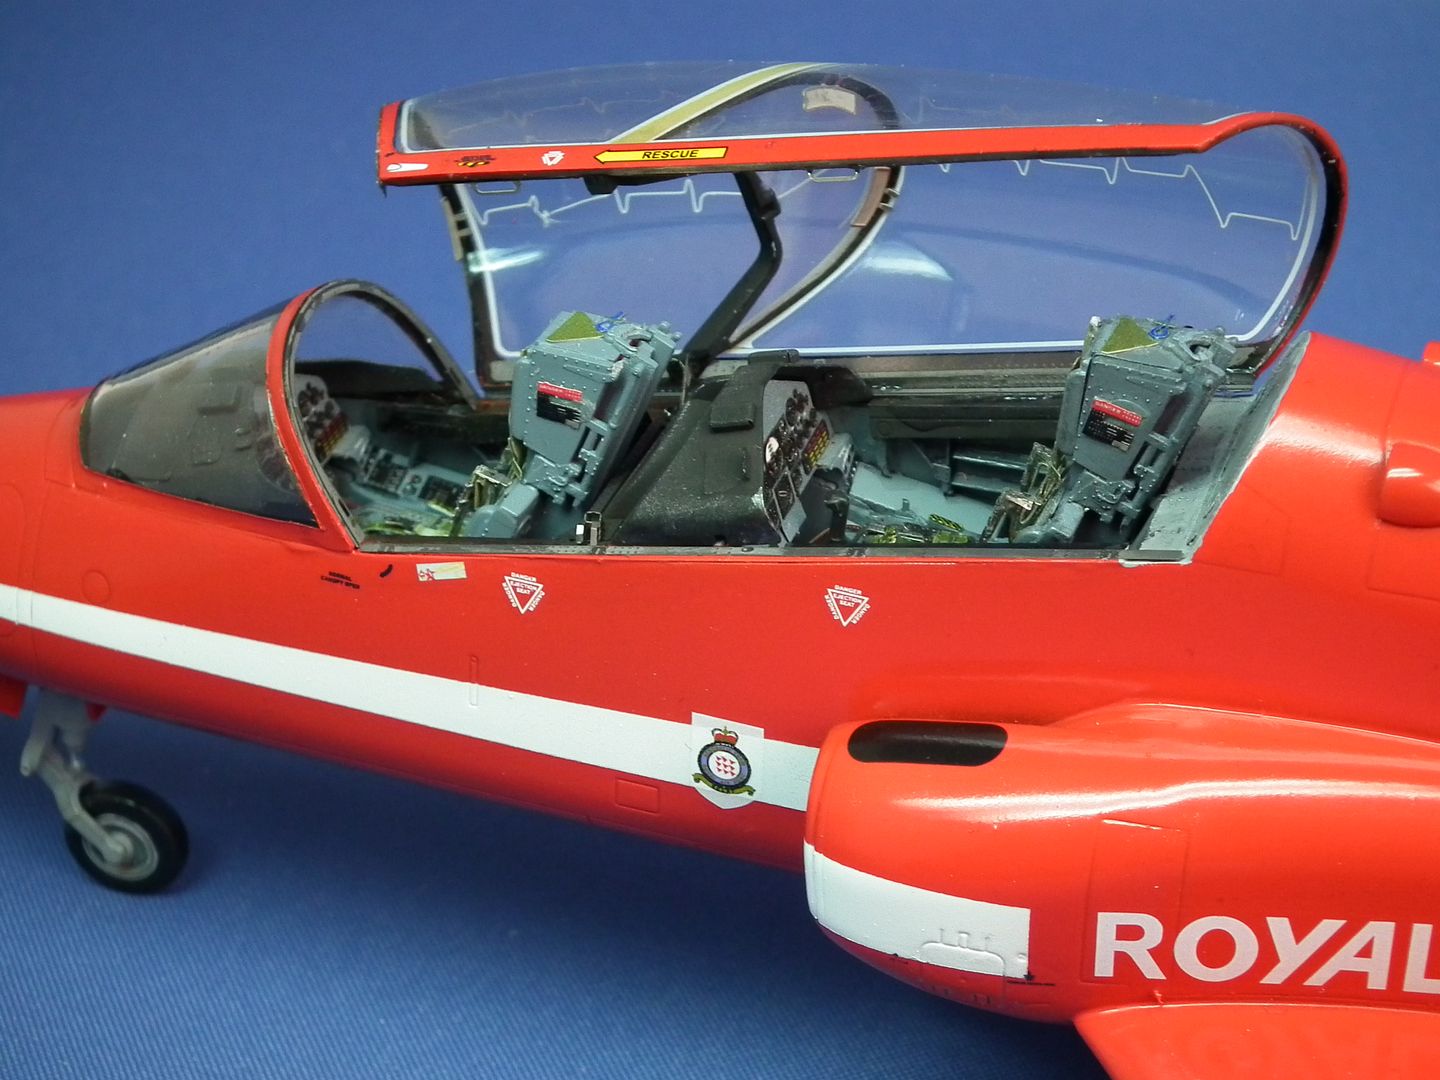
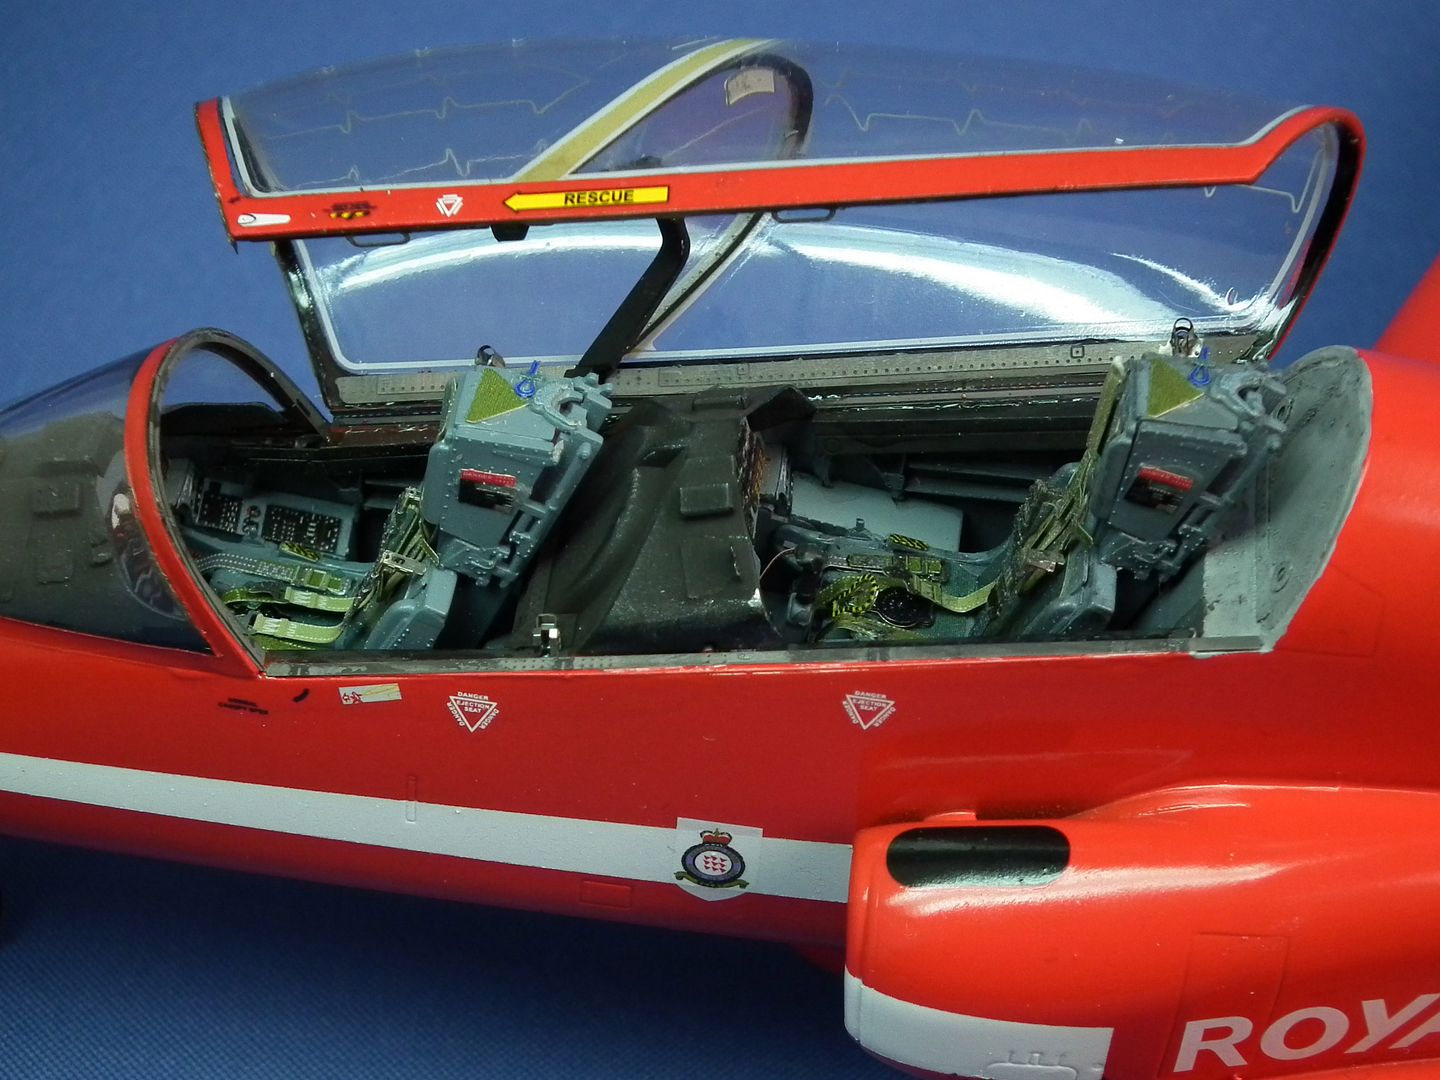
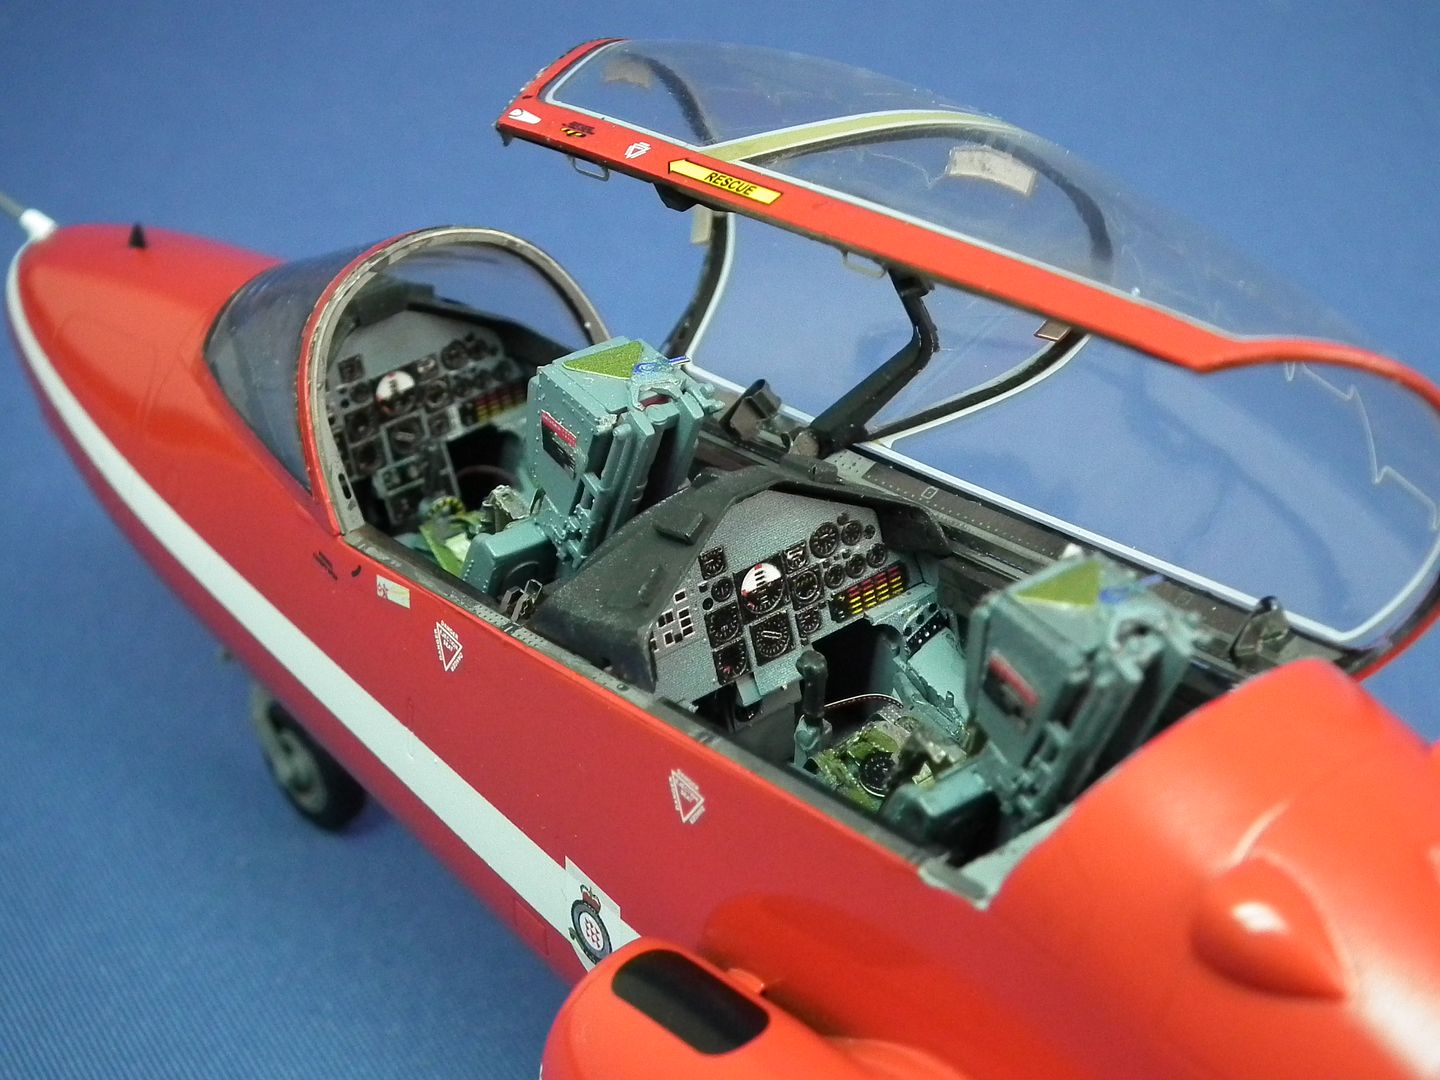
Parts used: Eduard’s big Etch set
Main paints used: Tamiya and Xtracrlyix
In part one we have a look at the kit and photo etched sets and make a start on the cockpit
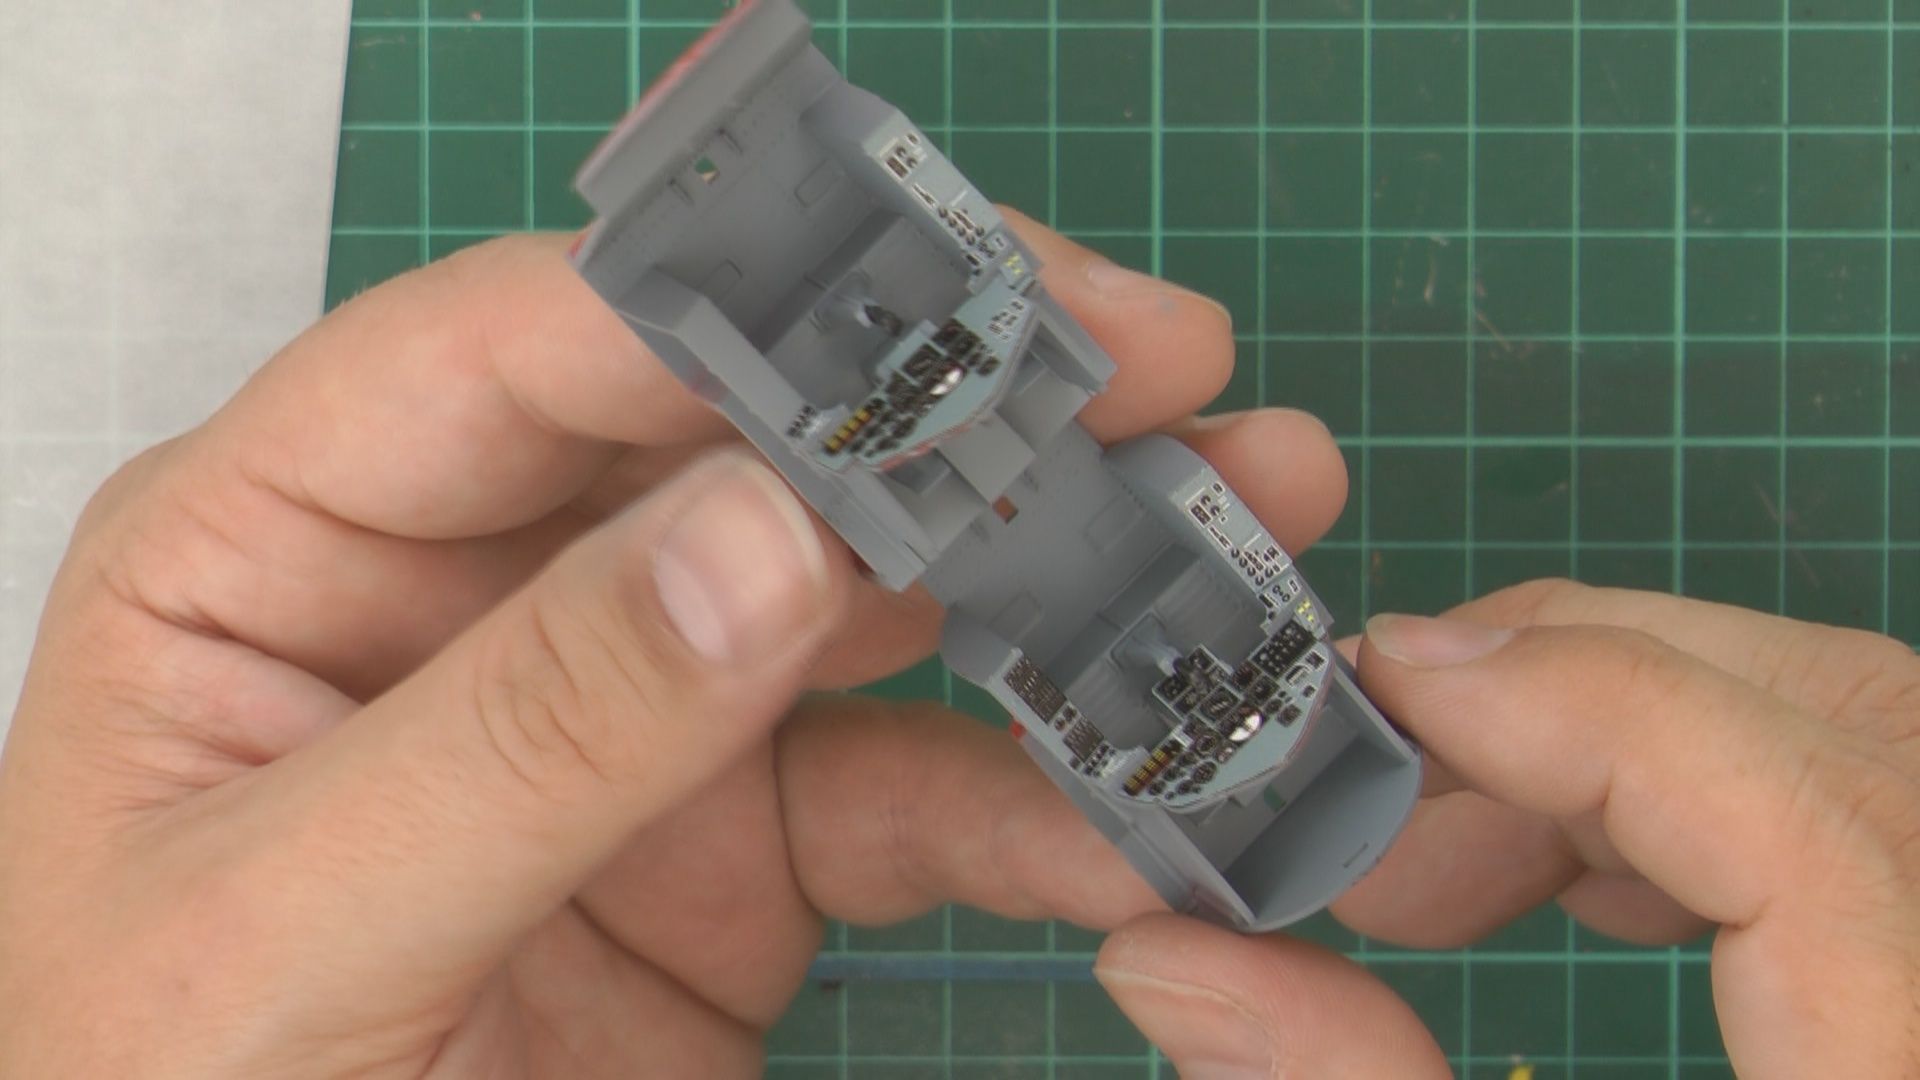
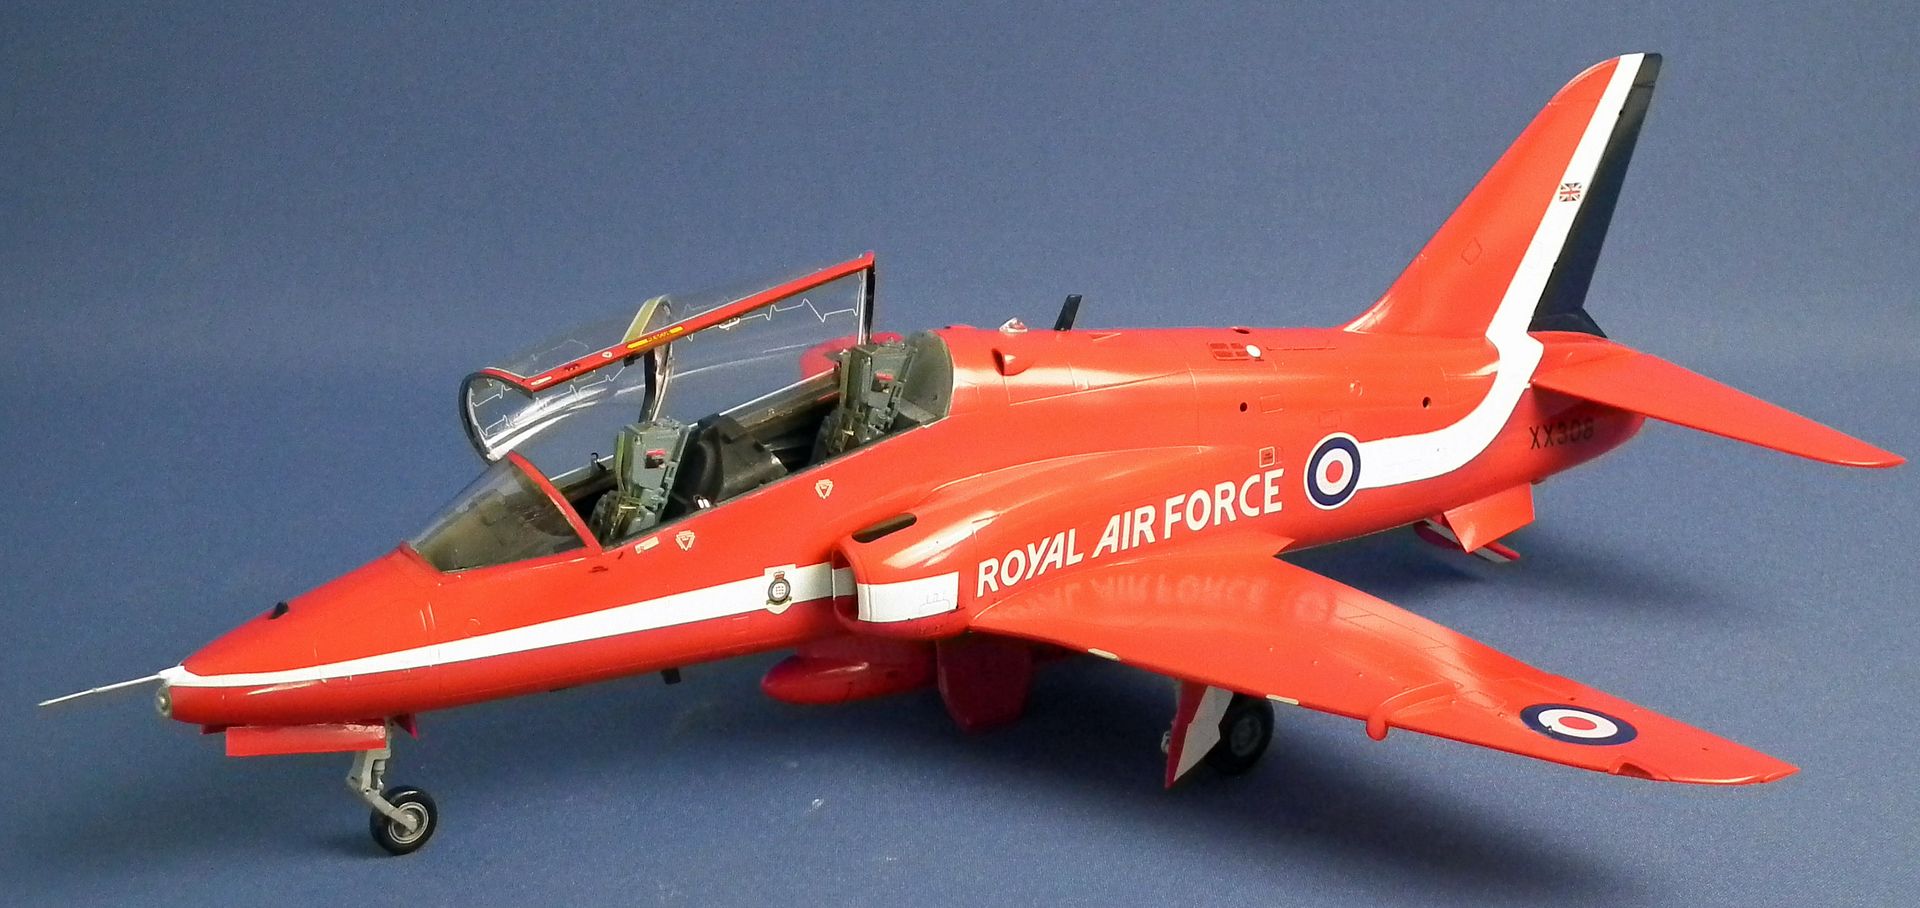
In part two we work on the seats with the photo etched set and install the in tacks tail pipe and cockpit before bringing the fuselage together.
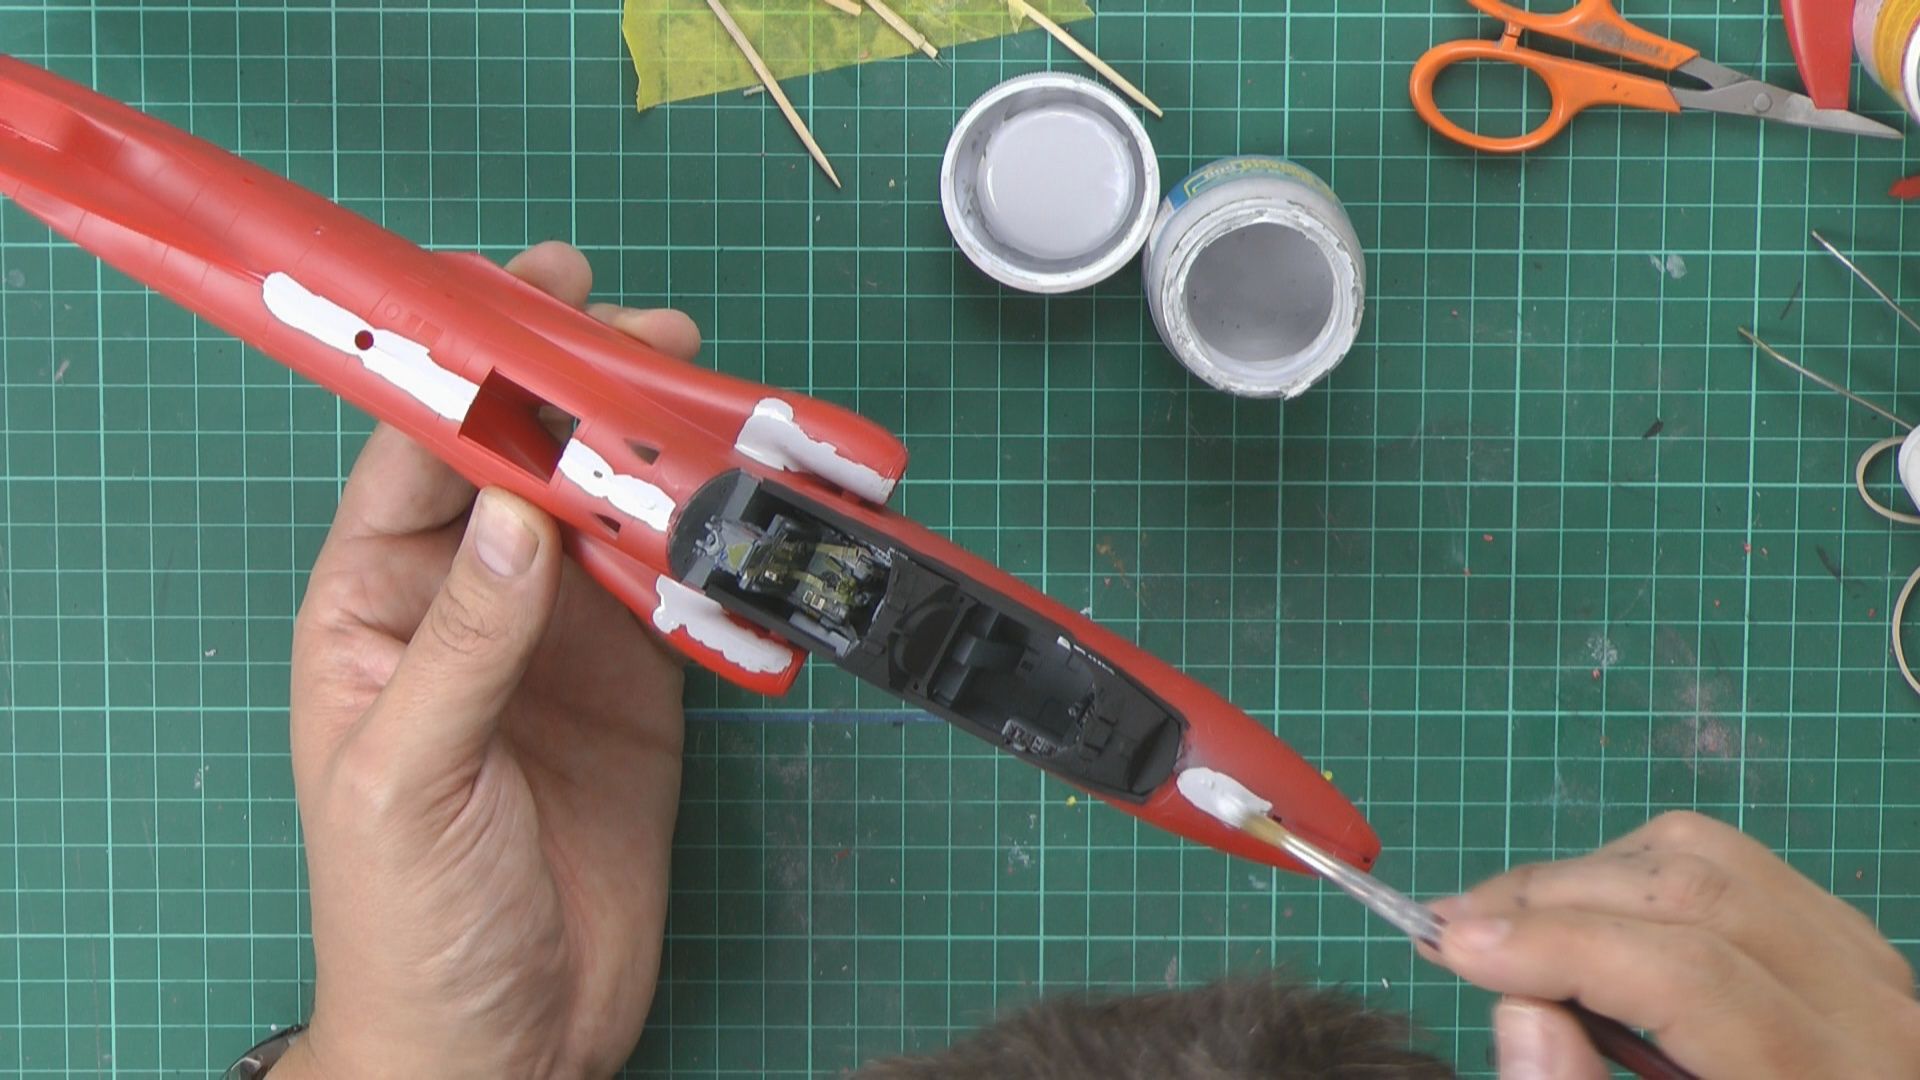
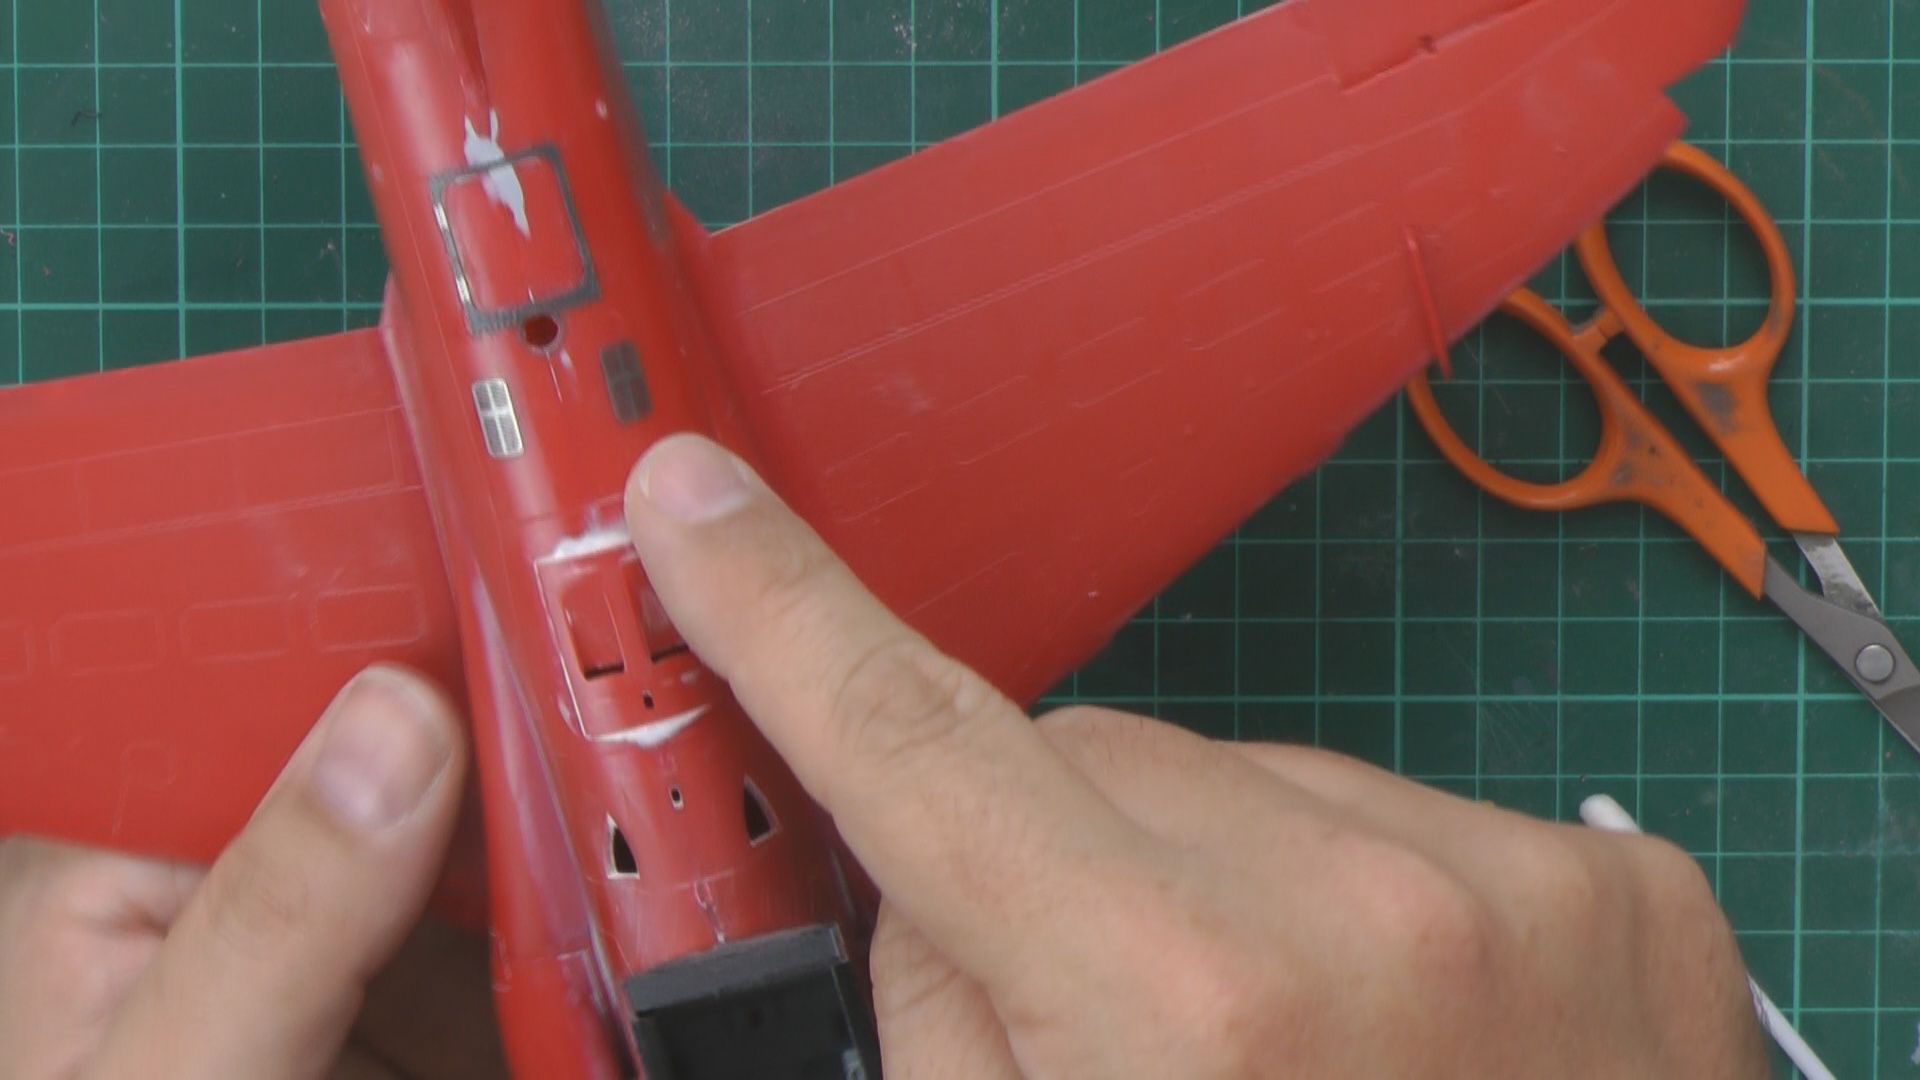
In part three we work on the wheel well and wings and the add the wings tails and rudder to the fuselage, then fill and blend them all in before adding the external photo etched parts.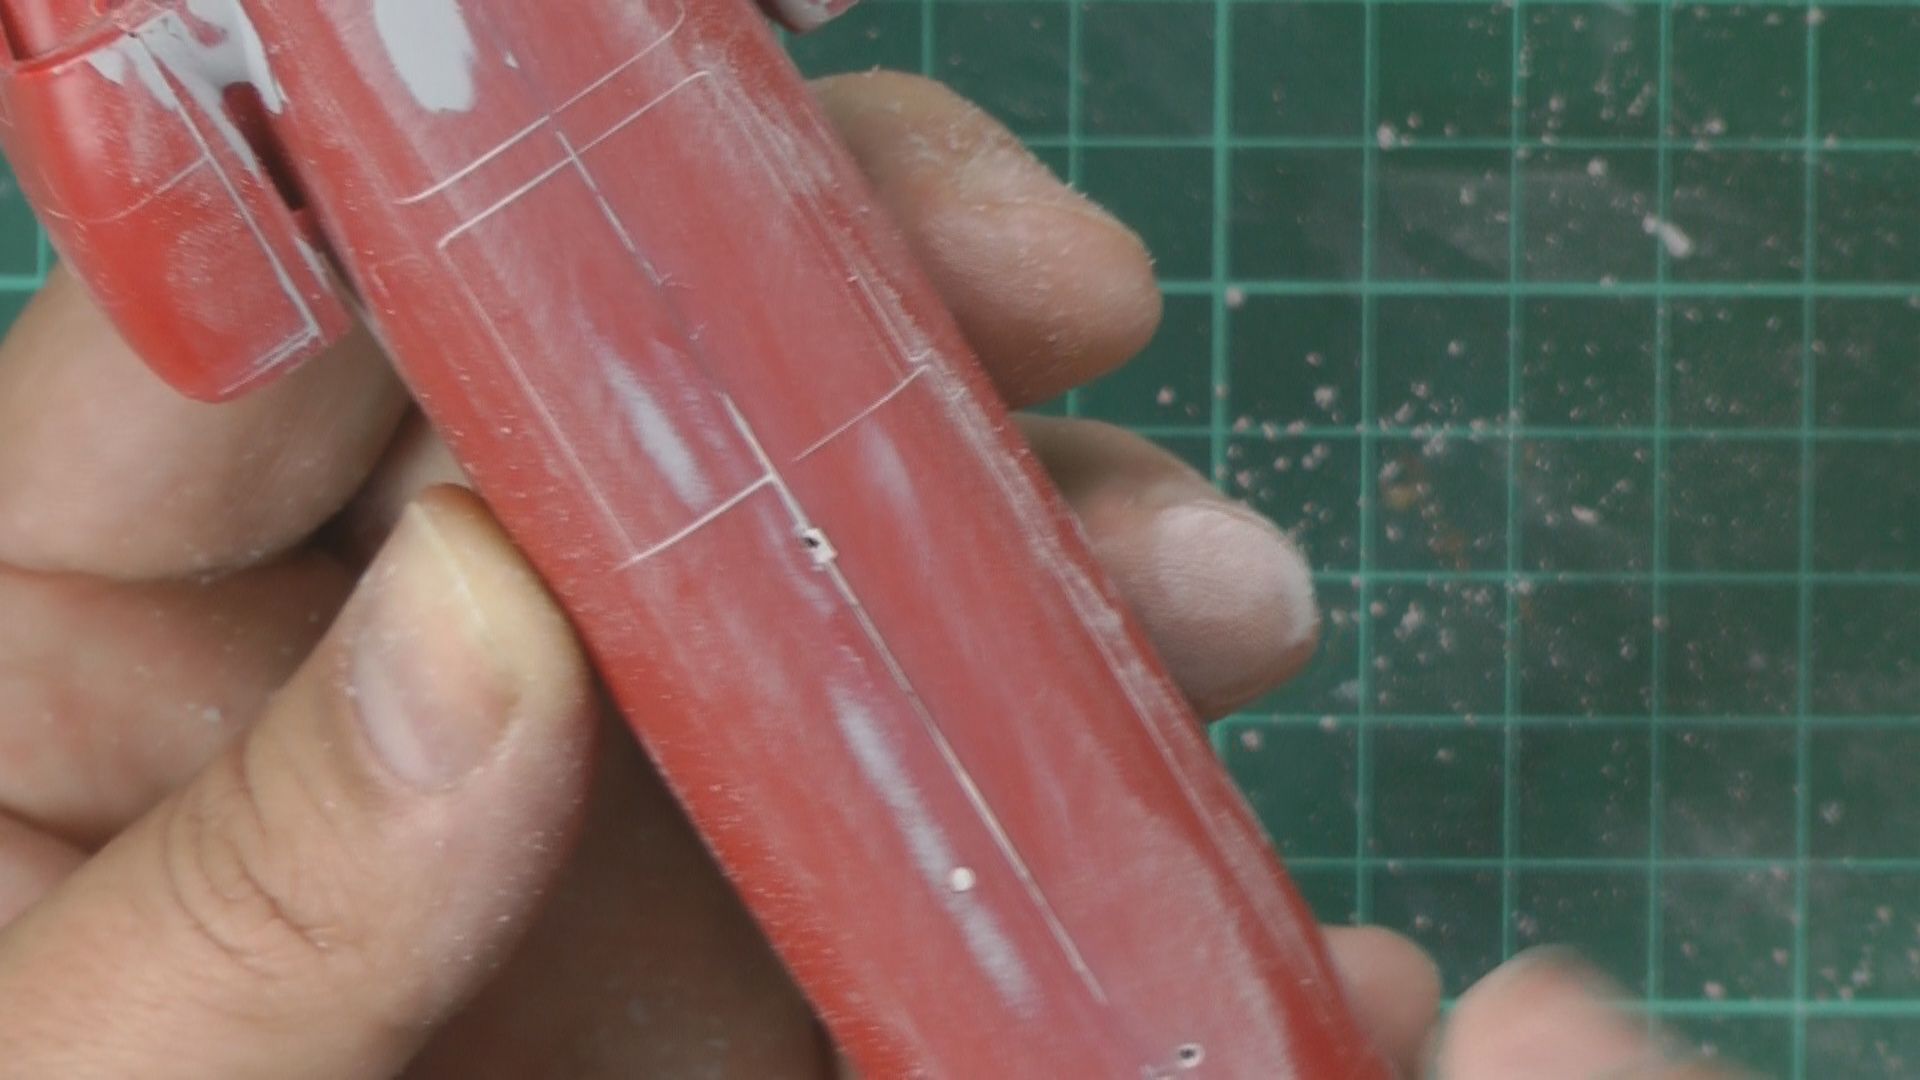
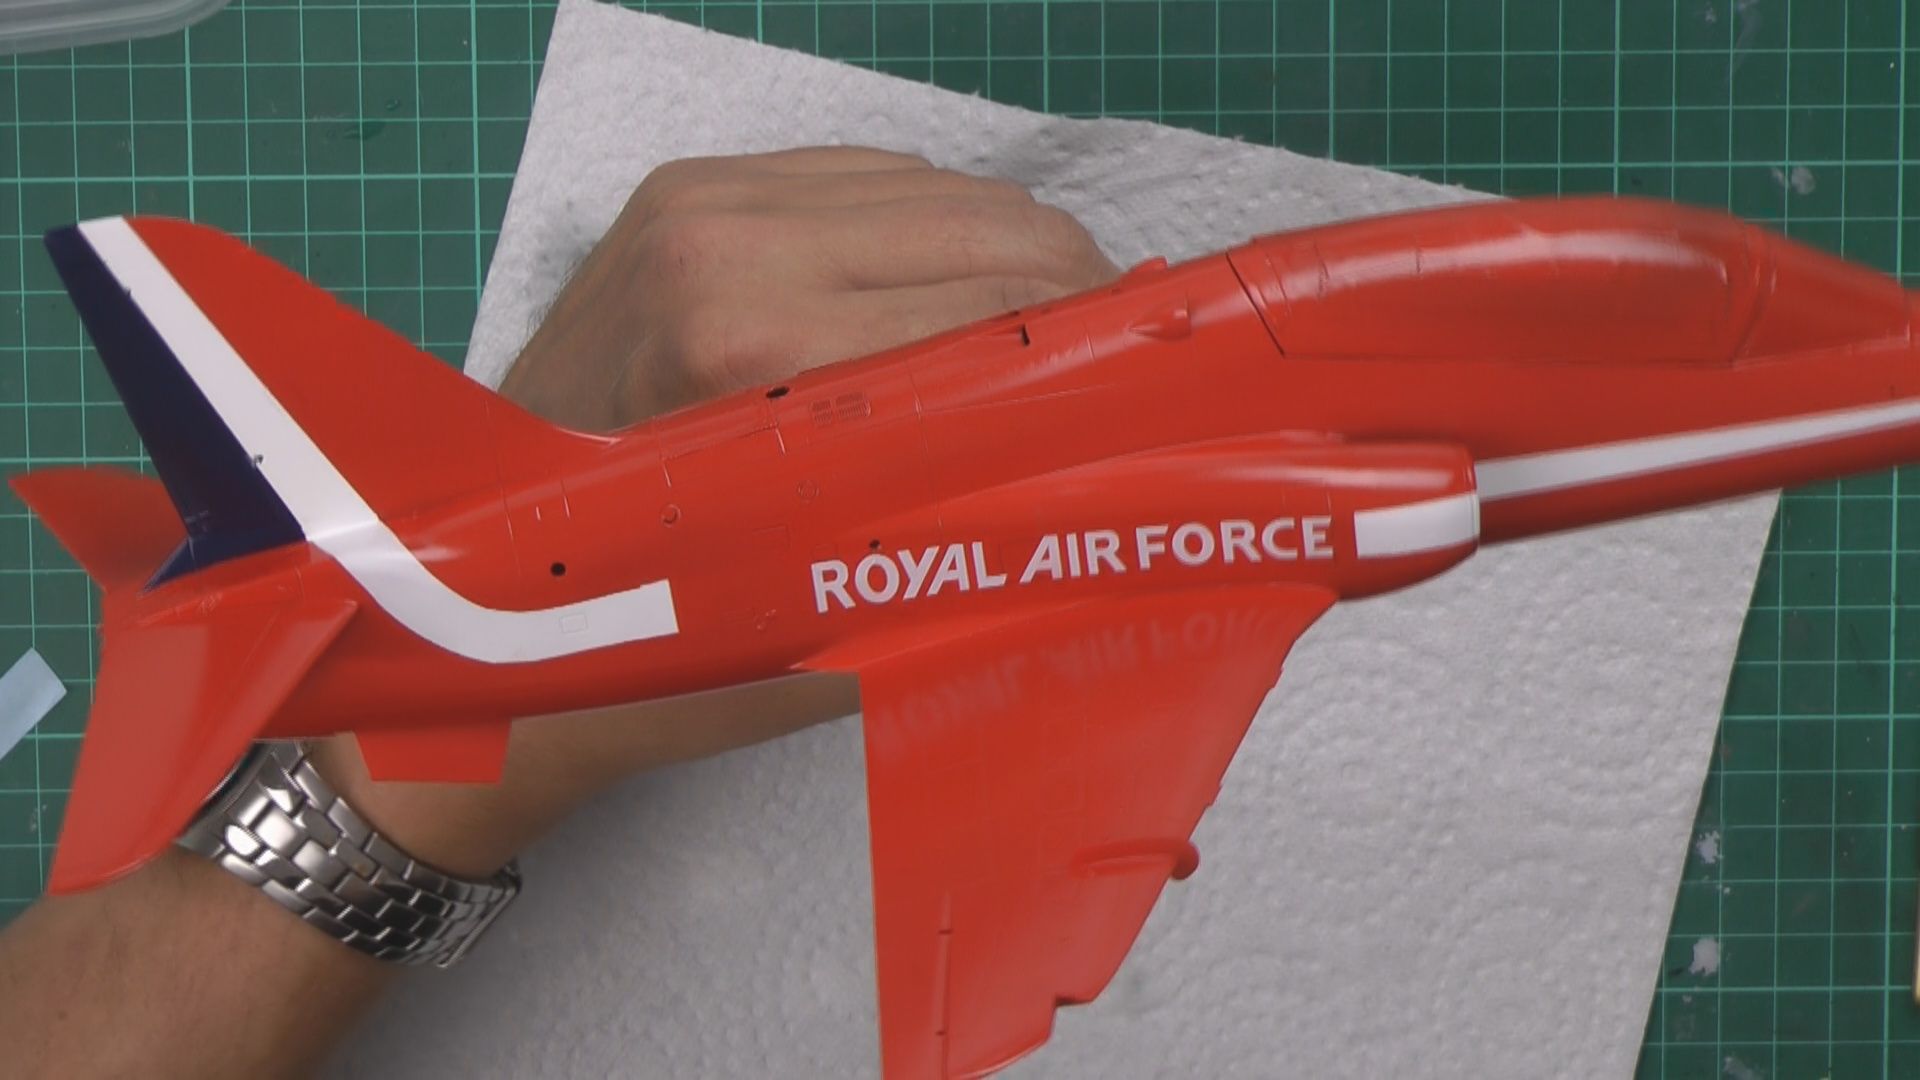
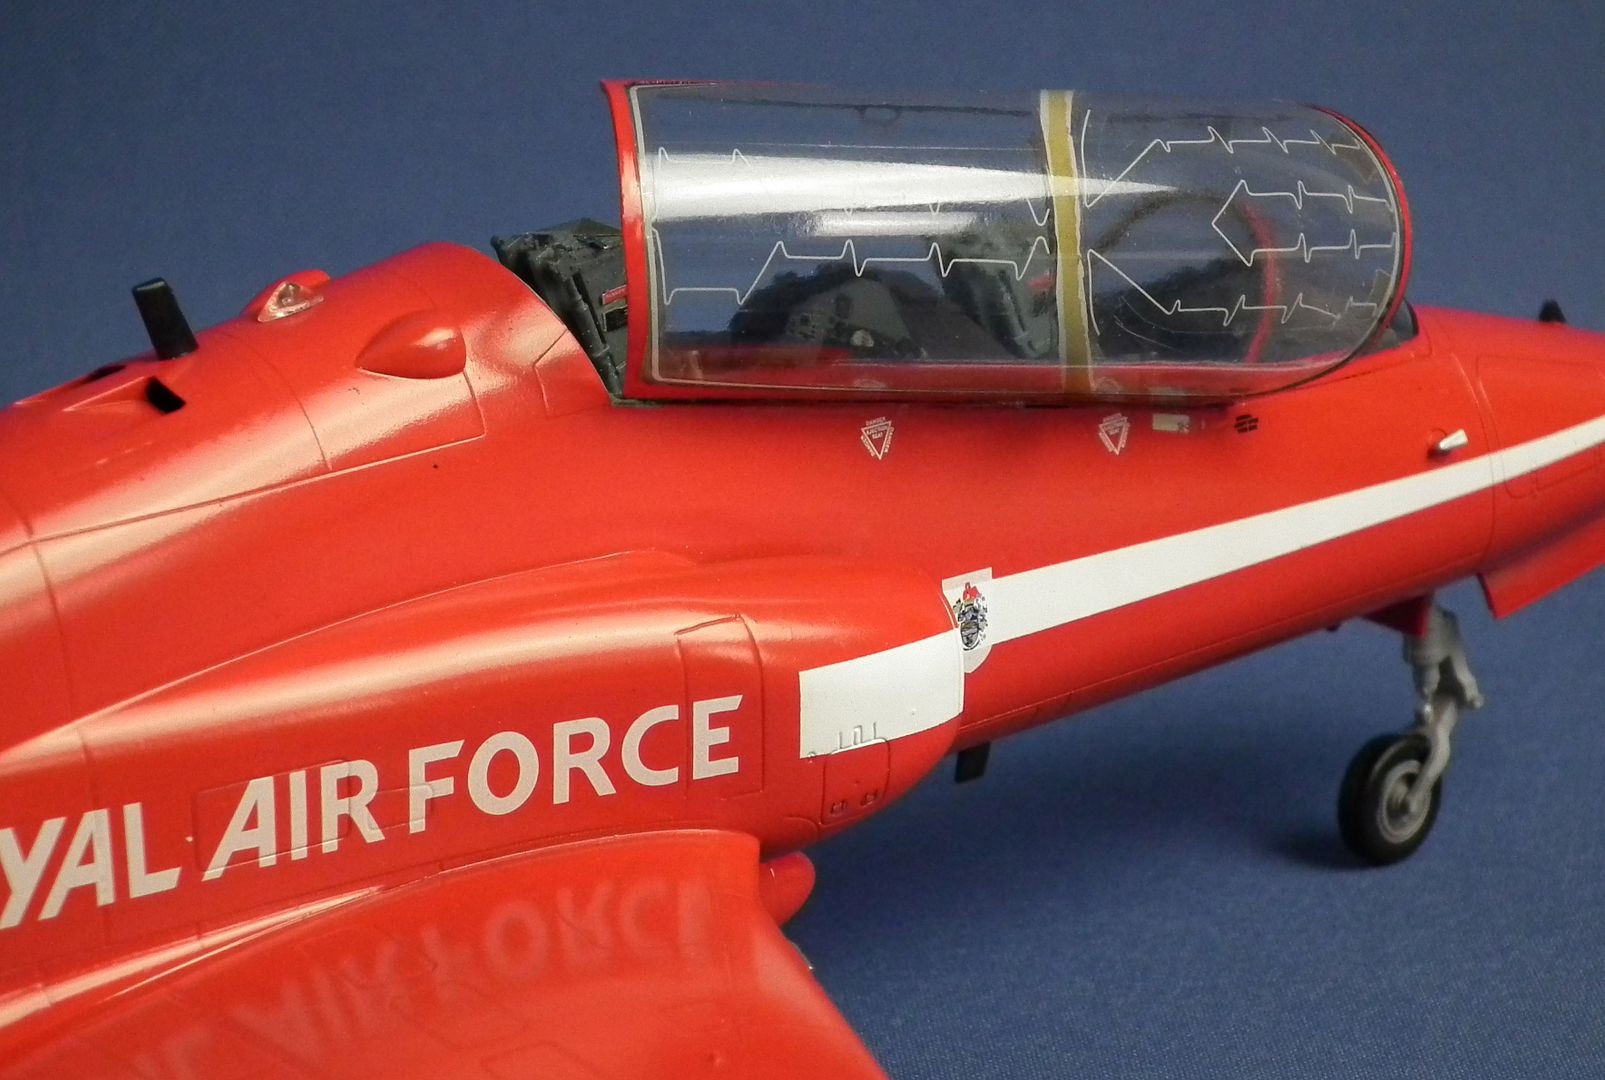
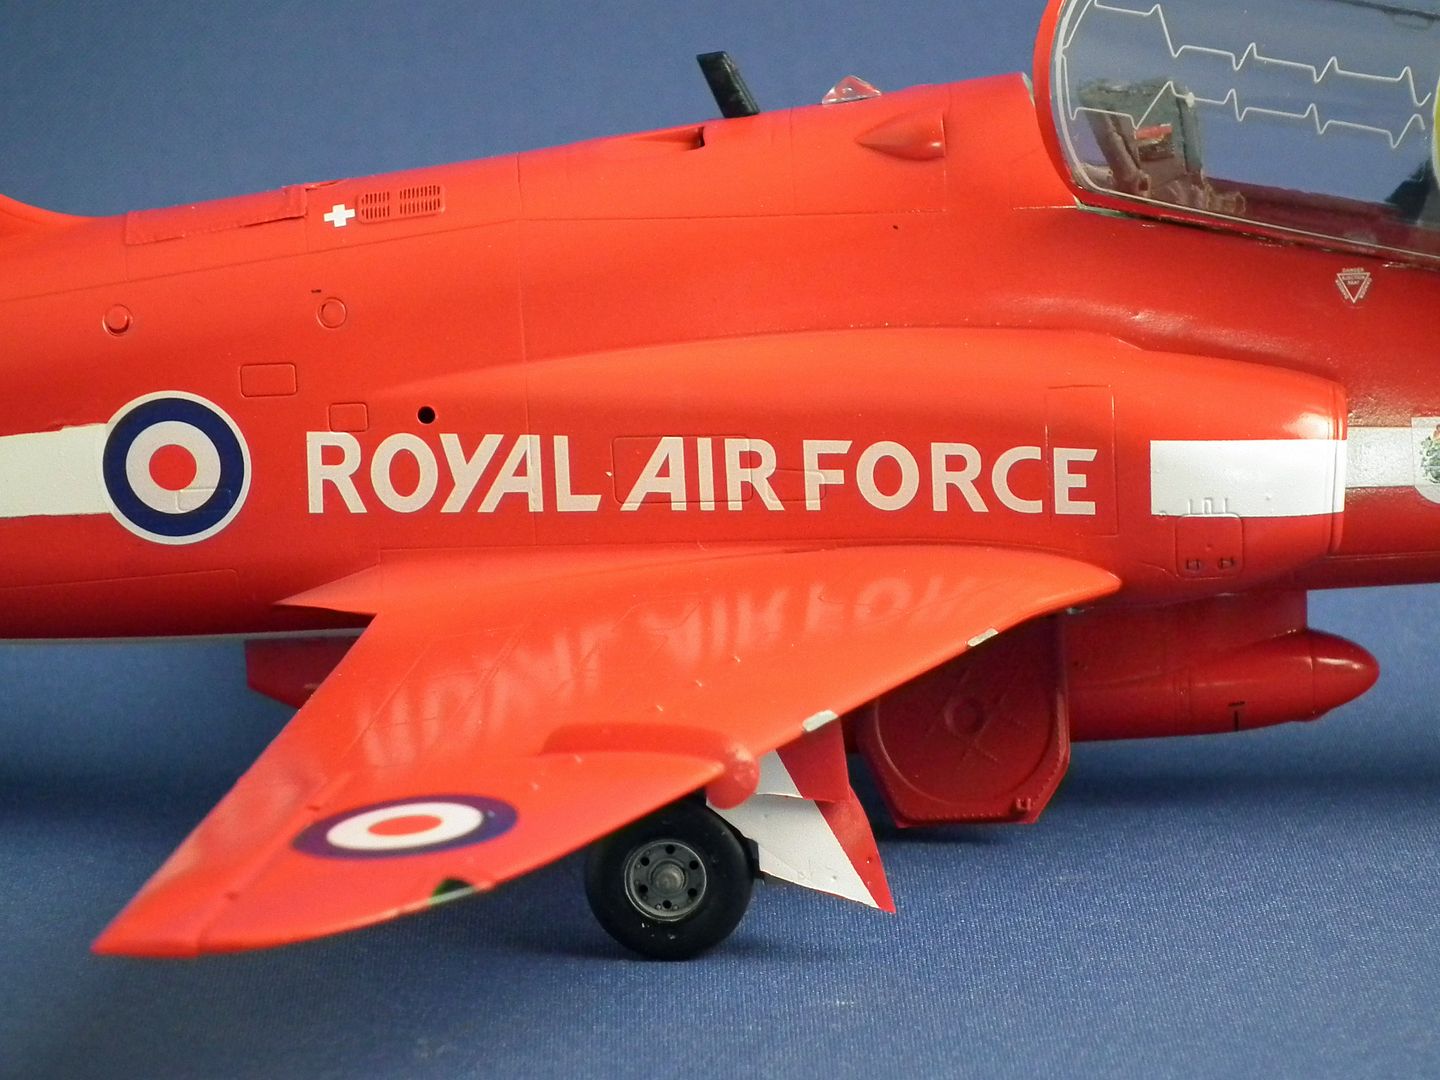
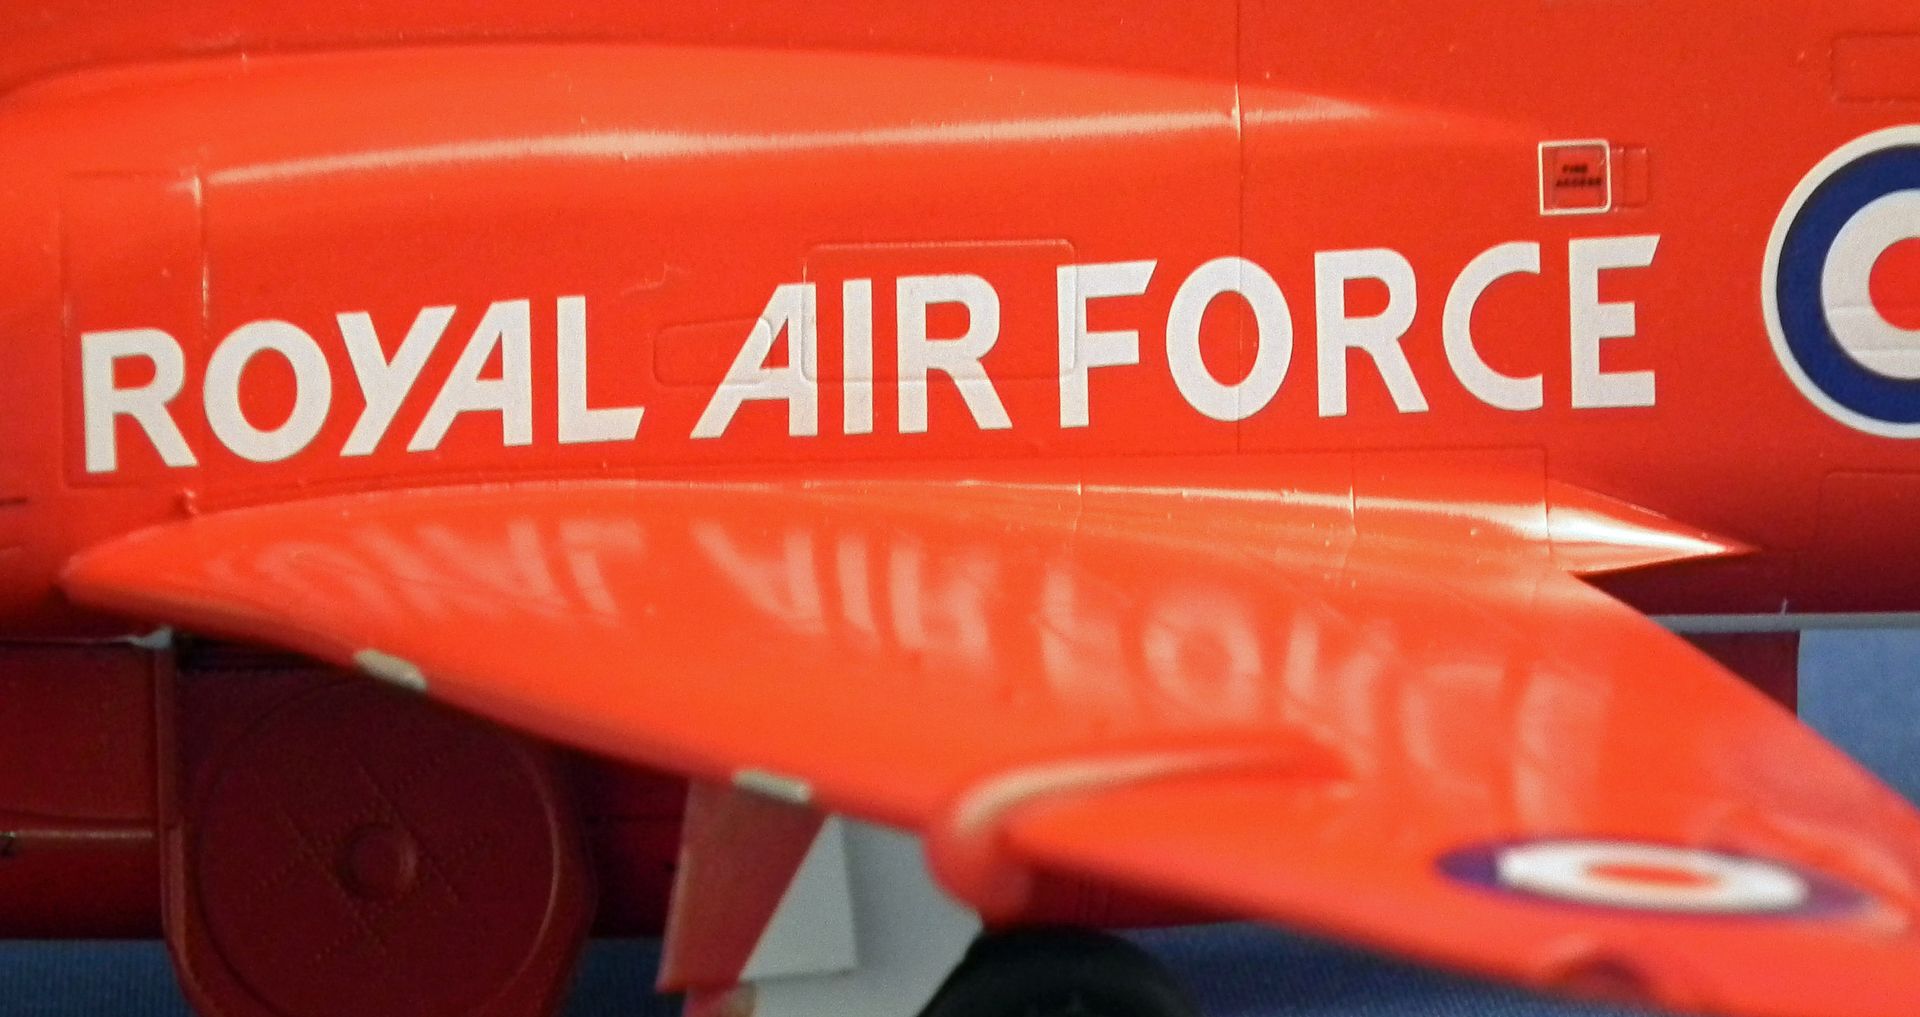
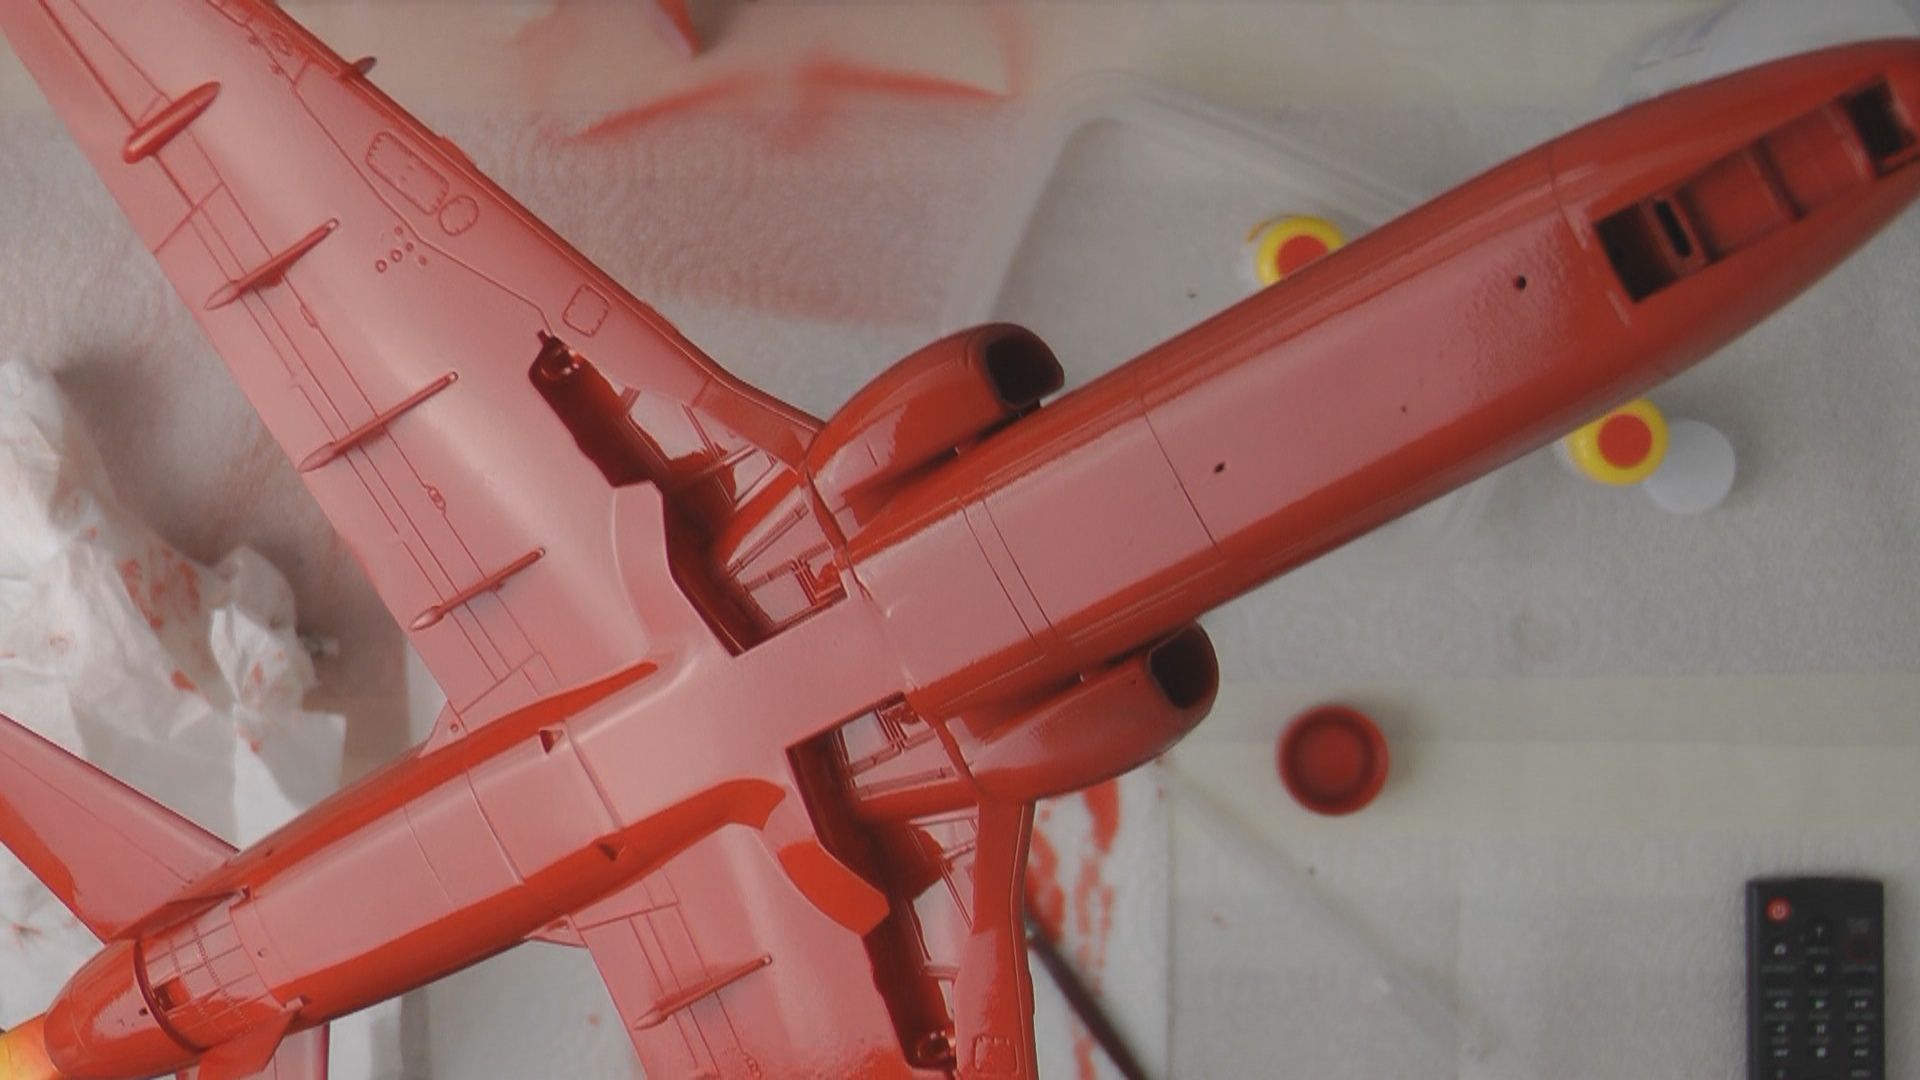
In part four we put the red in red arrows on and look how to stop the orange peel effect and get a great gloss look to your paint work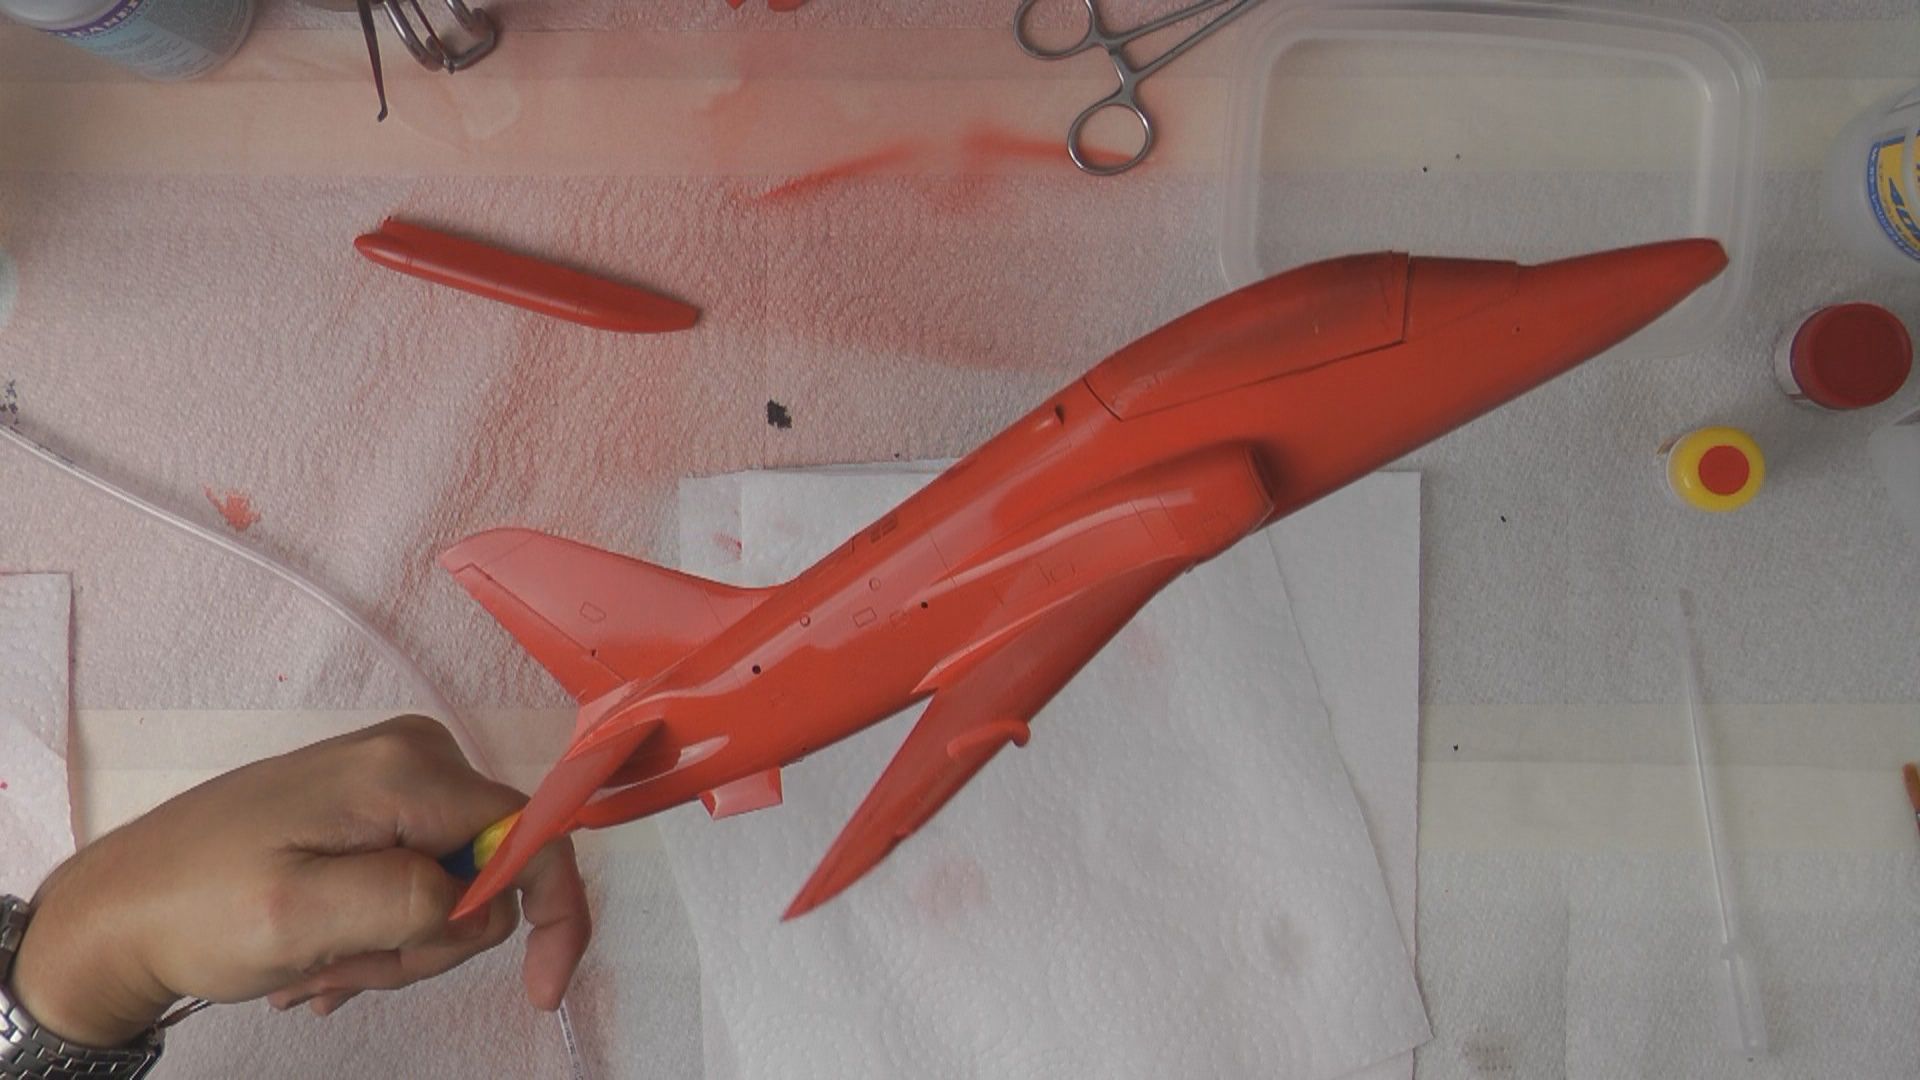
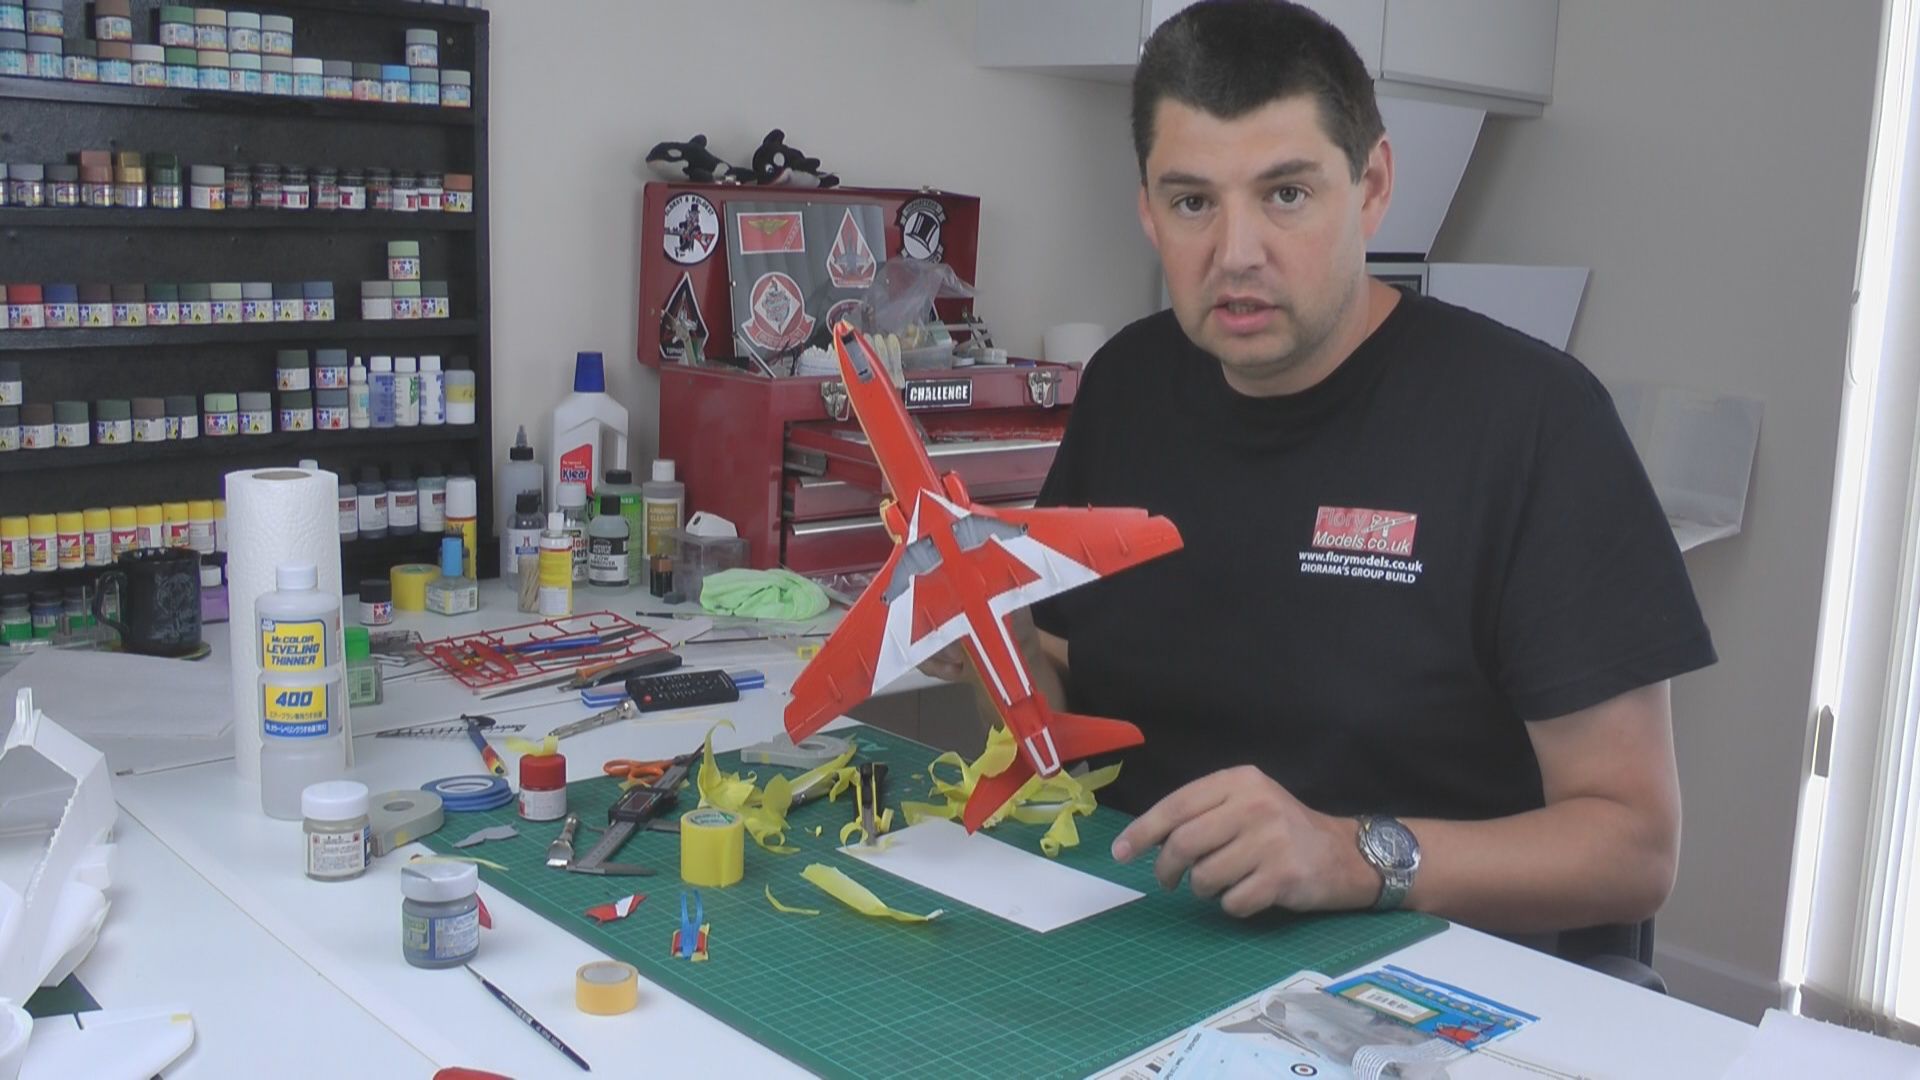
In part five we mask up the famous white arrows and spray them as the decals are a little transparent, this way we get the nice deep cutting white makings 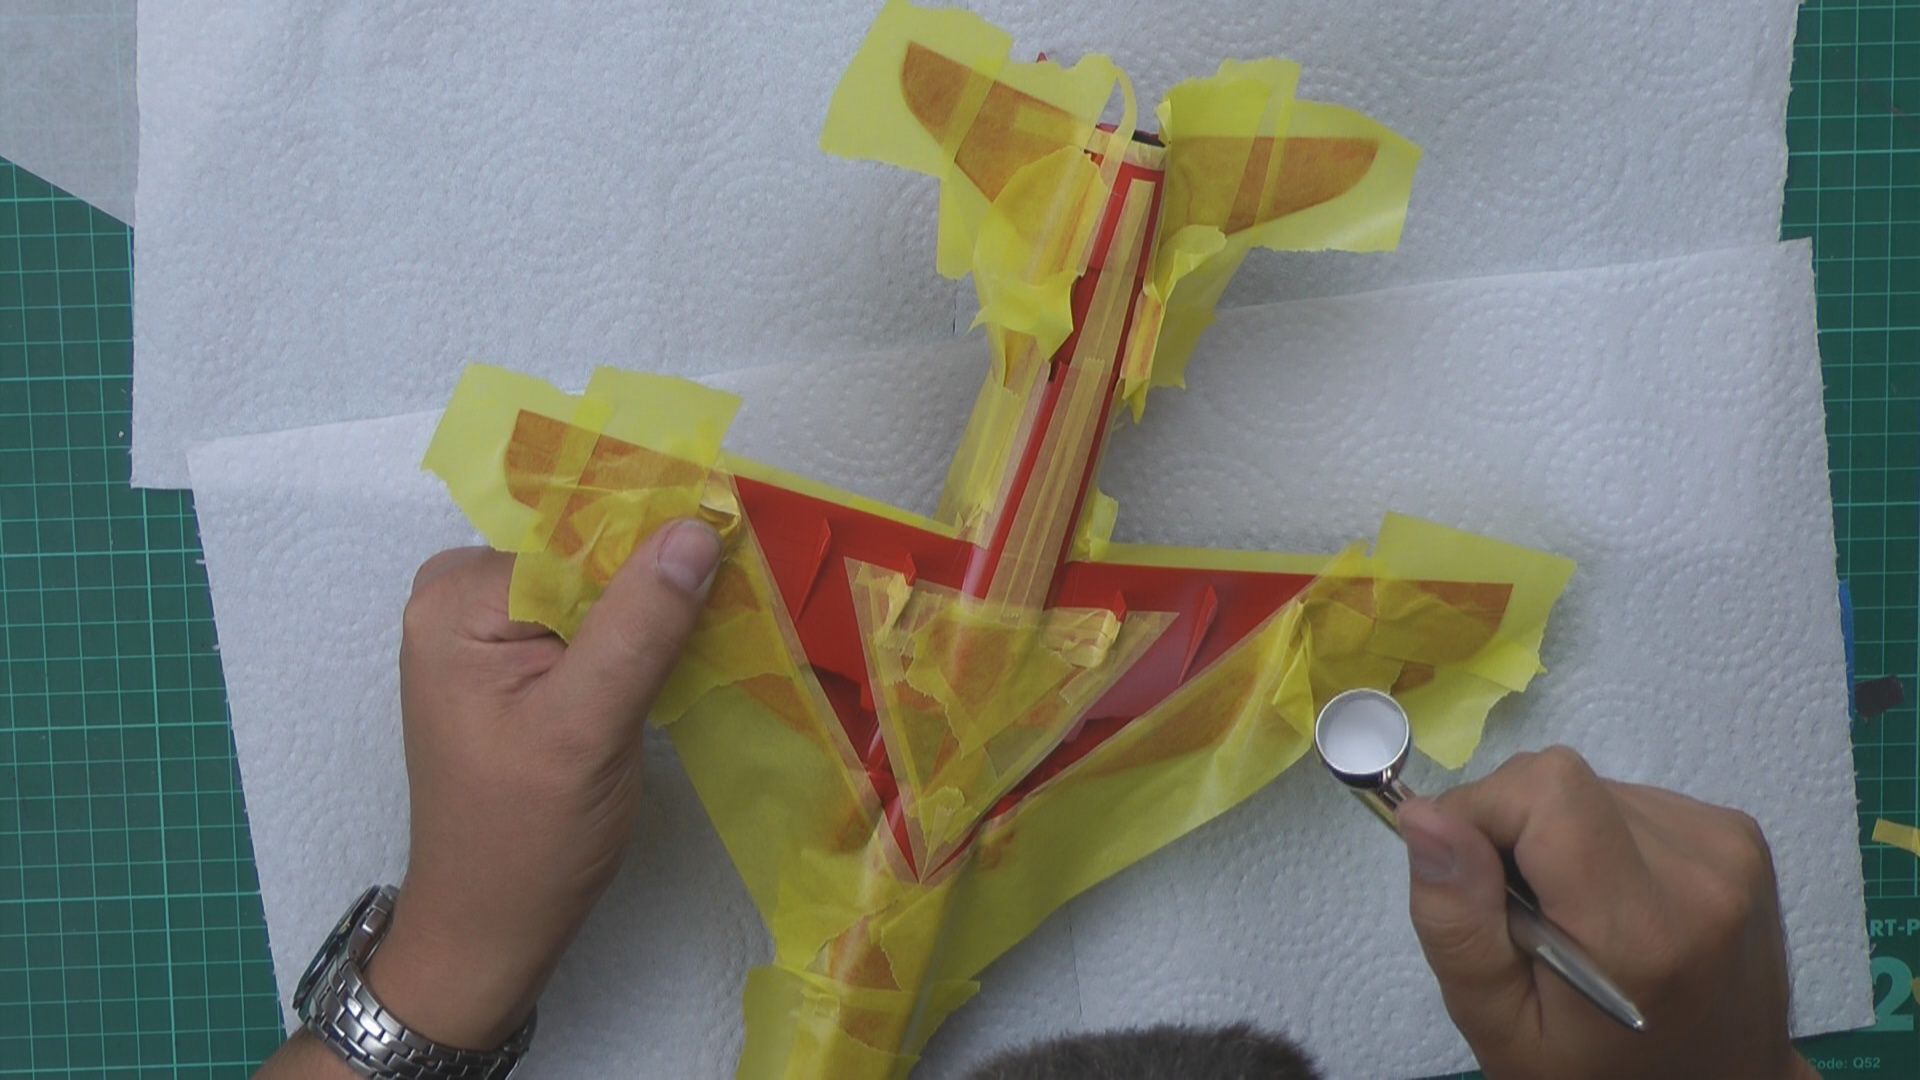
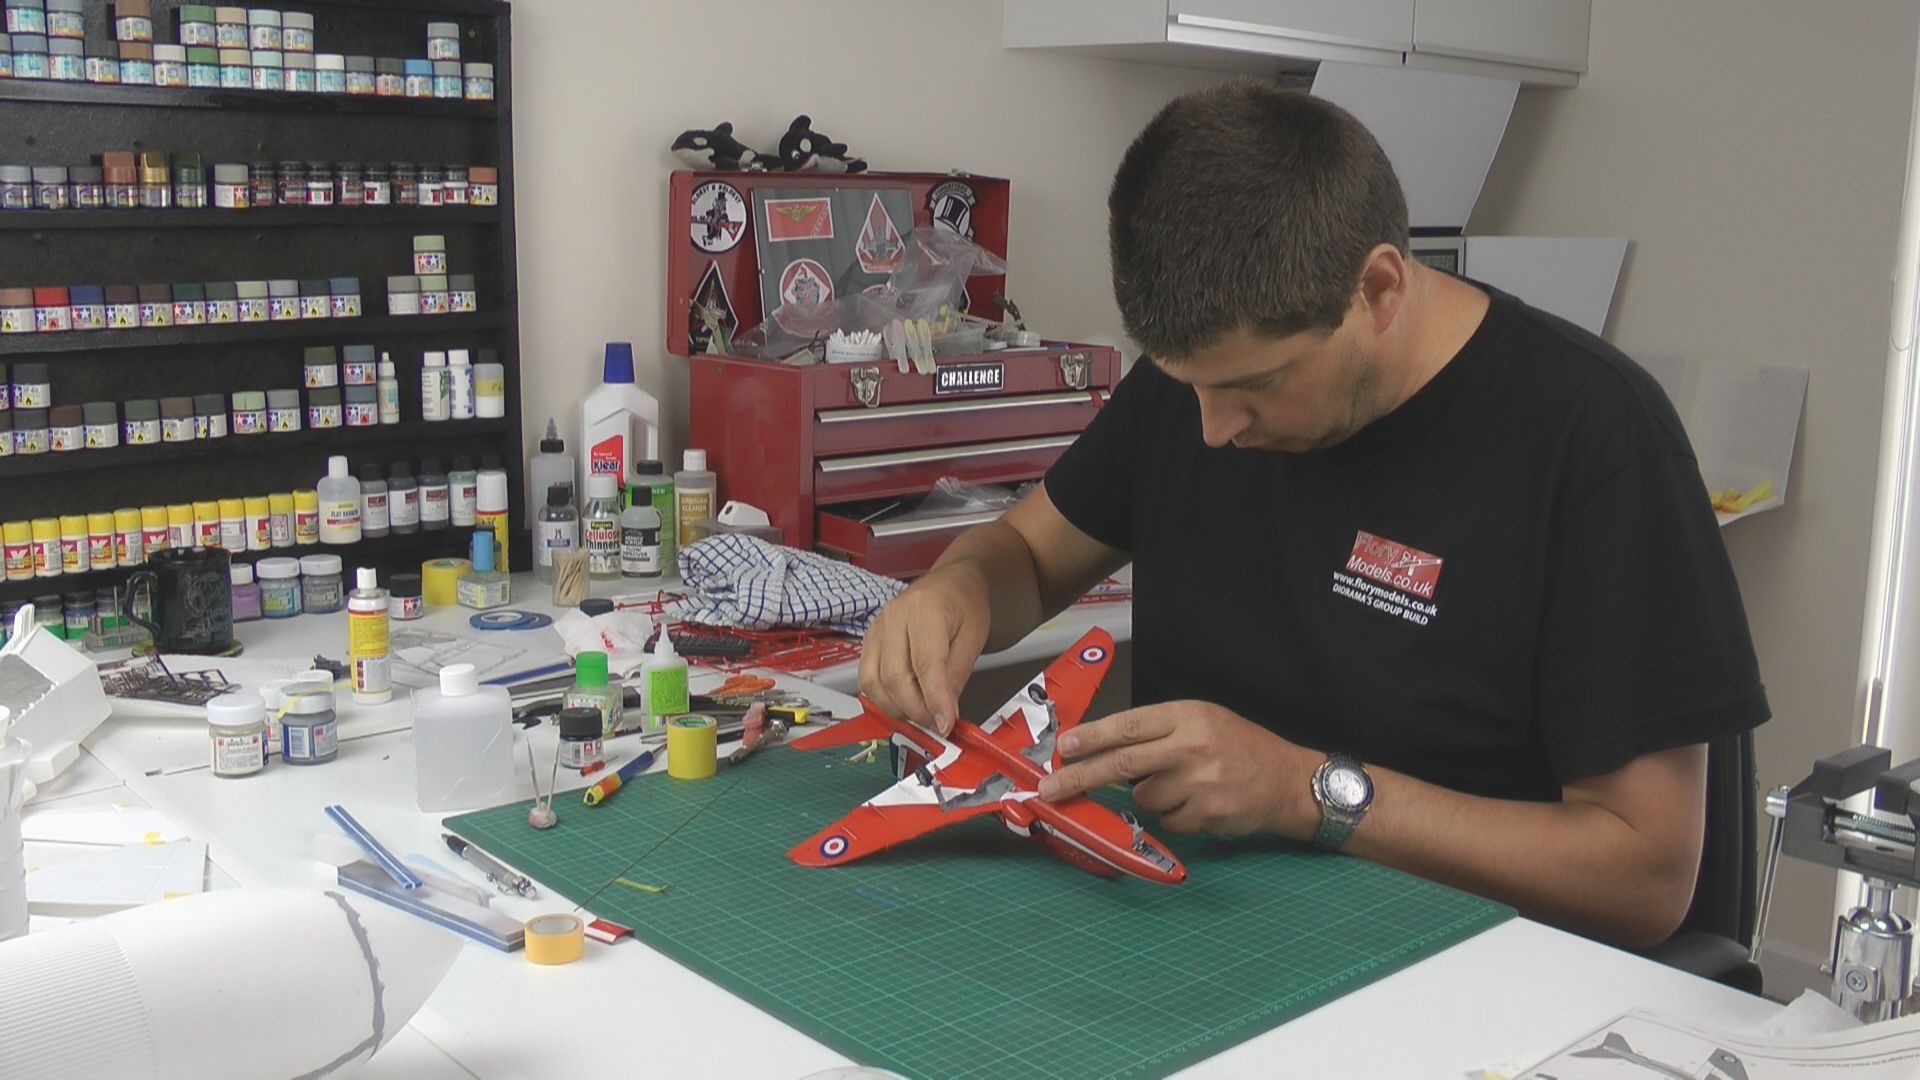
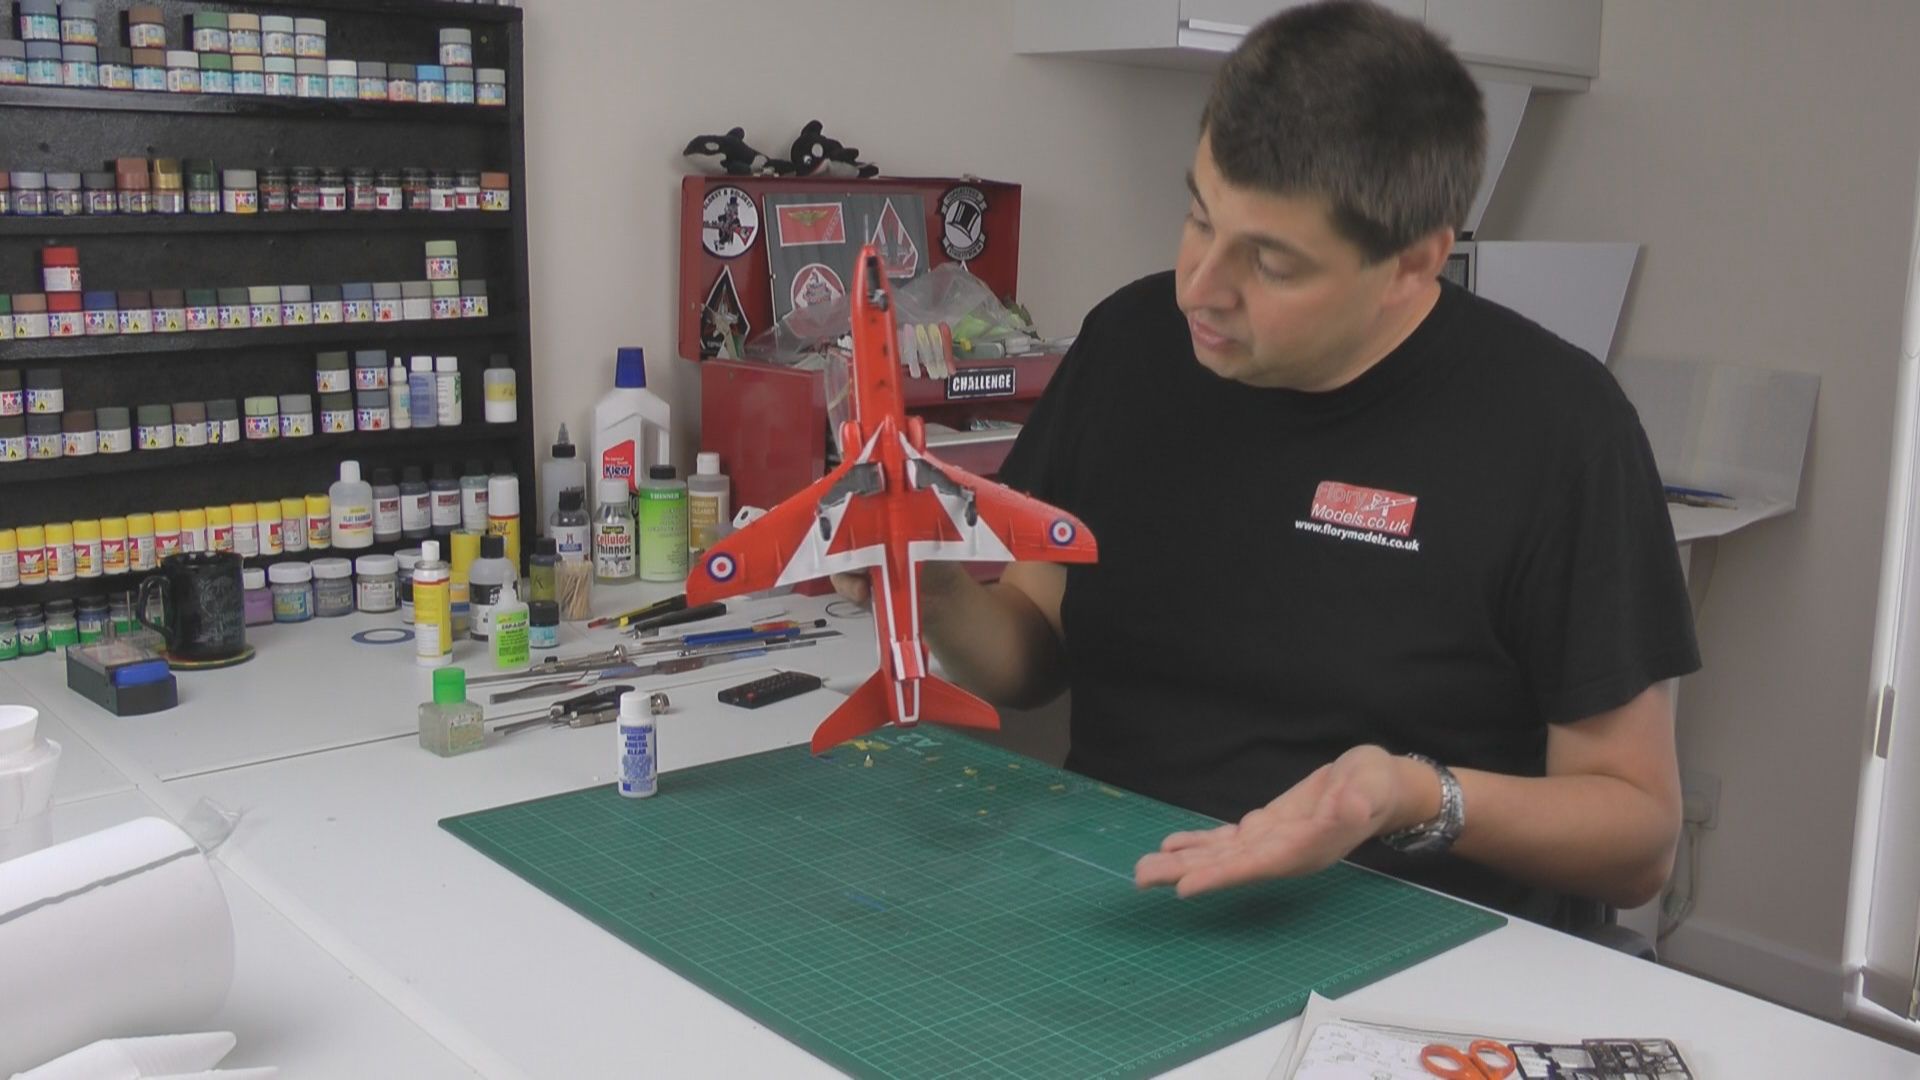
In Part six we work our way through the decaling and then ad the gear, gear doors and tank. We then take care of the wing nav lights.