Tamiya F-16CJ 1/48 scale

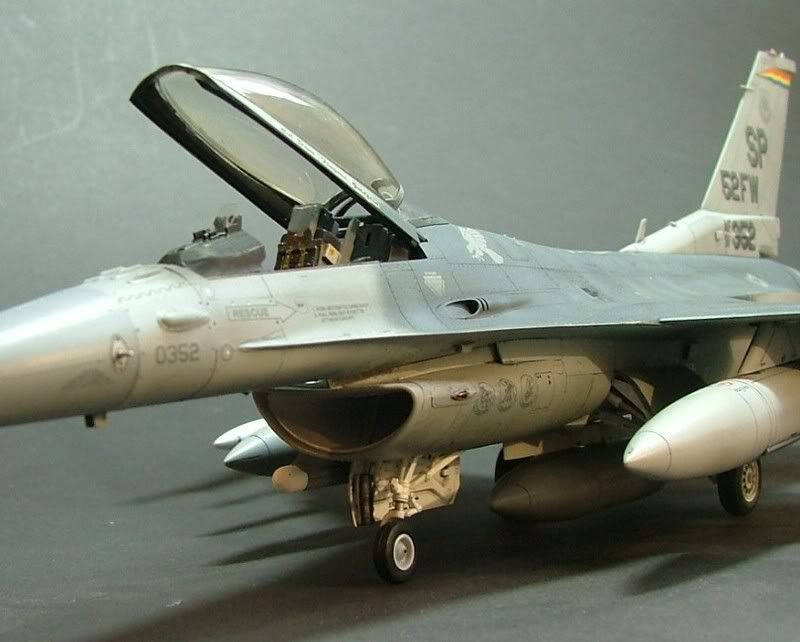
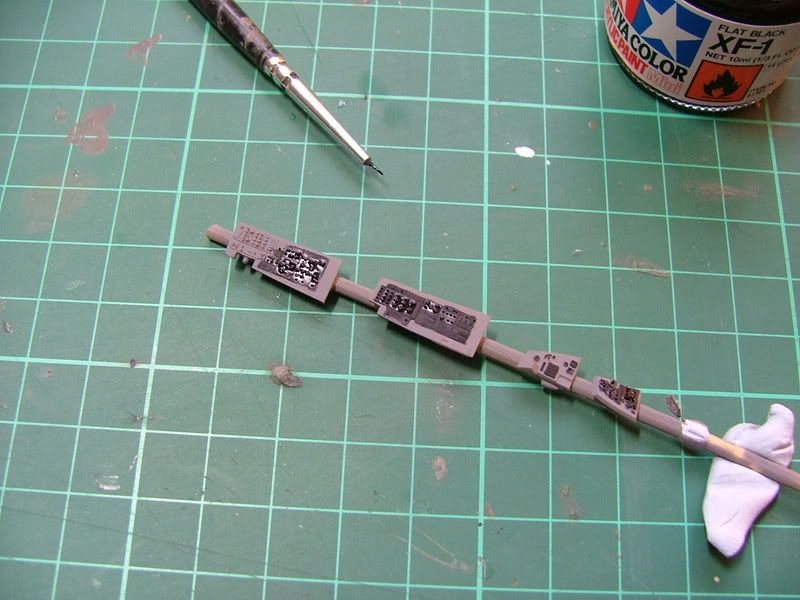
First of, it's the cock pit.
A very nice job Tamiya have done to and really no need for a resin replacement. I will be using a replacement seat thou.
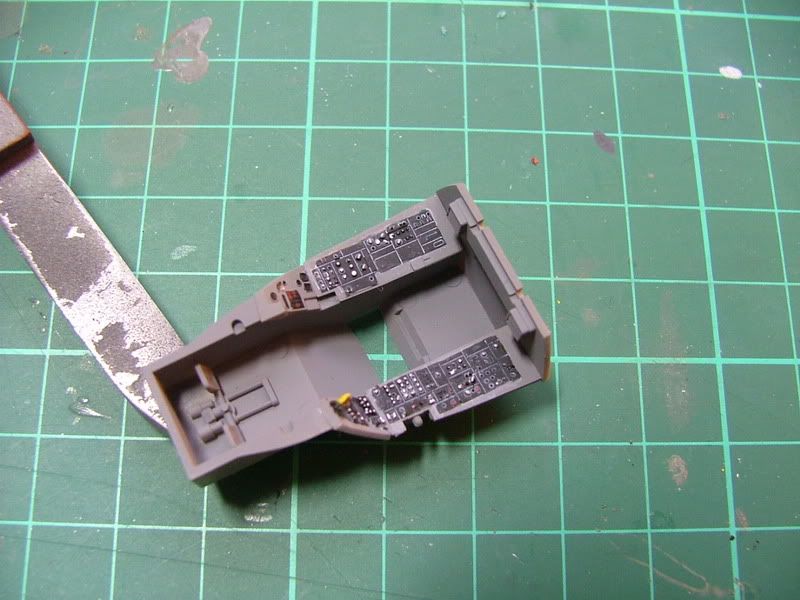
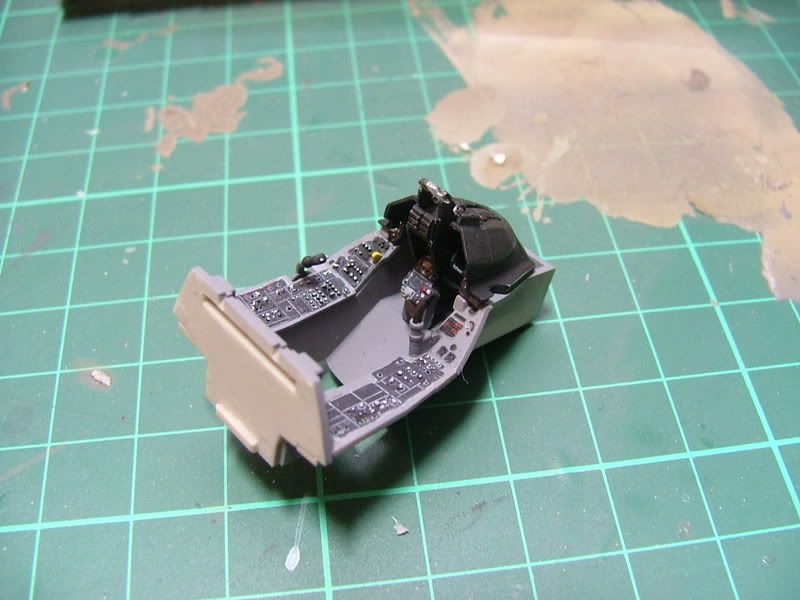
First I've painted the entire cockpit dark gull gray. Next I pick out all the panels with that flat black.

Next up It's out with the wash and wash out the hole cockpit with the dark.
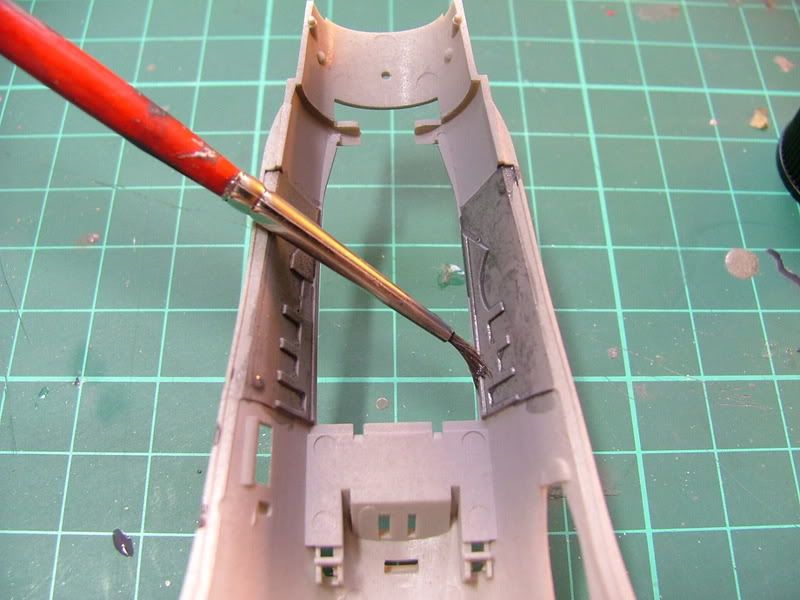
I then went over the panels with the light wash to bring the panel to life. Next I picked out the switches and lights with a cocktail stick.
Gear wells in and cockpit.
I thought I would do the lights (Tamiya clears)
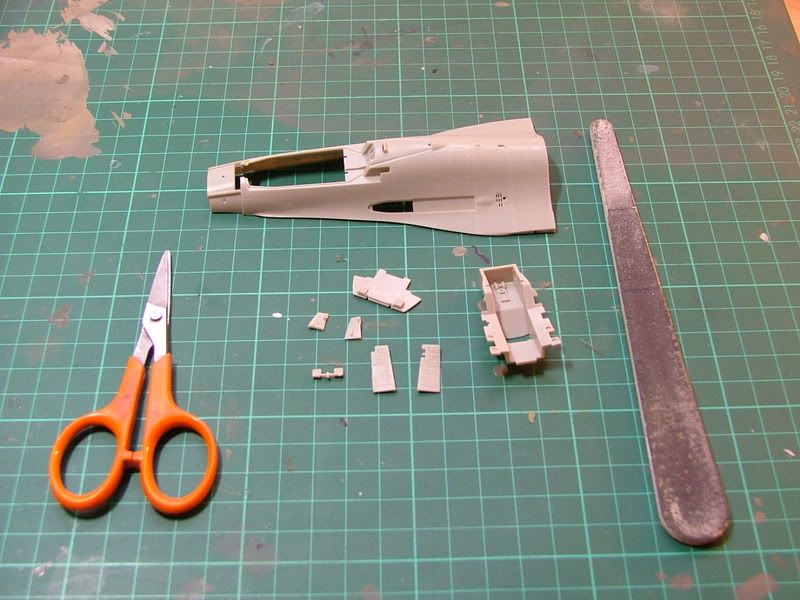
Next it's time to take care of the intake. I've built four of these now and getting the intake to line up is always a problem, but I think I've got the hang of it now.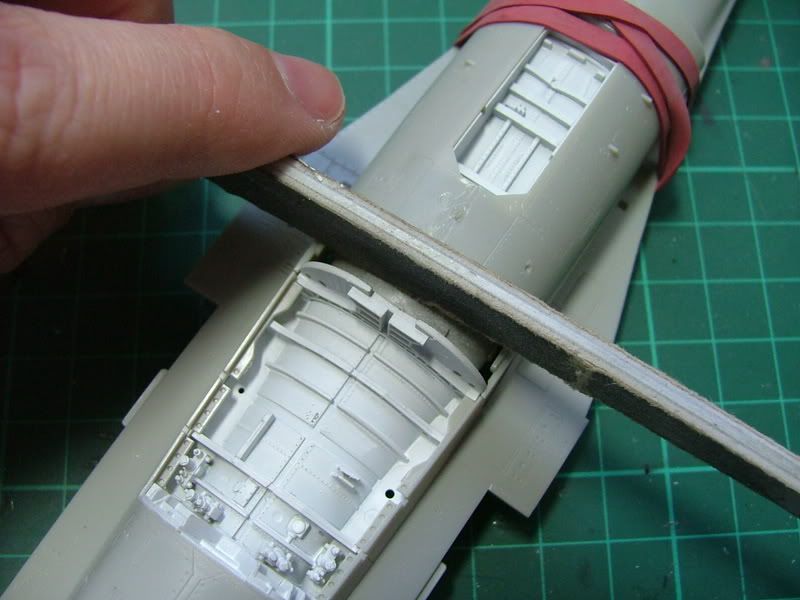

By using a sanding stick I push the front part of the intake up.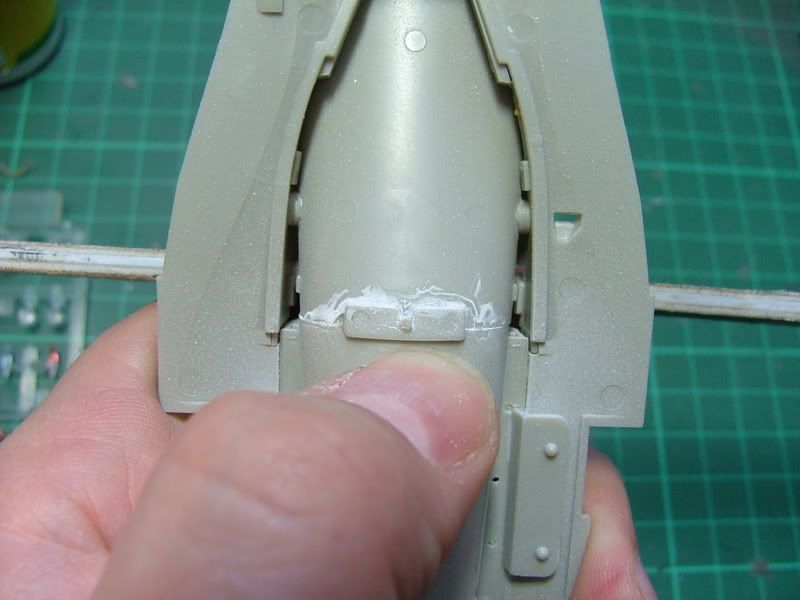
Then, using my thumb, push the rear part down, by pushing down and pulling the sanding stick up it lines everything up nice. If you have a look down the intake and are happy with it you can glue in place, I used super glue just on the top part that I pushed down with my thumb. A quick spray with some CA kicker locks it all in place, then I brushed on some tamiya extra thin to weld the whole thing in place.
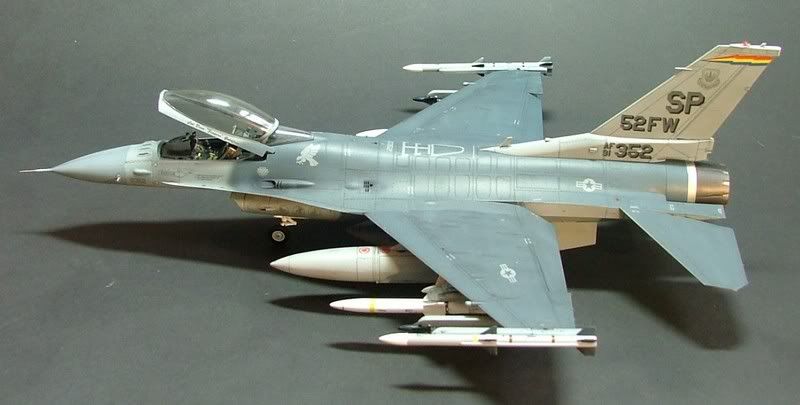
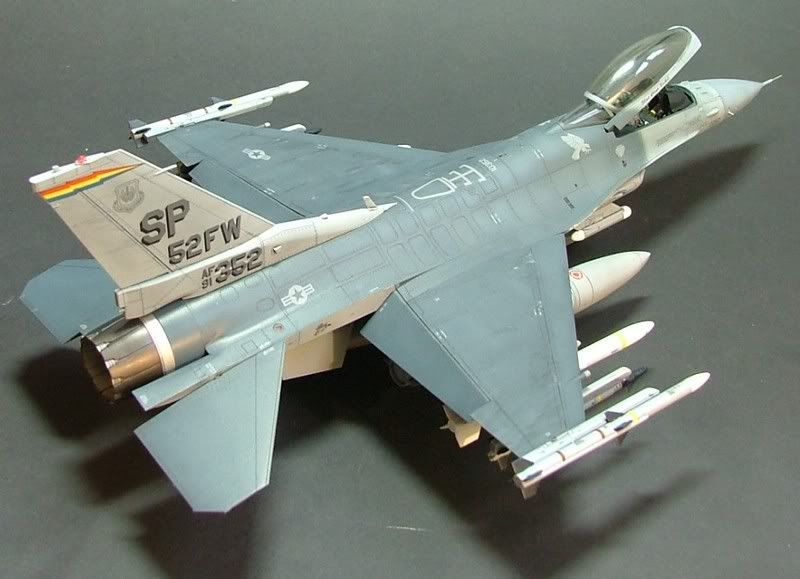
Next all the wings go on and tail, no problem anywhere.
To make the spraying easier I removed the main gear door hinges so I could close the main gear doors
Finished off the cockpit bit, found my resin seat won't fit, so I'll use the kit seat for now.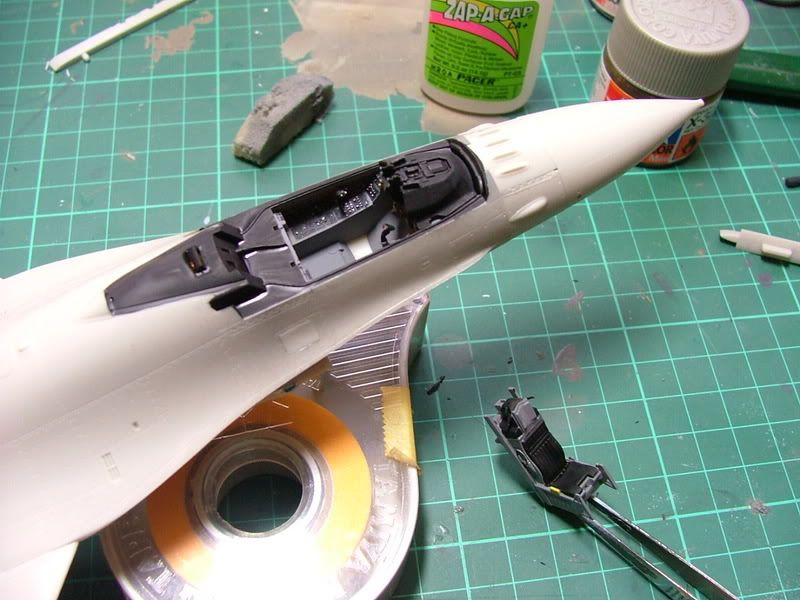
Next a look at the Tamiya seat.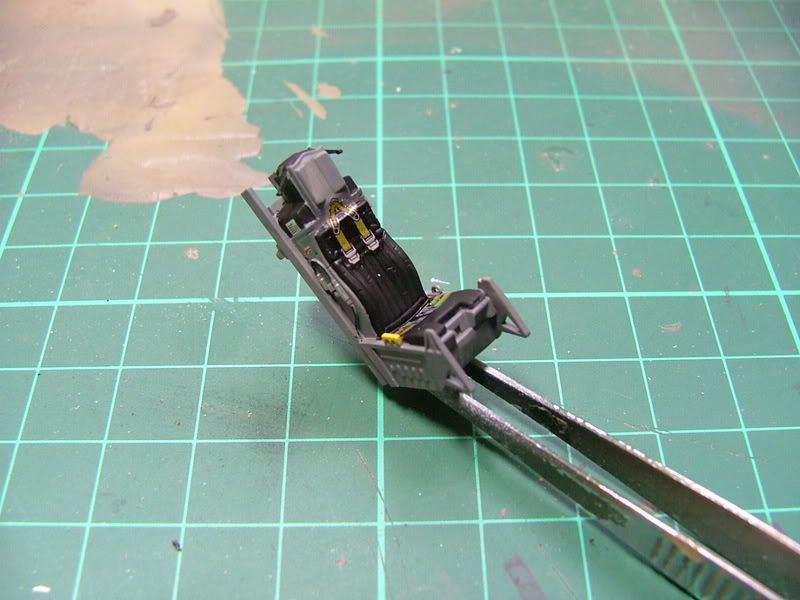
Then I washed out the wells to dirty thing up.
I closed up the wells using the main doors a blue tack for the front.
Mask up the canopies with tamiya and a sharp knife. Ive done a how to video which is on my site and I'll put it on hare later.
I then went to work on the pre shading, strait onto the plastic with flat black.
There is a full video on how this was sprayed on the Workshop video page.
Vallejo model air and FS36270 (049) light grey on the front and lower surfaces as well as the tail.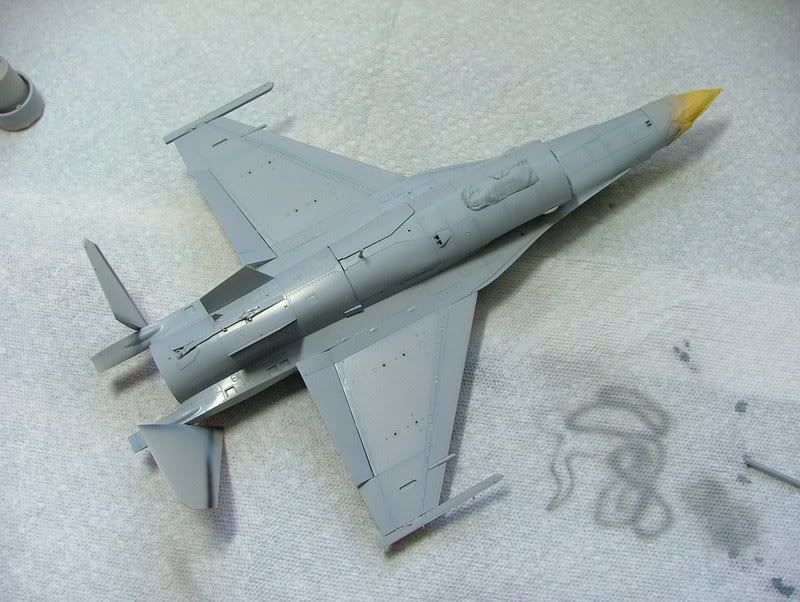
Next it's on with the Vallejo model air and FS36118 (053) gunship grey 
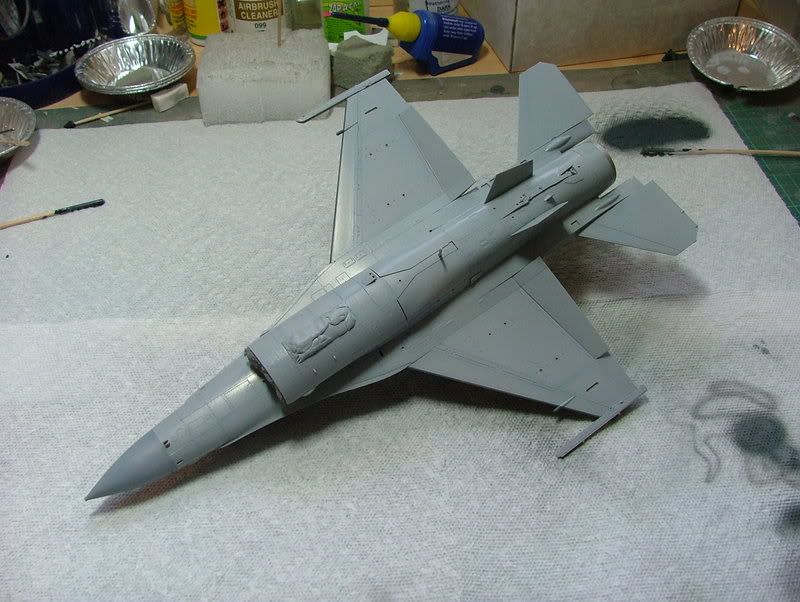
Then I went around lighting some of the panels.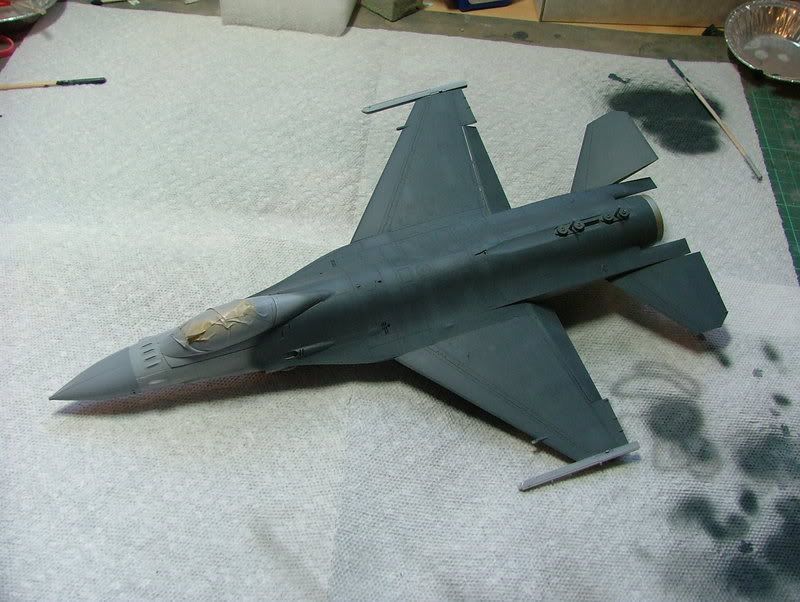
And dakened some of the panels on the light grey.
OK dark dirt wash on and dried.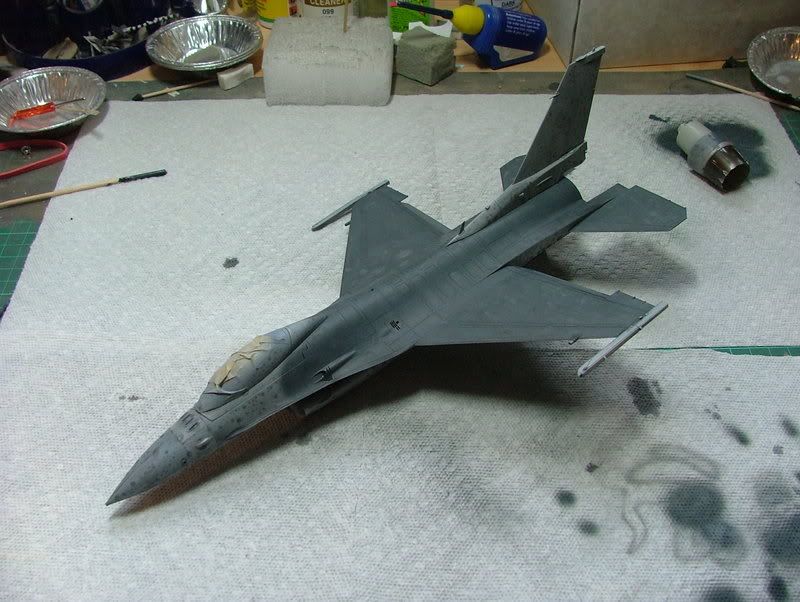

I've videoed the whole weathering stage and can be Sean on the workshop videos page soon.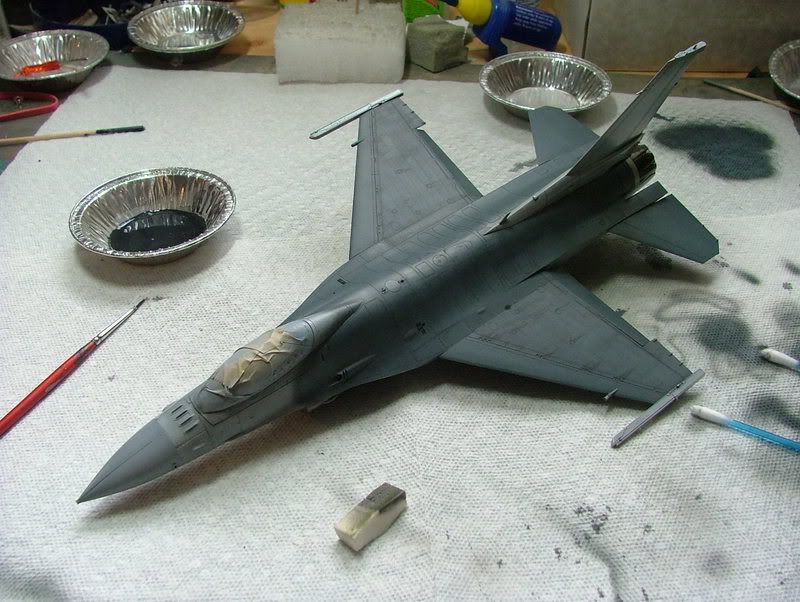
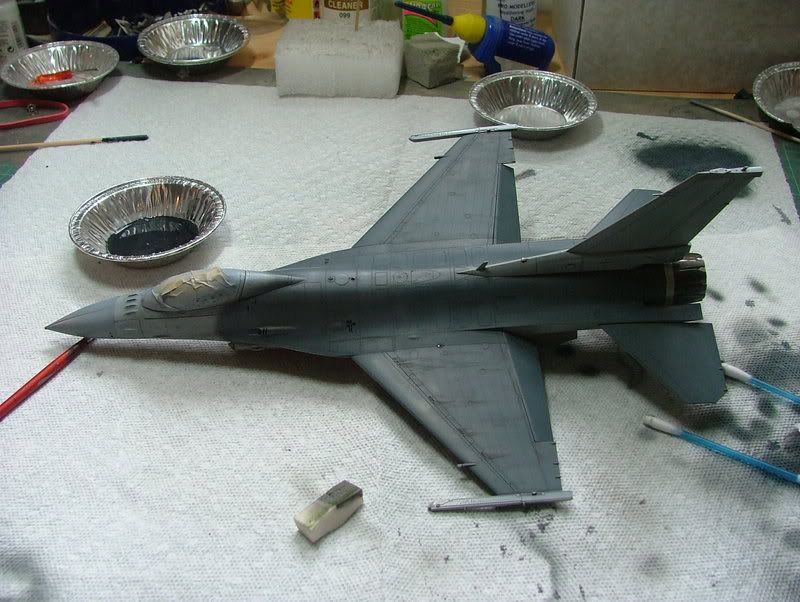
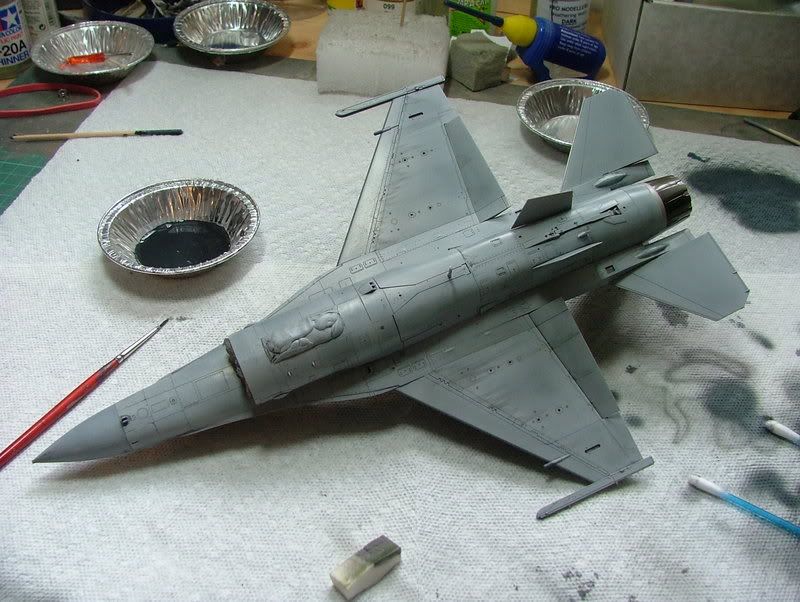
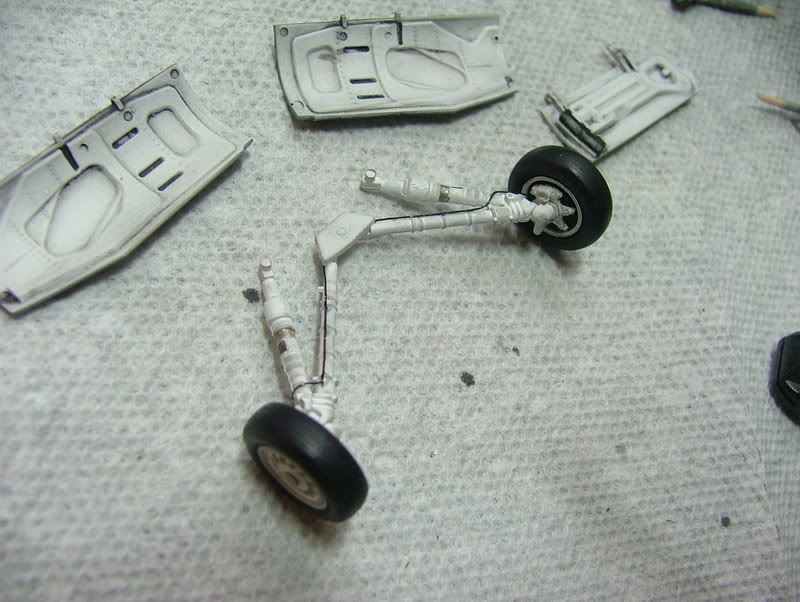
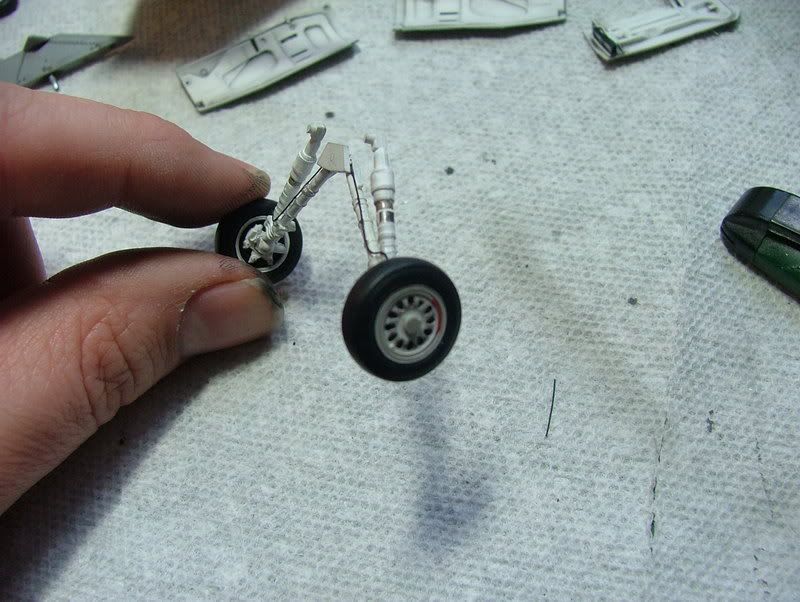
I added the main brake lines with fuse wire painted black.
On with the Kit decals, went on a dream even over a flat coat with a drop of Micro sol.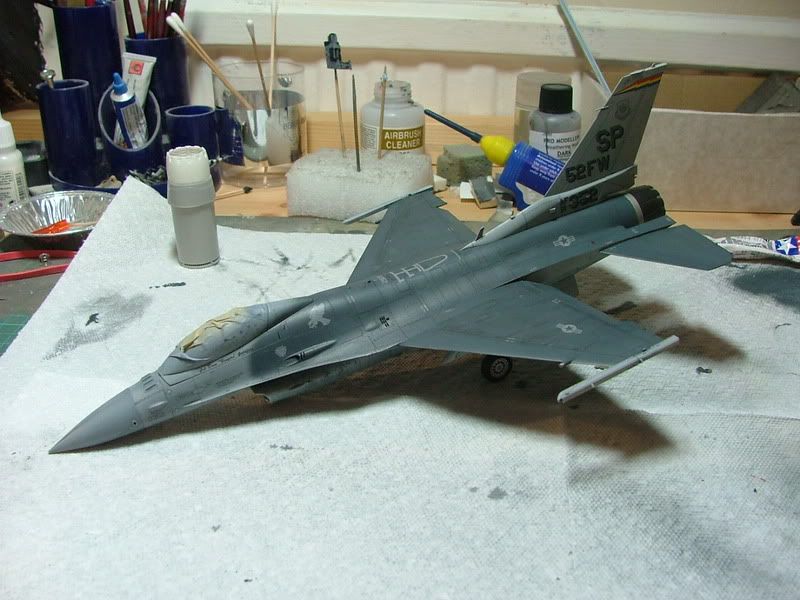


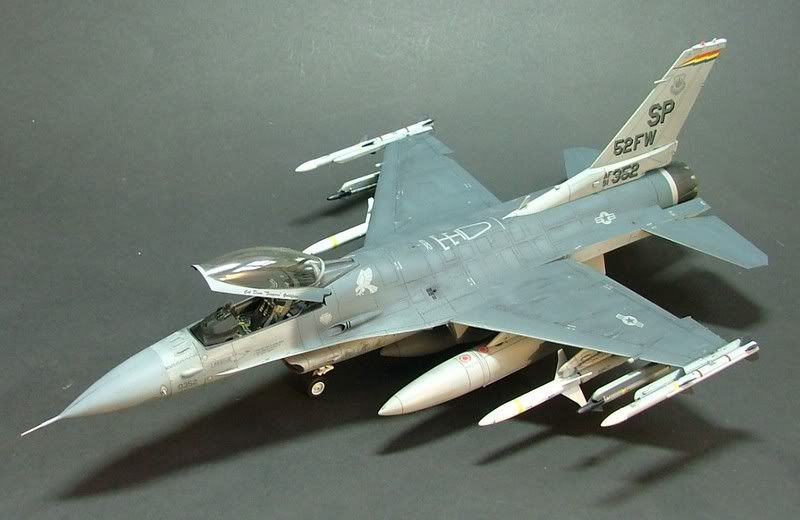
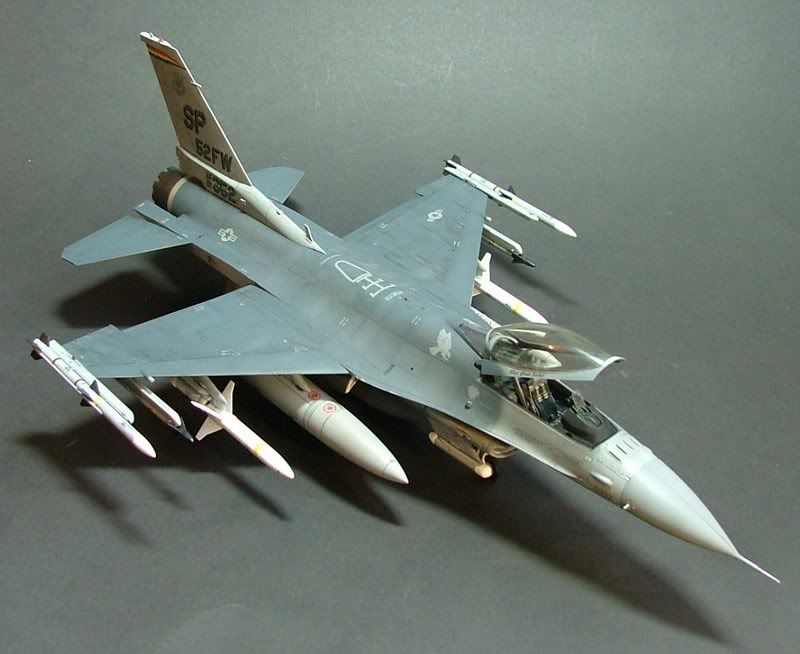
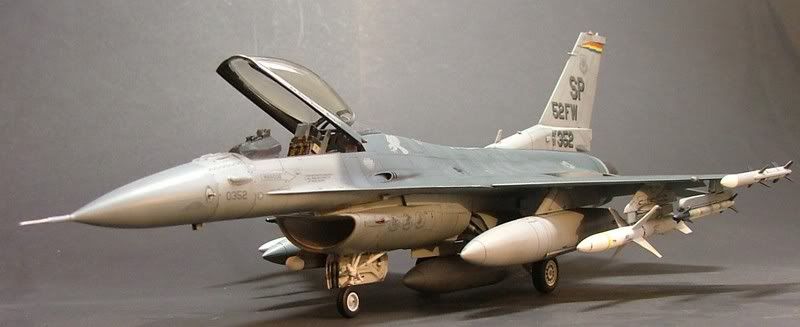
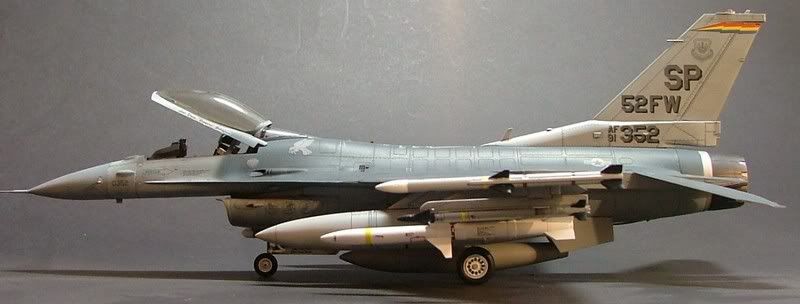
Next up, is puting it all to gether.