


P-61A Black Widow
By Robert Bedford
- Kit Manufacturer:- Great Wall Hobby
- Scale:- 1:48
- Type:- P-61A Black Widow
- Extra's Used:- Ultracast Propellers
- Paints Used:- Gunze Olive Drab H52, Neutral Gray H53, Vallejo & Tamiya acrylics used for detail work.
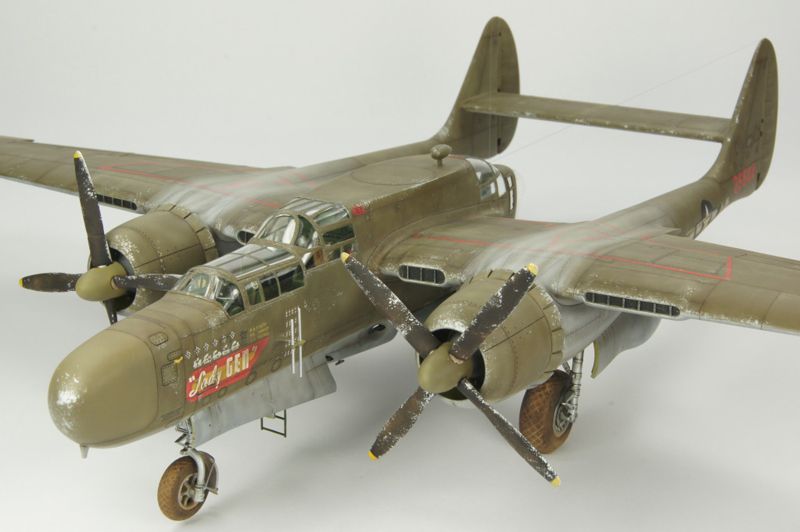
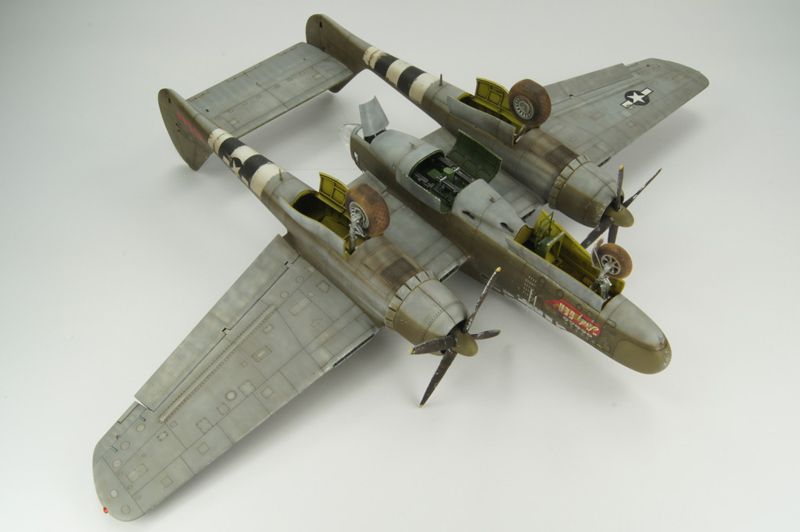
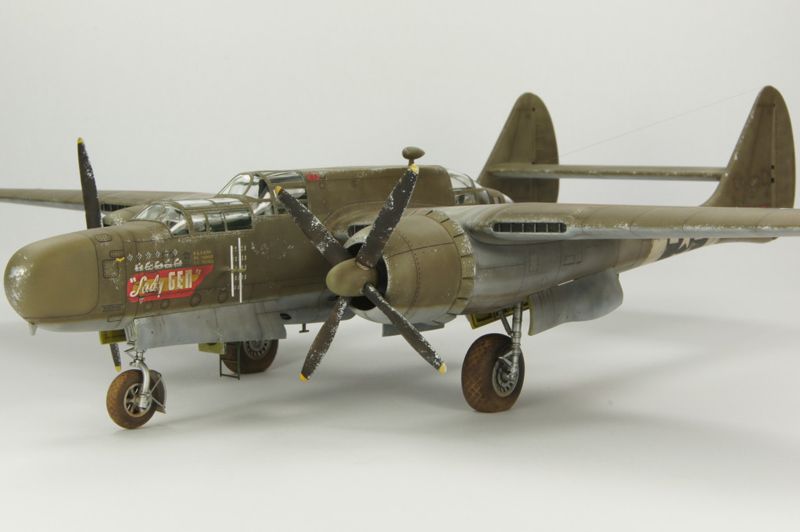
Here is my build of the fantastic, (nearly OOB) Great Wall Hobby P-61A Black widow. It would have been OOB if it wasn't for the kit propellers.
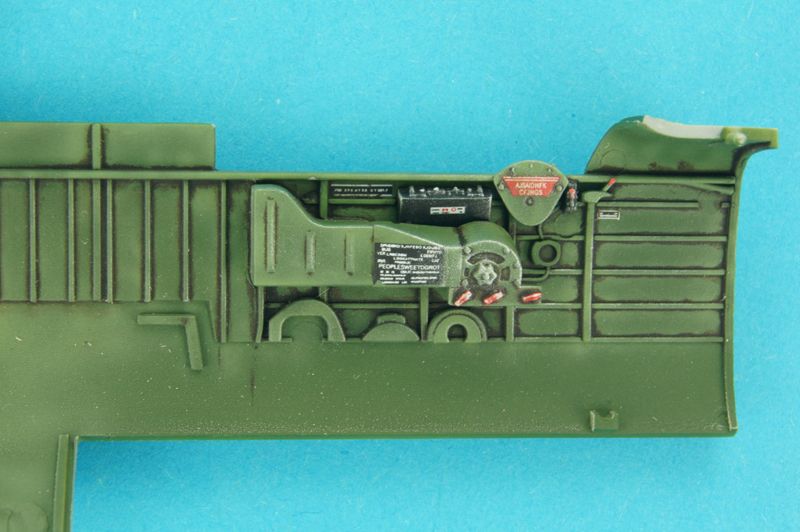
The cockpit parts went together really well, but later on in the build i found that if you glue the parts to the side wall of the fuselage in the wrong order, it'll not fit and cause all problems.
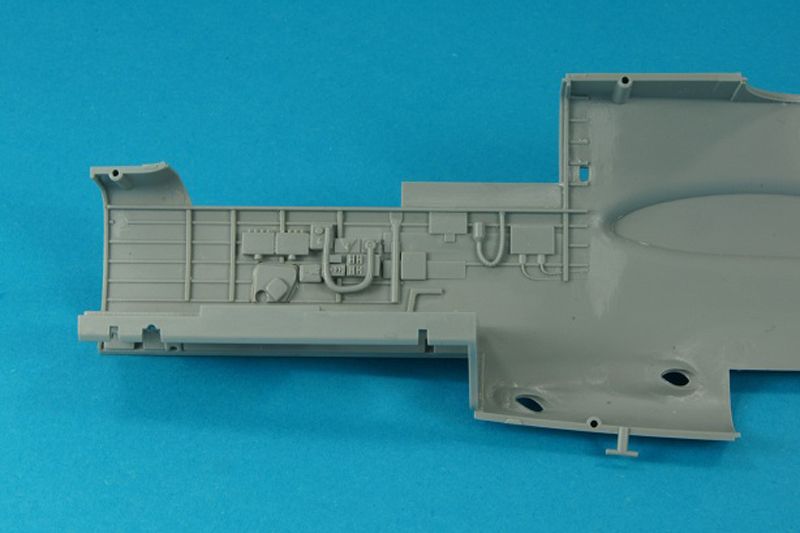
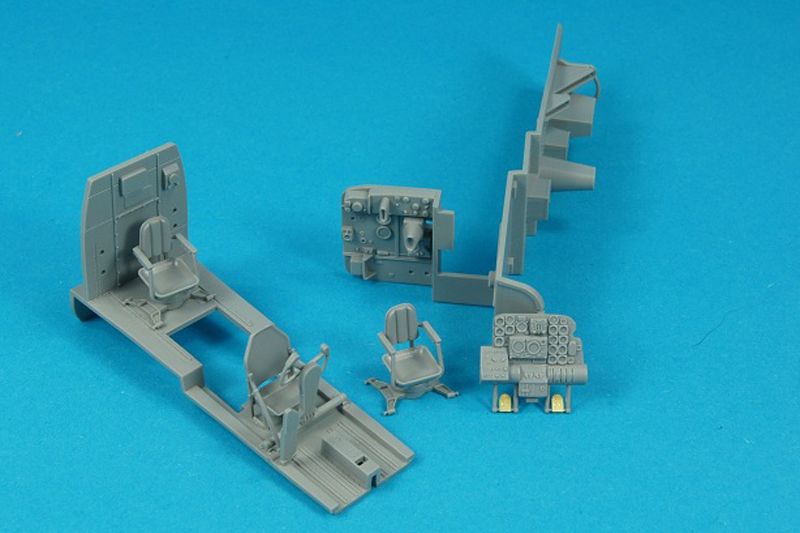
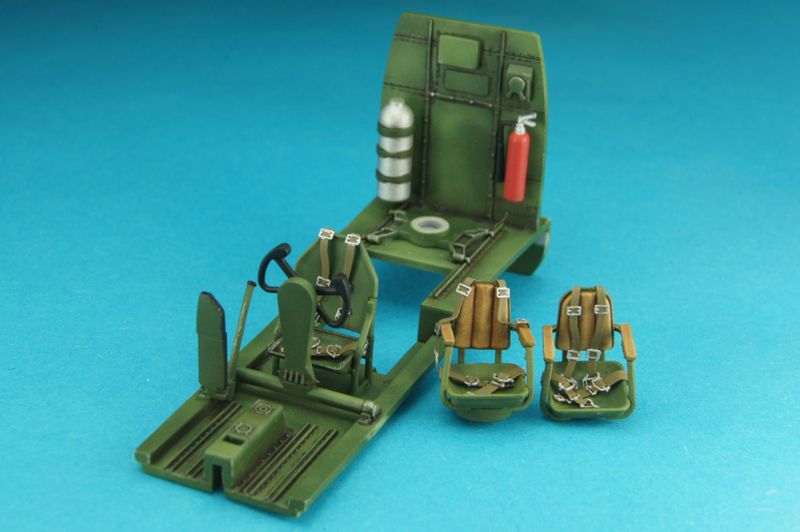
All the cockpit
parts finally base coat painted and using some Gunze white to give some
weathering. I used Tamiya XF-5 for the cockpit colour, then after some
weathering with airbrush, i sealed it all in with some Johnsons Klear ready for
the wash.
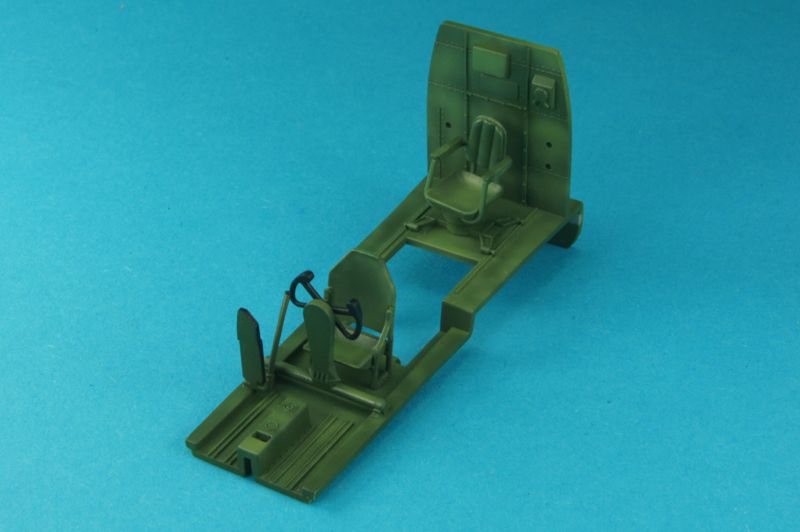
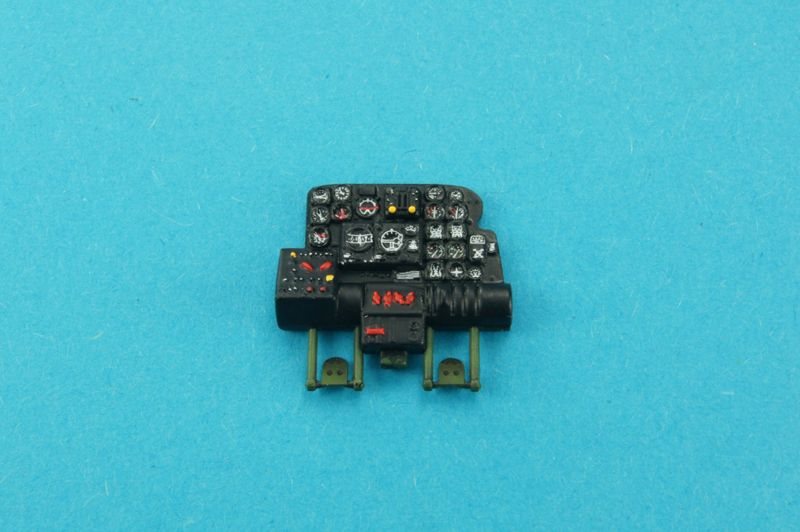
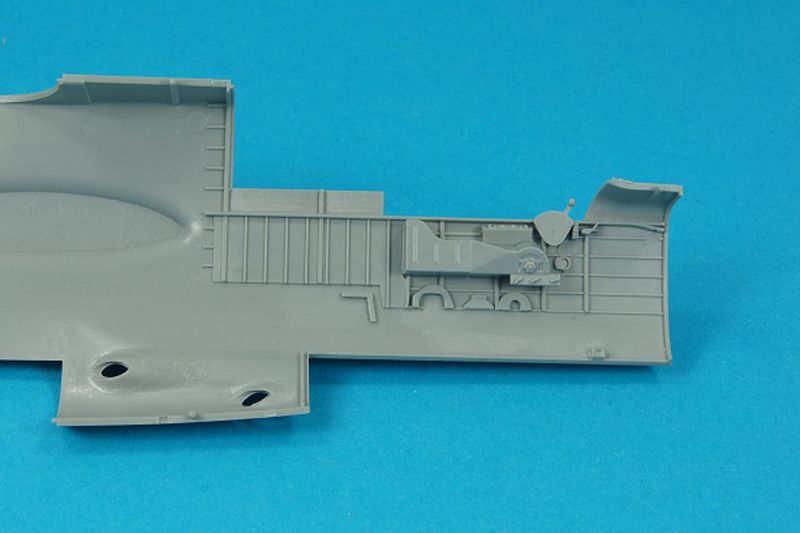
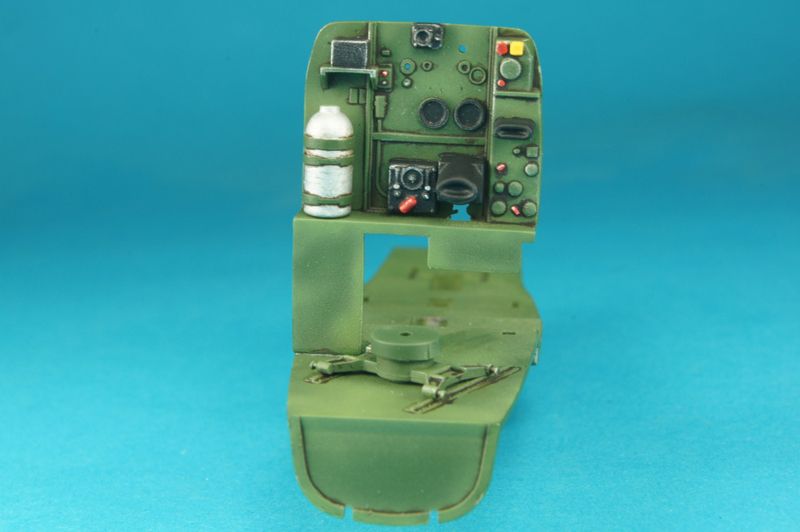
All the details picked out with Vallejo model air acrylics using a paint brush, and the wash on. Decals are provided for the cockpit placards, which is a nice touch.
he kits seatbelts were used which were quite pliable, these were painted Tamiya XF-49 Khaki. The rest of the detail was again picked out with Vallejo acrylics.
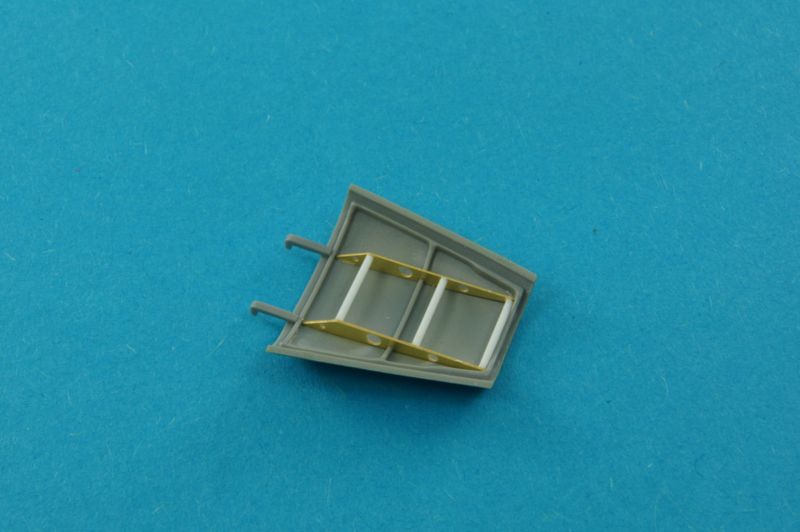
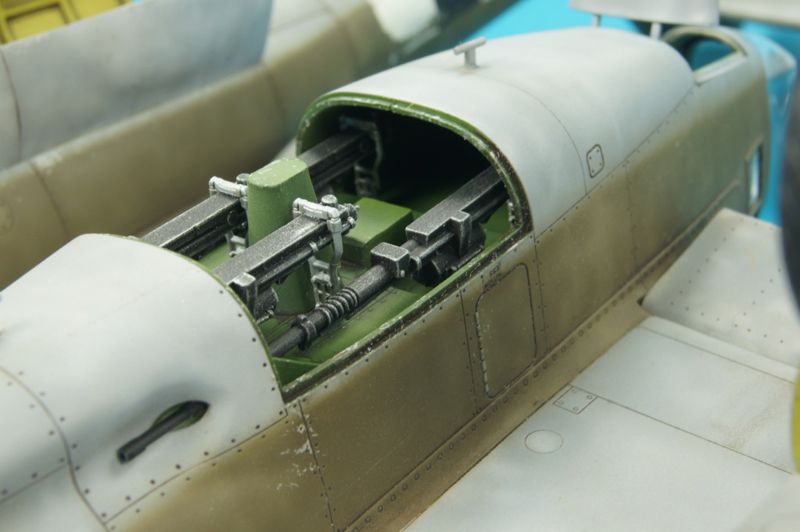
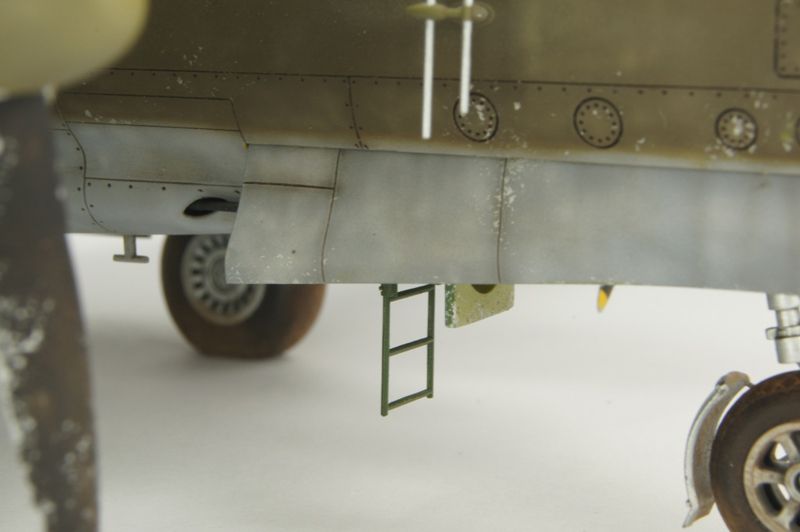
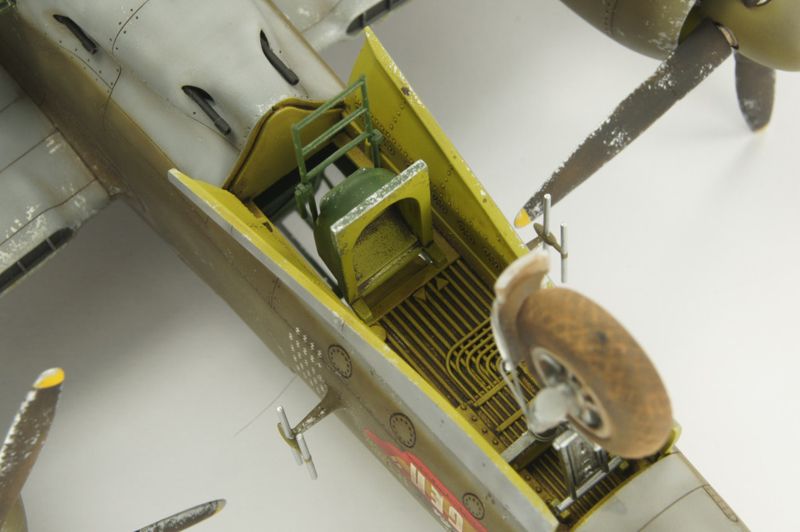
The kit
provides a piece of plastic rod for the rear access ladder and PE parts.The
front access ladder can be placed on afterwards when the build is finished, by
cutting top of the T that allows it to hook on, which allows ease of painting
later.
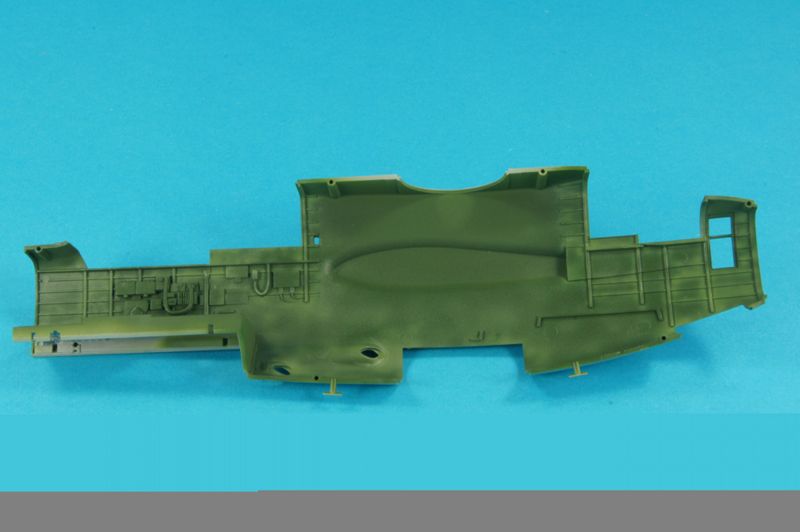
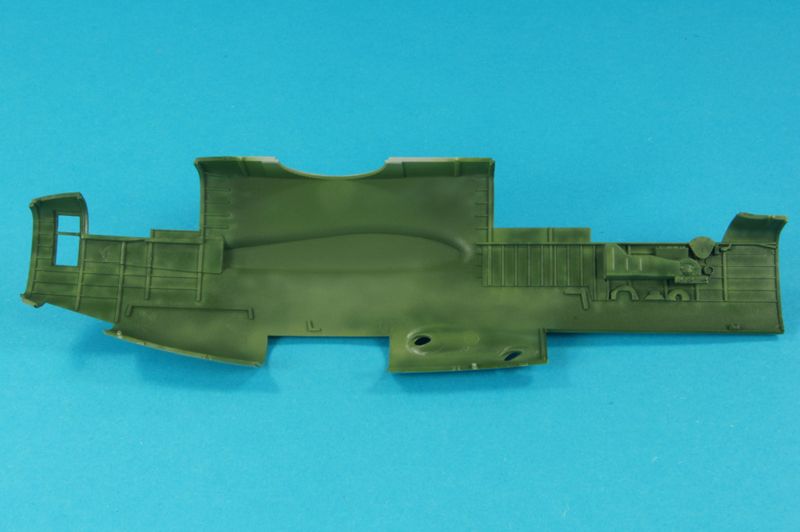
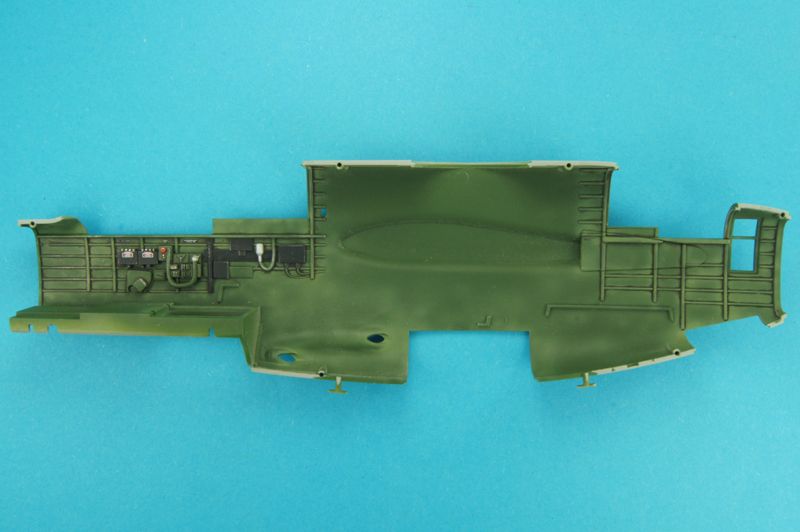
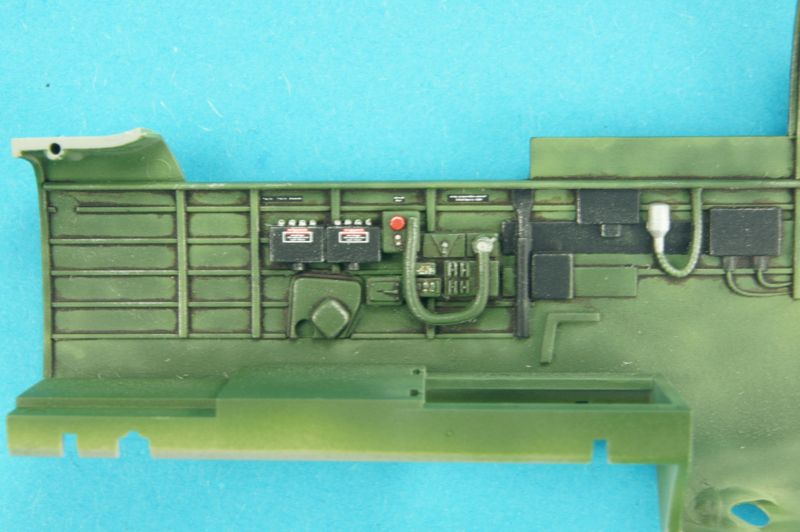
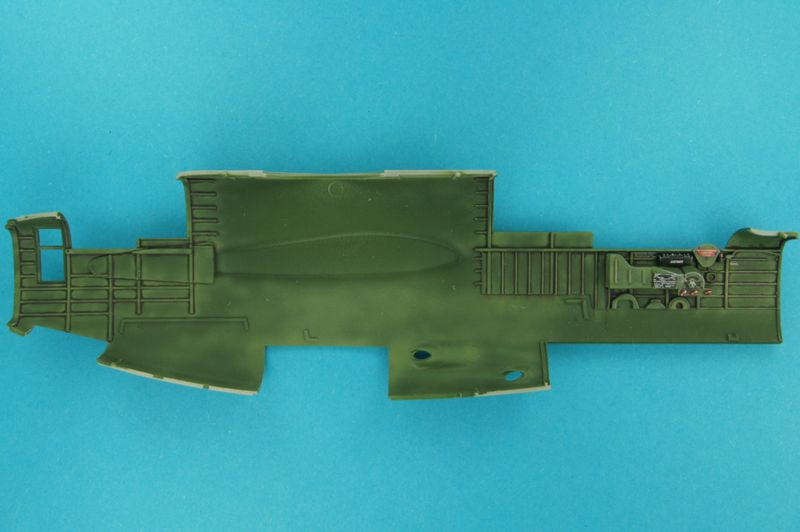
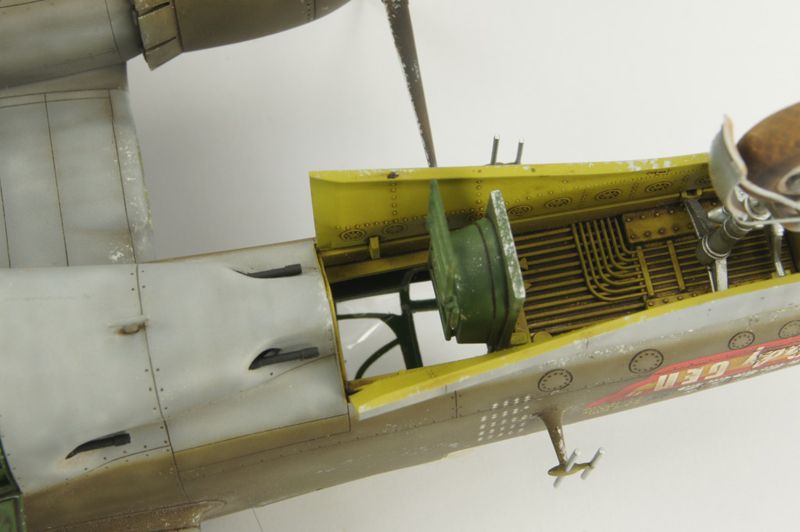
That's all the fuselage parts put together, as i said earlier that the parts have to be put in order. Do not glue part F34 first as it makes part F30 push upwards and outwards. Put part F34 in last after parts F30 cockpit floor and F33 gun bay floor.
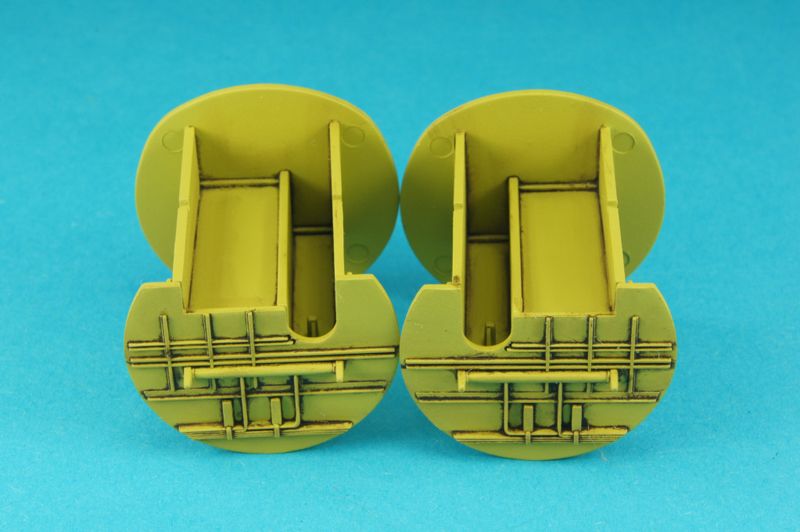
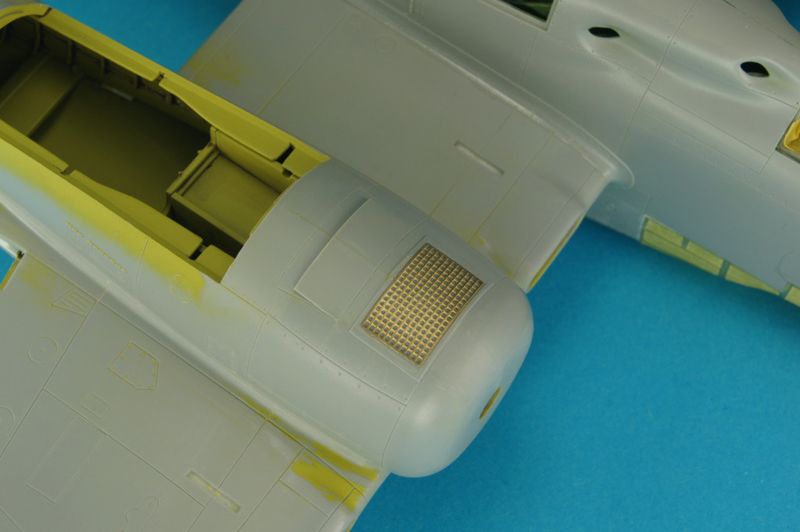
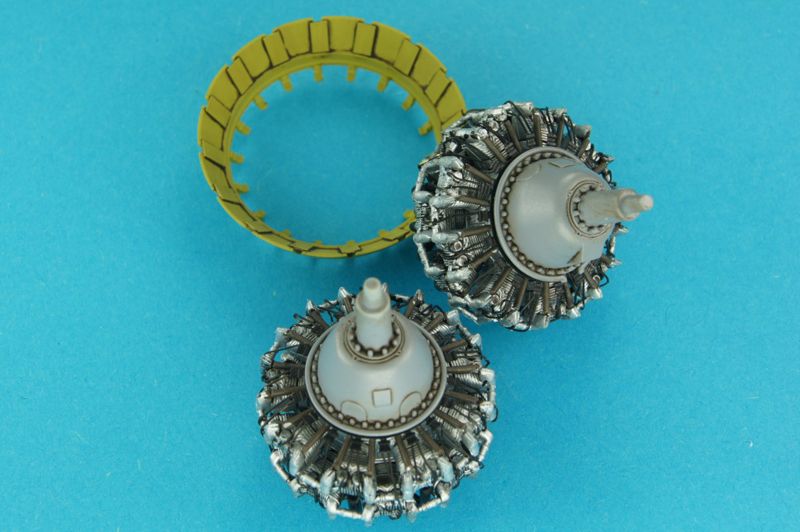
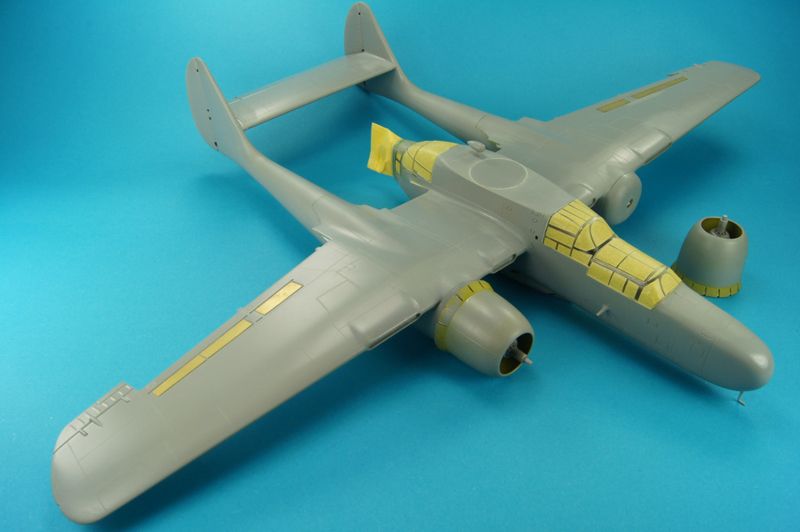
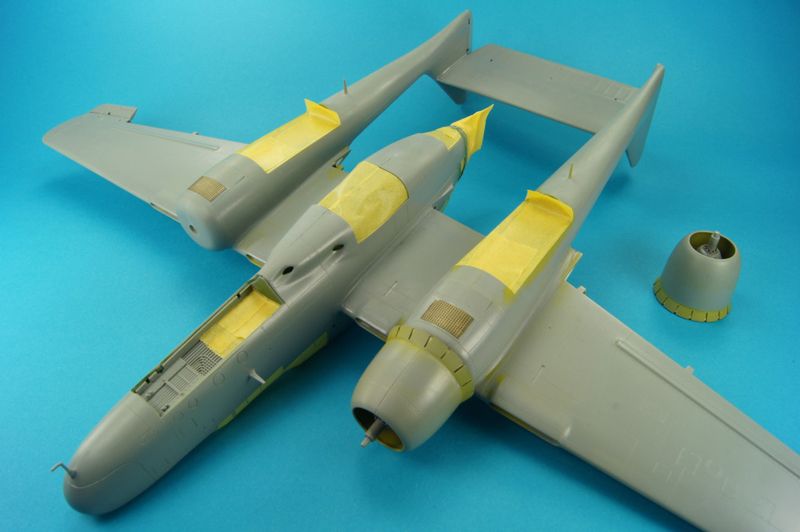
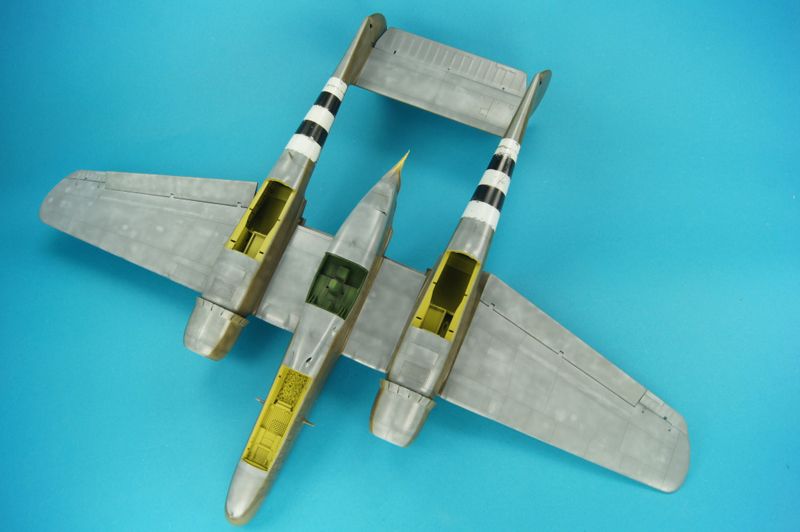
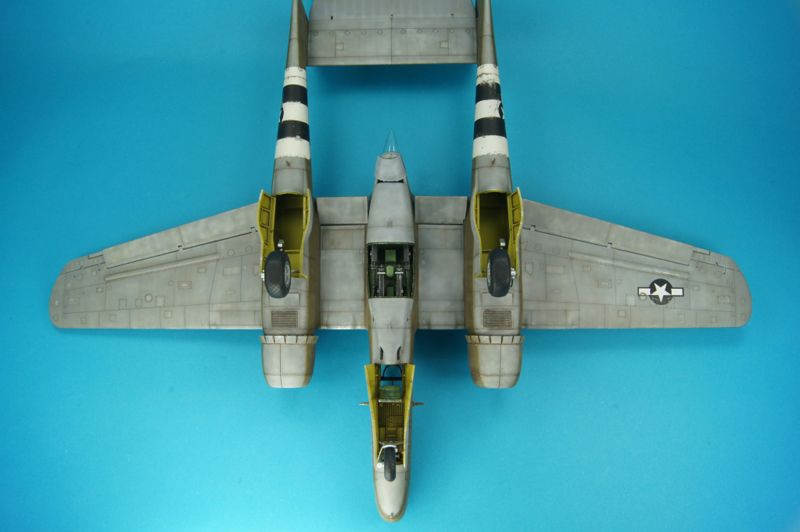
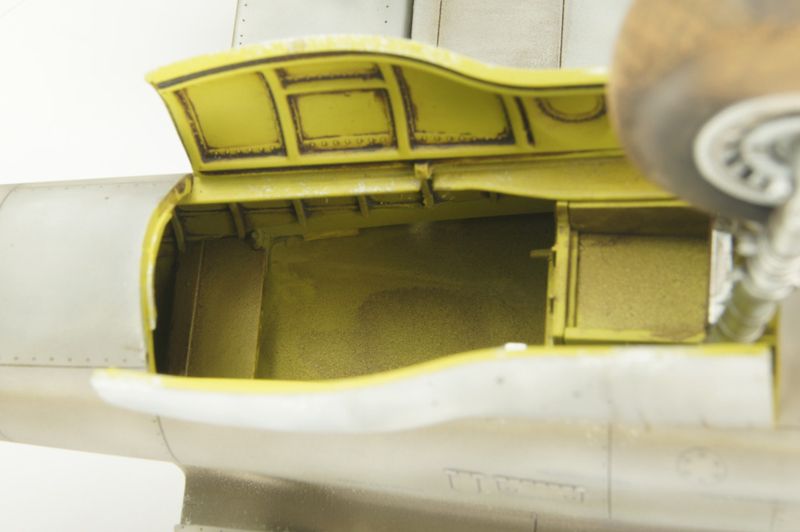
All three wheel bays should be painted Tamiya XF-4 yellow green. Then a coat of Johnsons Klear before a wash of Raw umber oil wash.
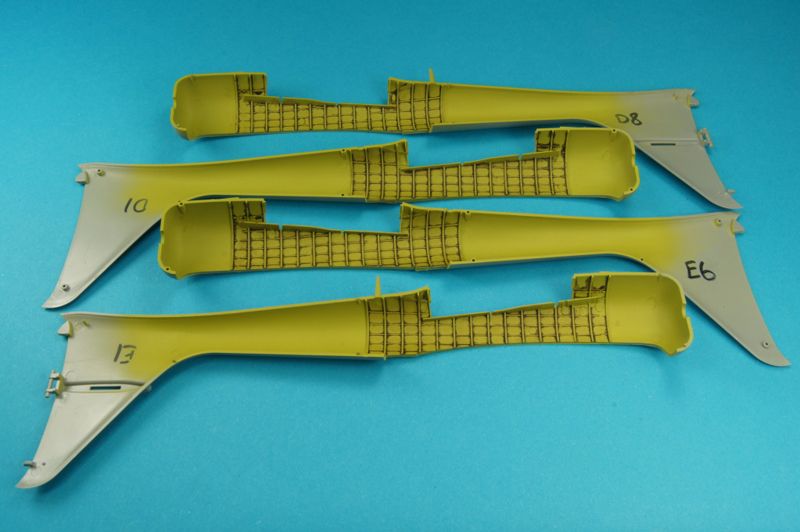
The boom halves were glued and then subsequently glued to the wings, the joint was good in places.
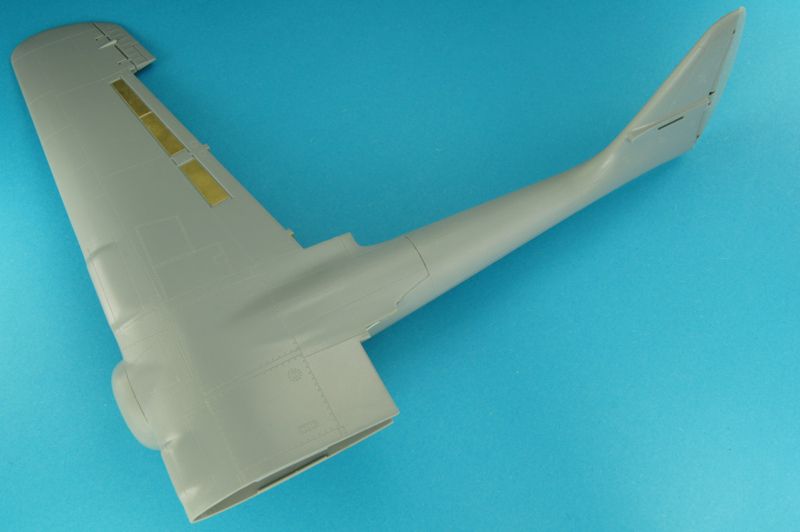
All the PE parts were glued into place, the instructions have you to glue the landing gear into place as when you glue the two halves of the booms together, also the main fuselage. But i found that the landing can be placed into position anyway after, so this will be left off till later.
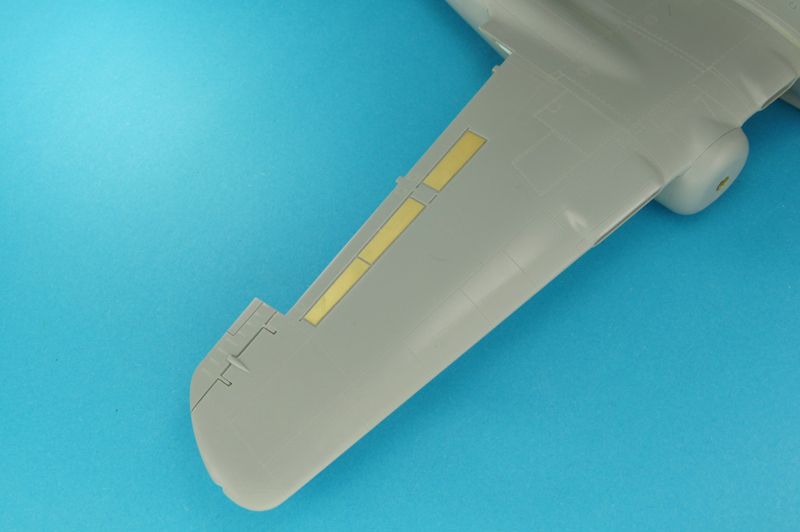
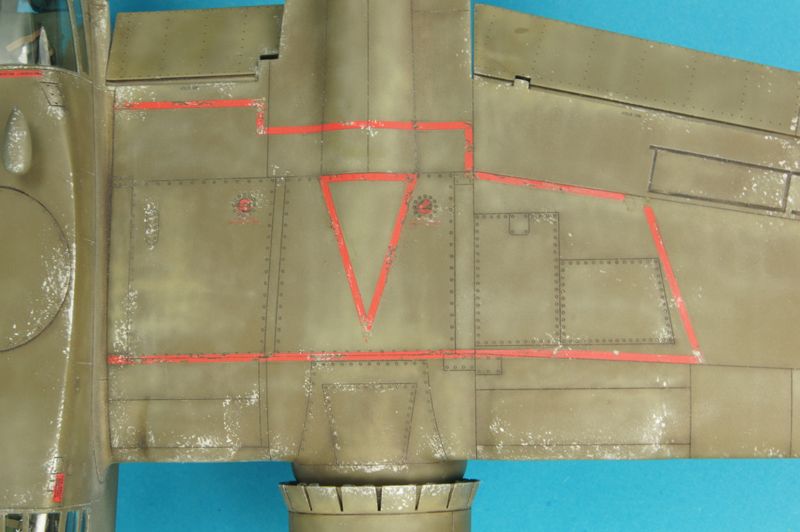
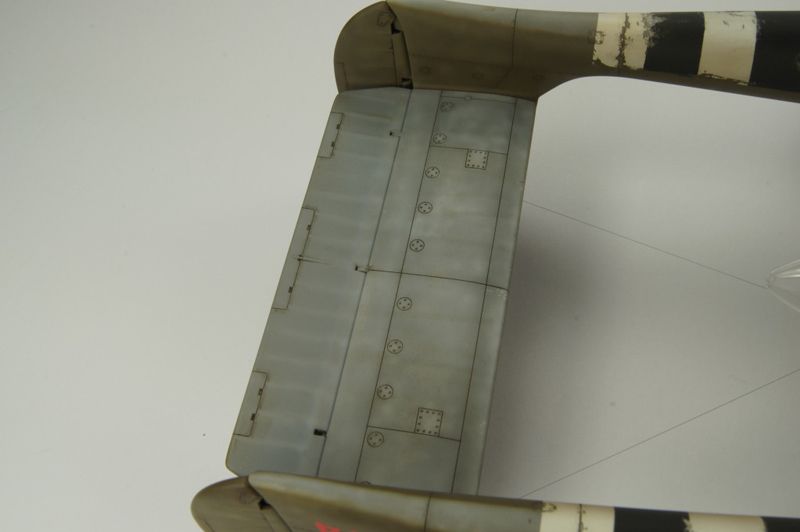
These PE parts on the top of the wings are not airbrakes. These are infact like ailerons and operate independently, so these were never up on both sides together and they were never up on the ground.
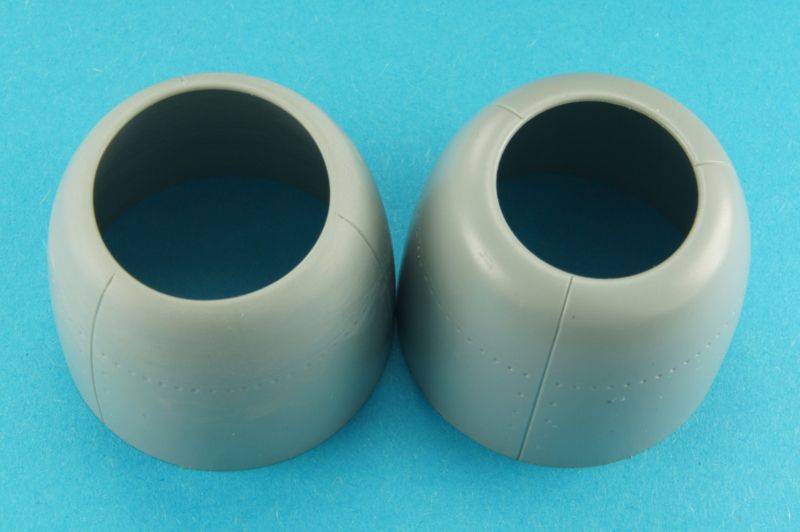
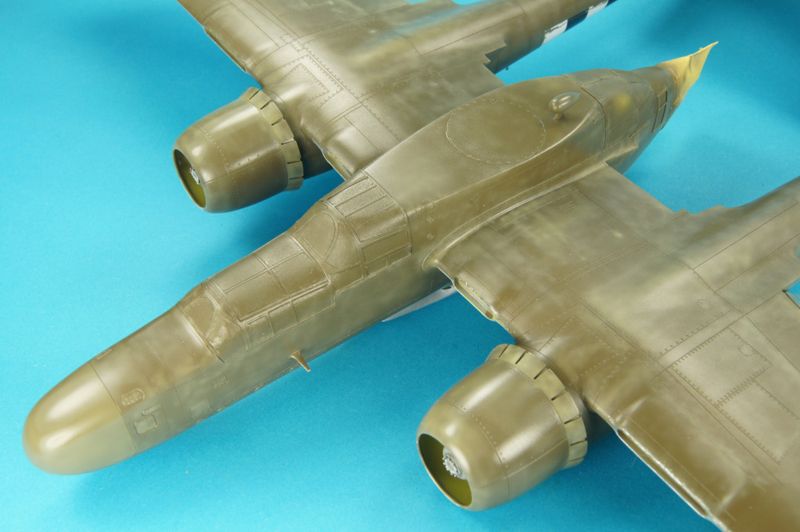
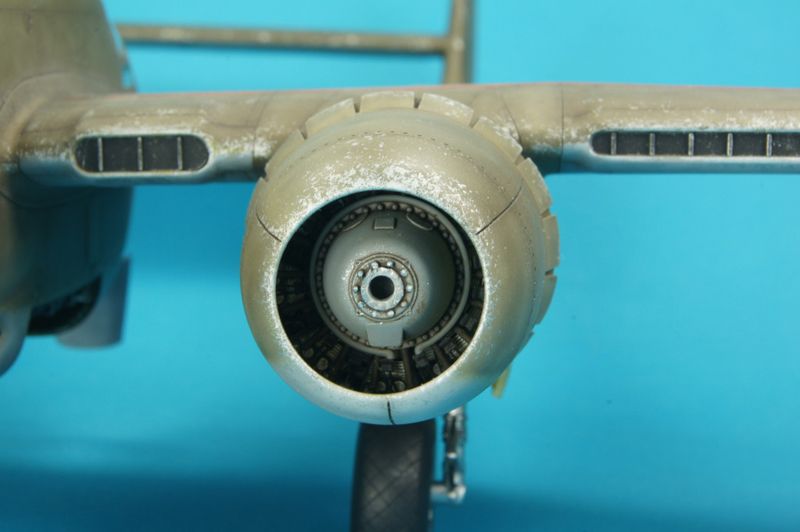
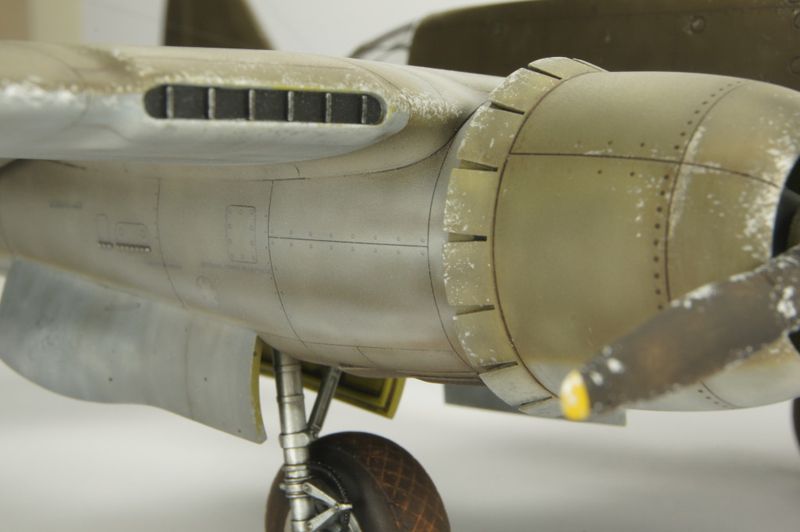
The first problem with
the kit is the cowling openings are too narrow, so instead of buying new ones
these were simply scraped out with a knife, and then sanded, working from 180
grit all the way to 12000 micro mesh.
The cowling on the left is the
modified one / The cowling on the right is the kit version.
The second problem with kit is that, if you want the cowl flaps to be open there should'nt be gaps in the middle. Some very thin plastic card was cut into small rectangles and glued into position.
The kits R2800 engines
are not bad, but there are the matter of the missing magnetos, also the
cylindrical cover for the crank case is missing.
Plus missing in this
photo is the PE ignition harnes, which fits really good.
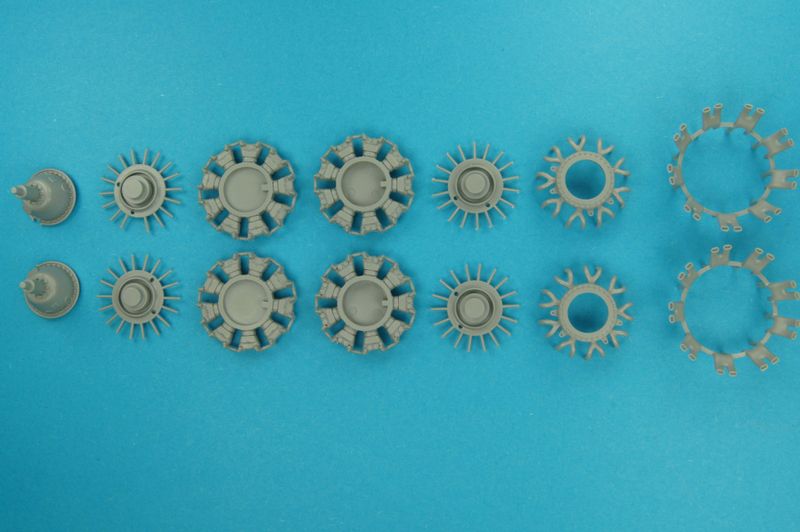
The engines fit together really nice, despite being a very tight fit, but they are very impressve straight out of the box.
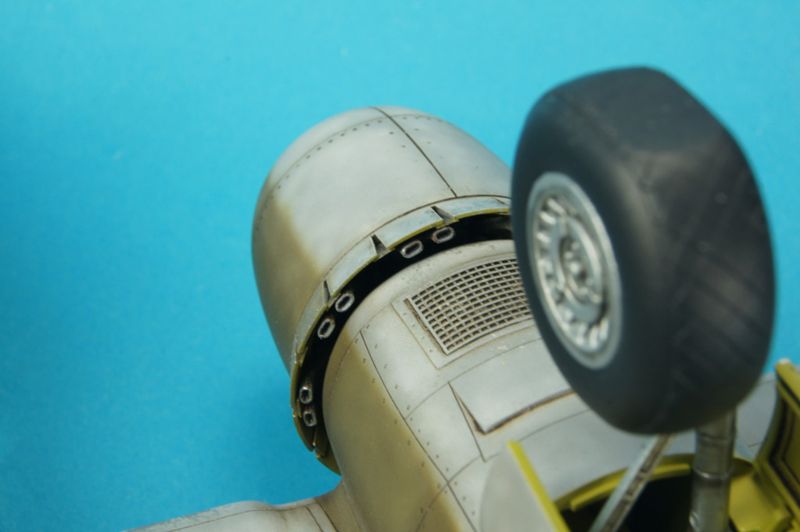
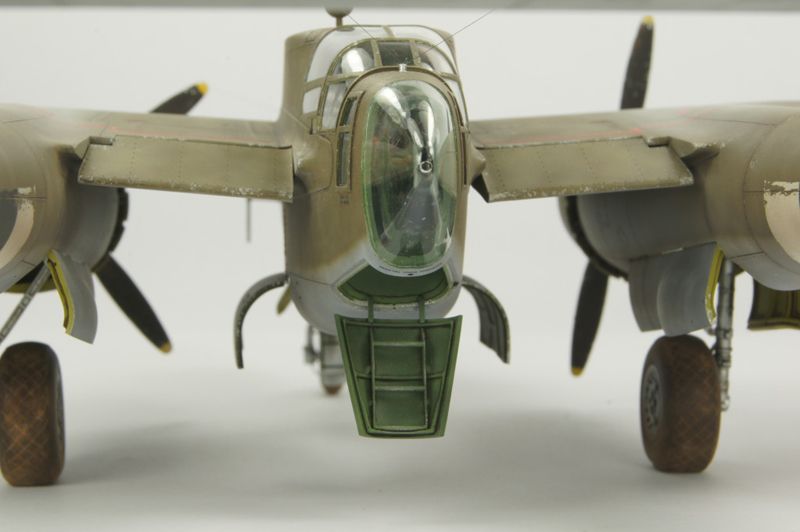
The kits radar antenna
is very frigile, just like all the seats in the cockpit, but with some carefull
attention should look good.
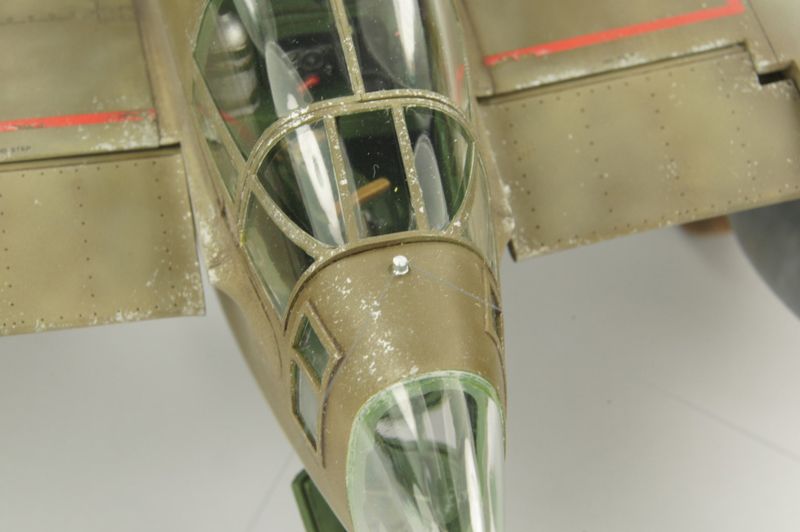
Also i used some wire on the large bulb (part
F60), that goes on top of the fuselage, so that it gives a sronger
bond.

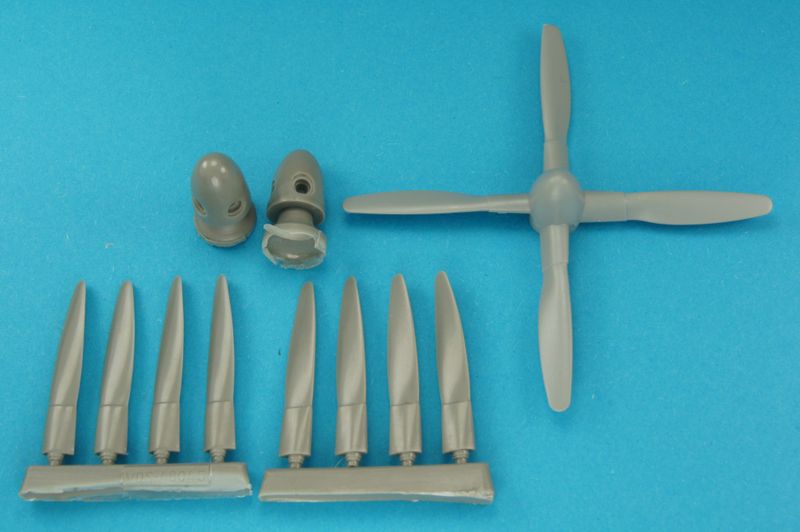
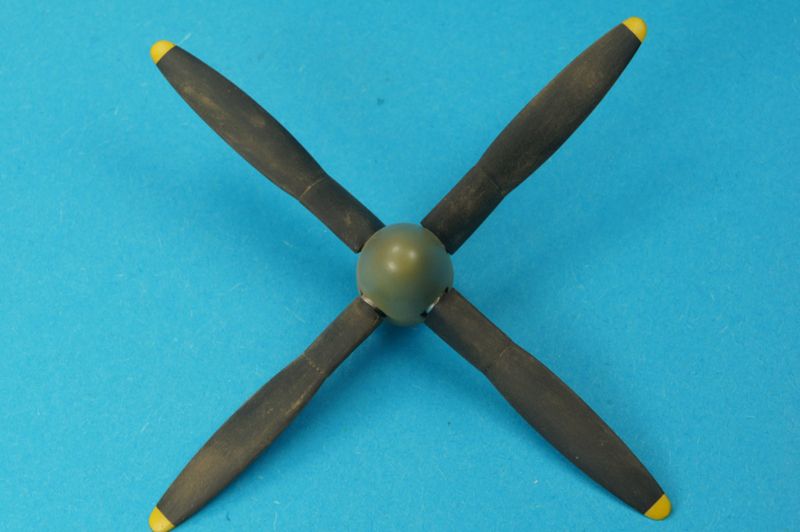
Hurray finally the Vector propeller blades are here, and they are a much improvement over the kit ones.
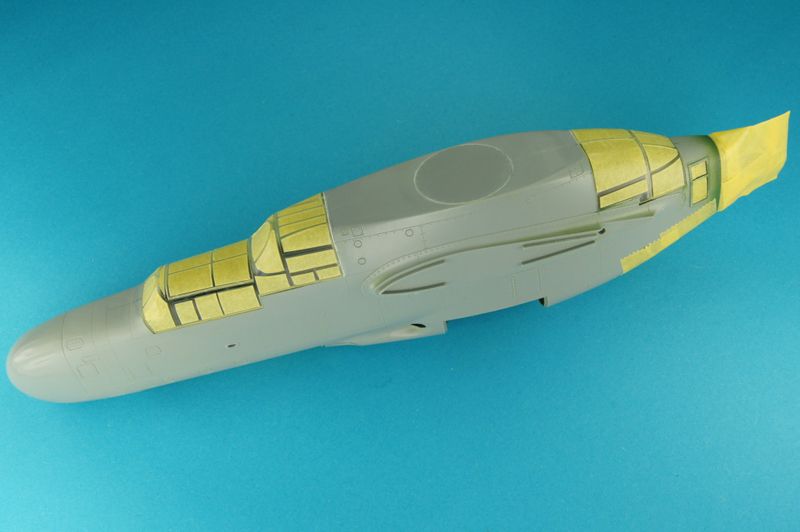
I have been working on the airframe itself getting it prepped for paint. Also i have completed the engines and cowlings. The exhausts should be flush with the cowl flaps and not extend outwards, so some surgery is needed.
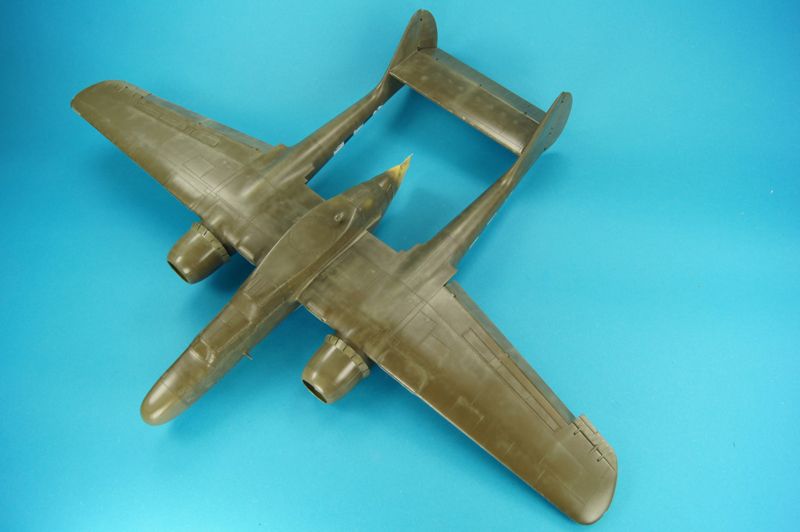
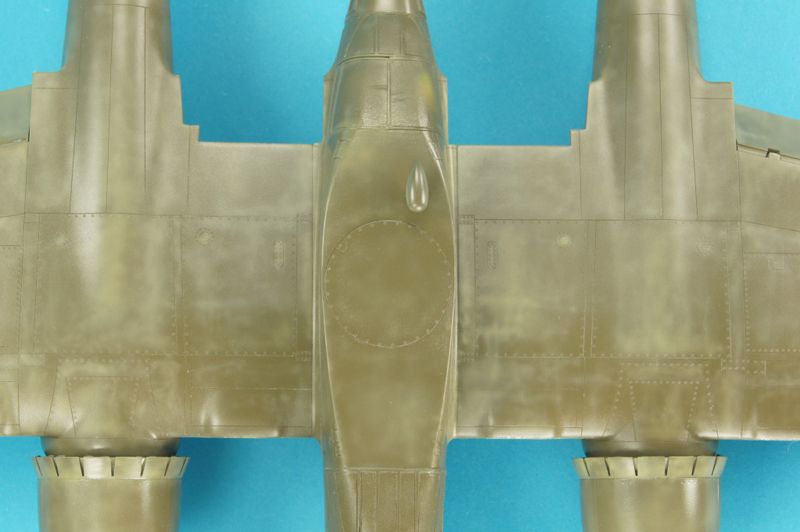
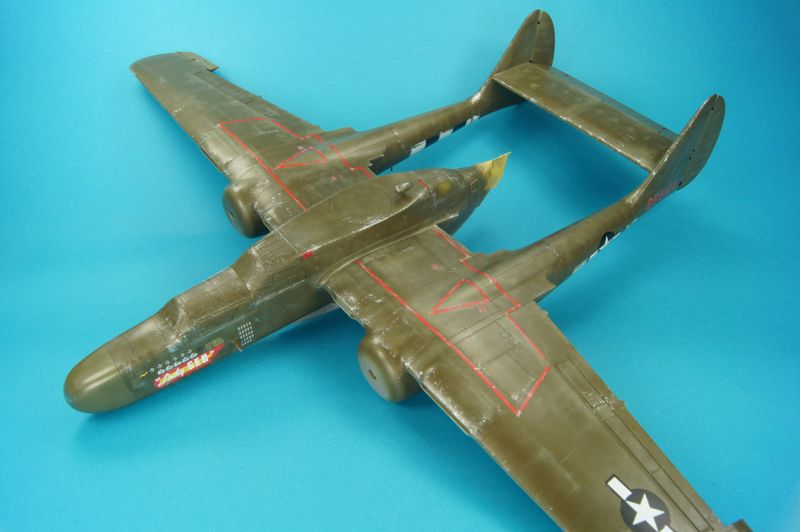
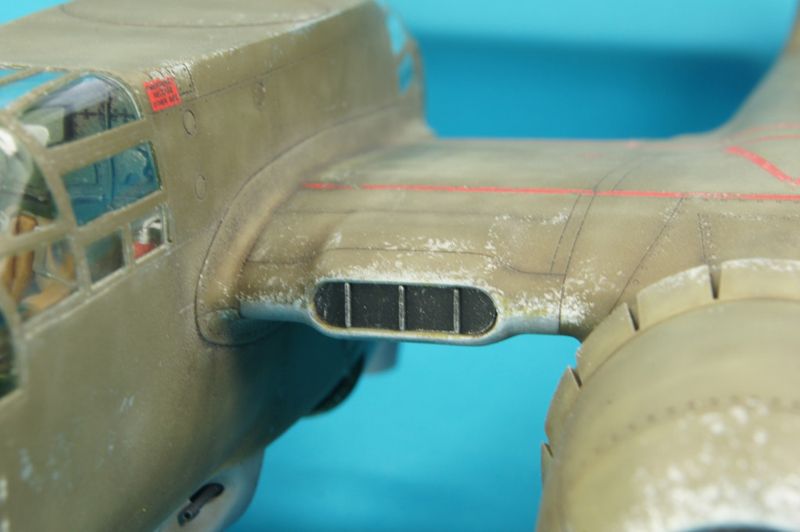
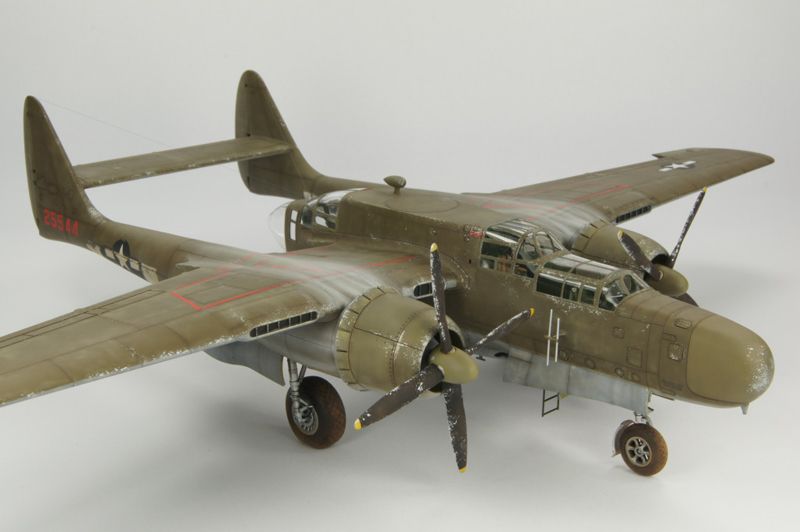
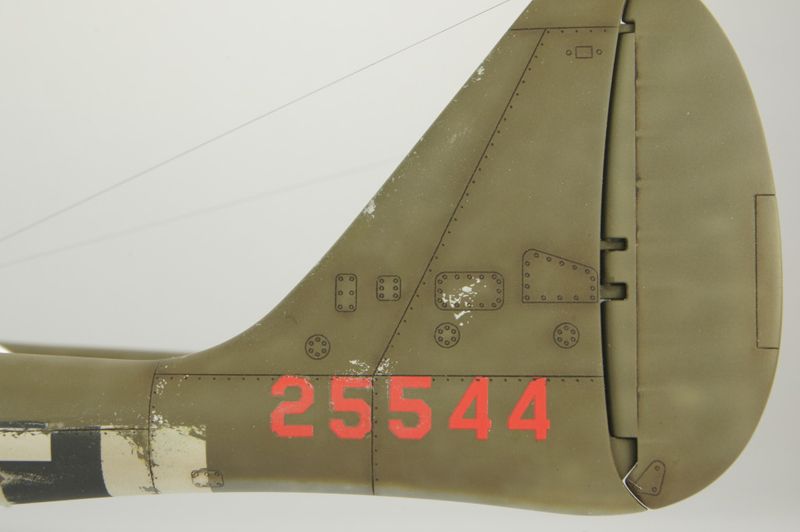
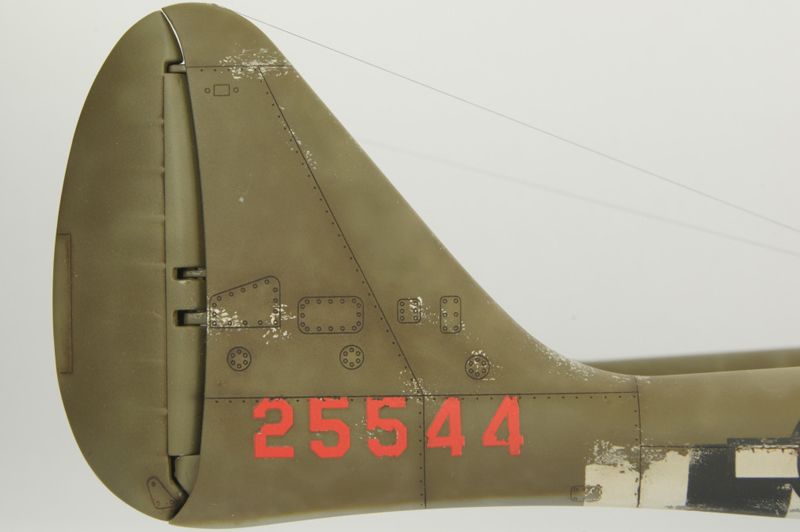
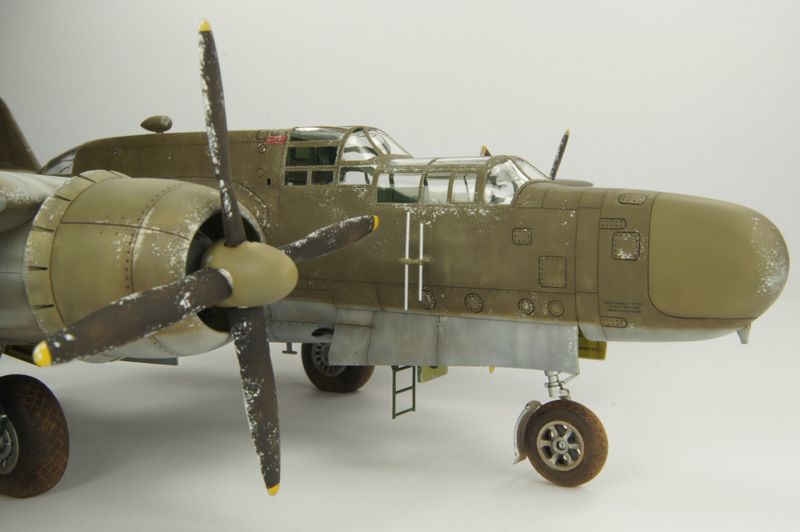
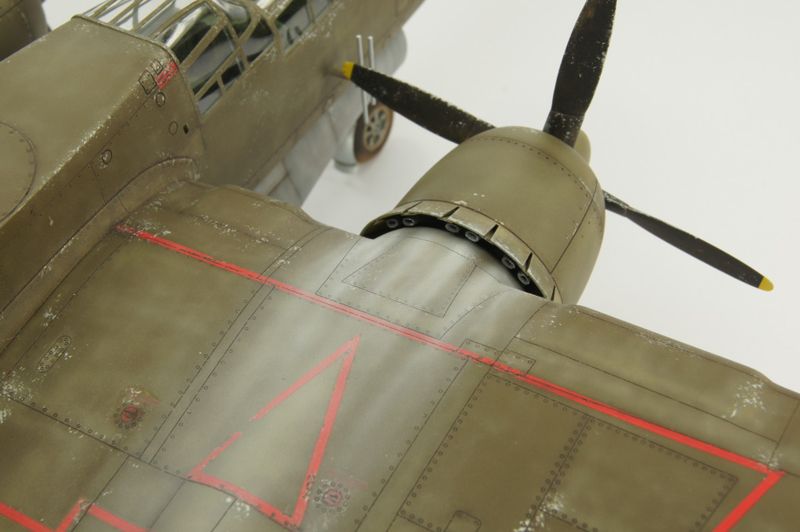
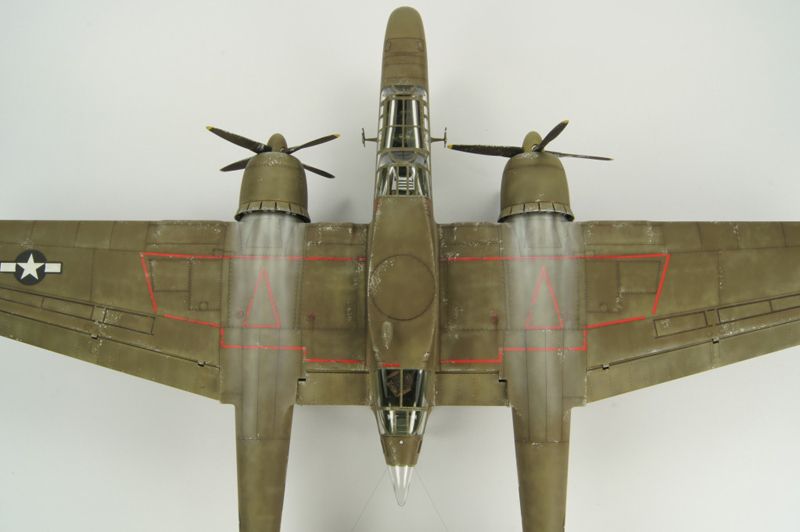
I have completed the major painting of the camouflage colours, te underside was Gunze neutral grey with white added progressivley getting lighter to nearly completely white.
The top colour is Gunze Olive drab, the fading commenced with white and then adding Tamiya XF-4 Yellow green, and ending up with around 20 different variations of the true colour.
Finally a coat of johnsons Klear was sprayed on to lock in the painting ready for decals.
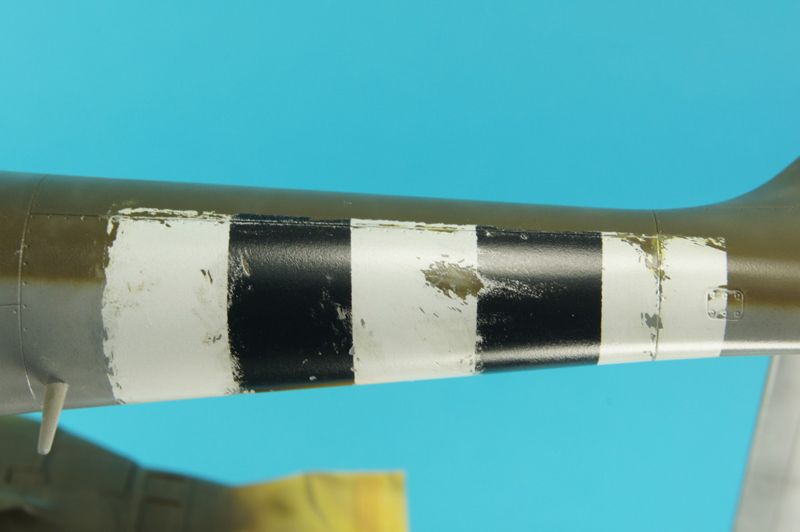
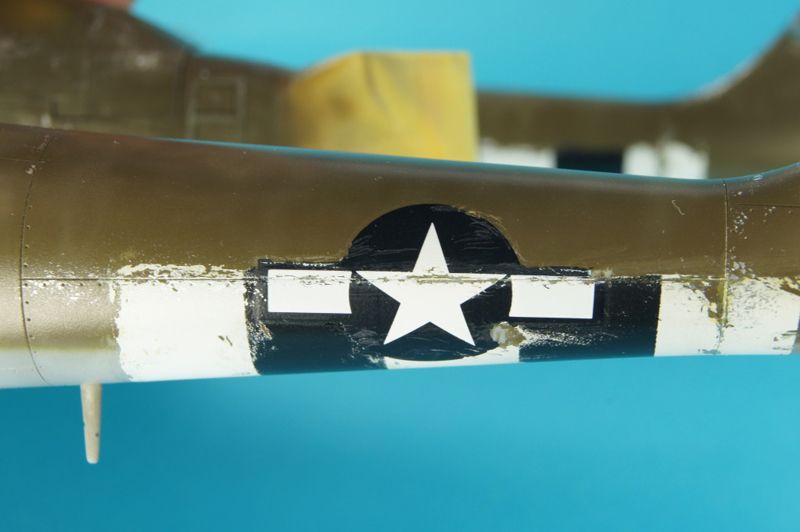
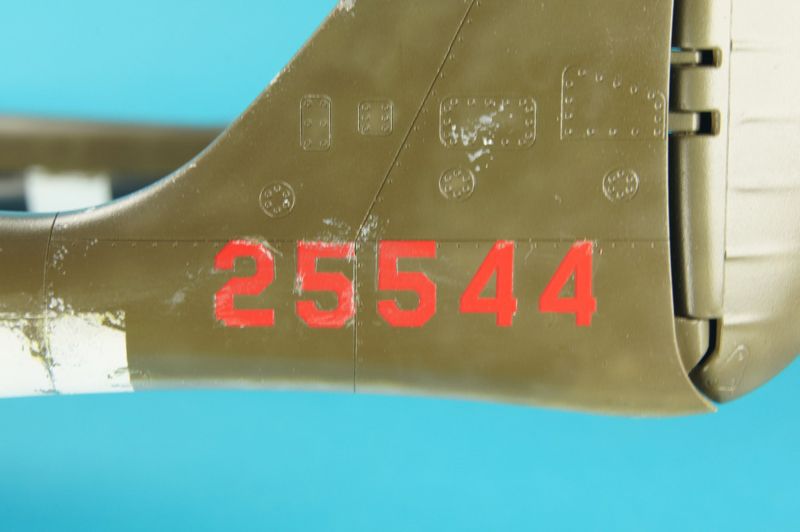
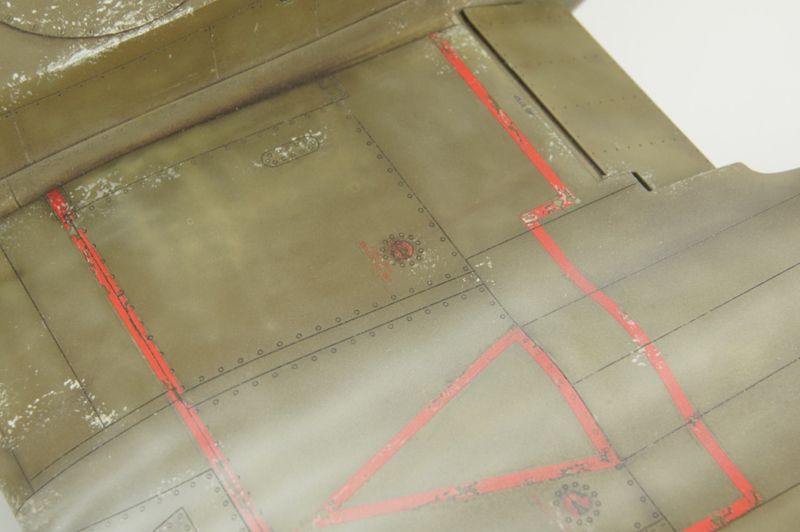
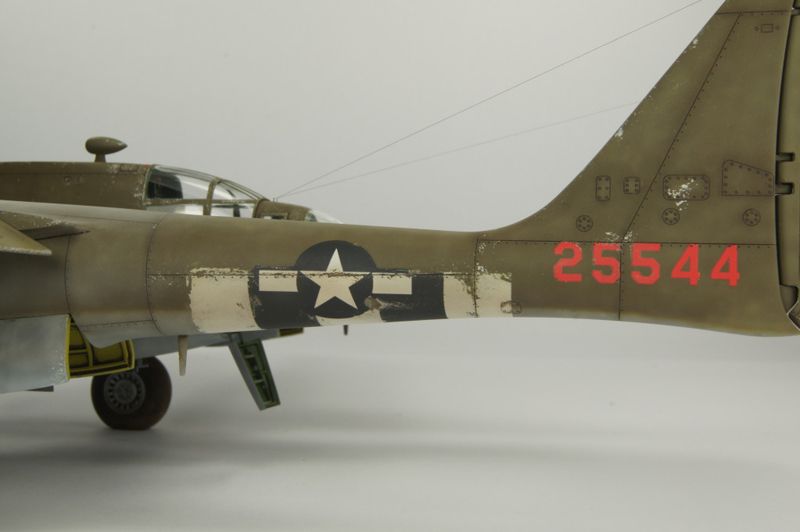
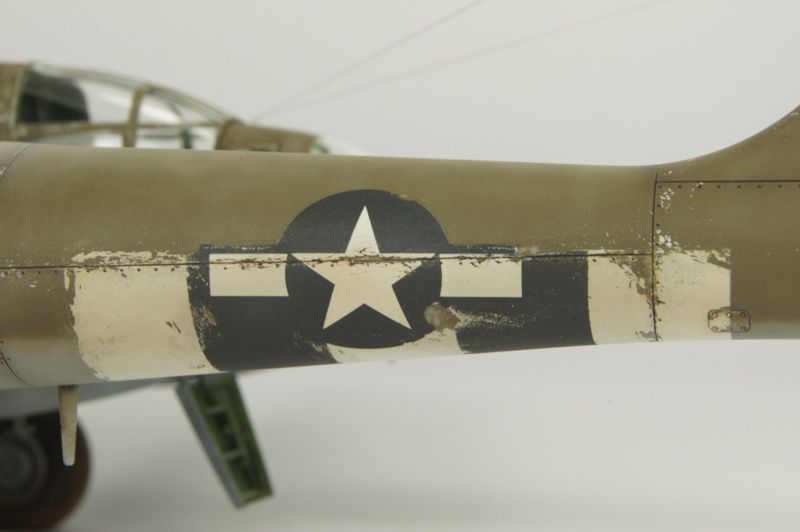
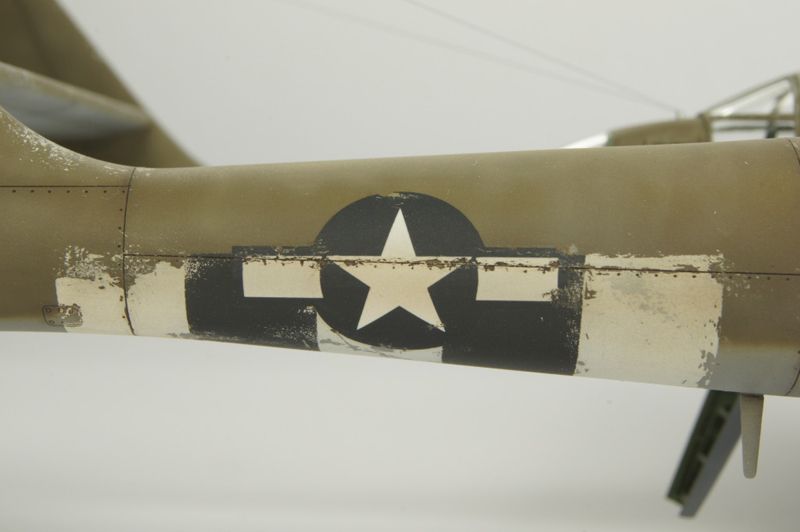
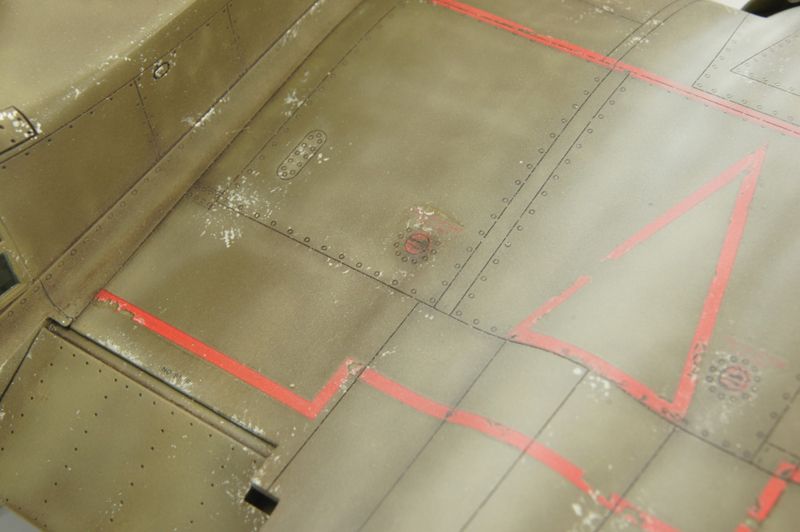
Next the D-day landing markings were sprayed on with Valejo White ad black and when dry the paint was scuffed with some 1500 sand paper and a knife to give a wheathered look.

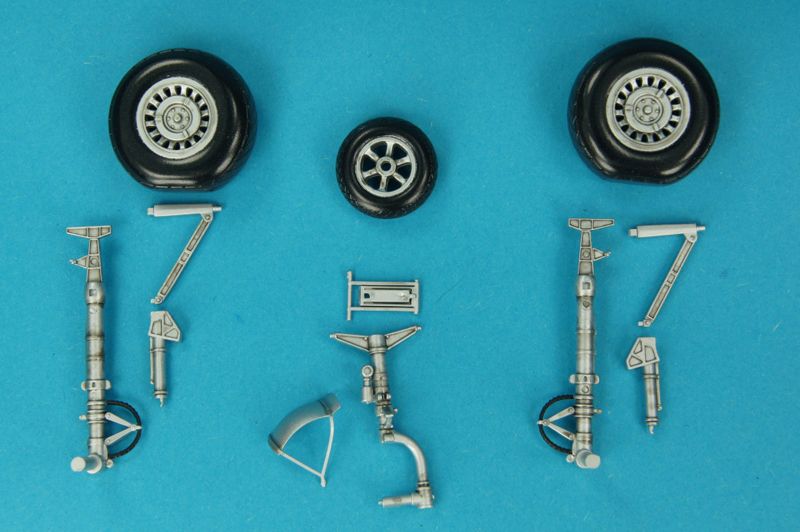
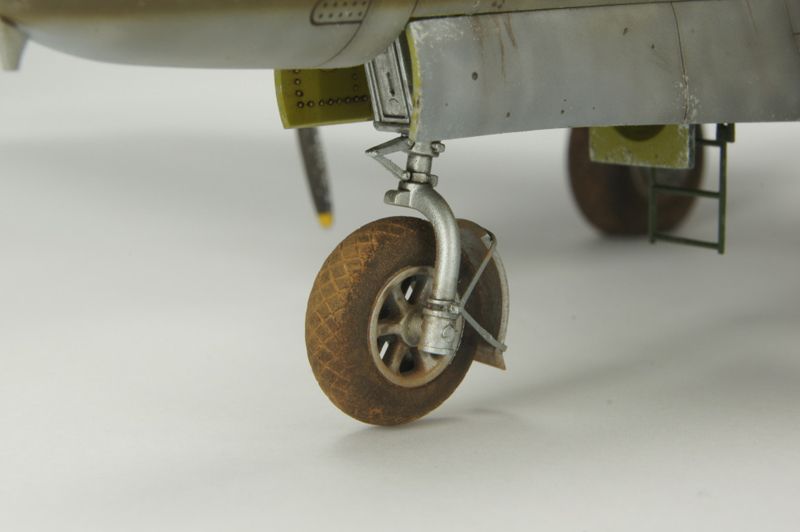
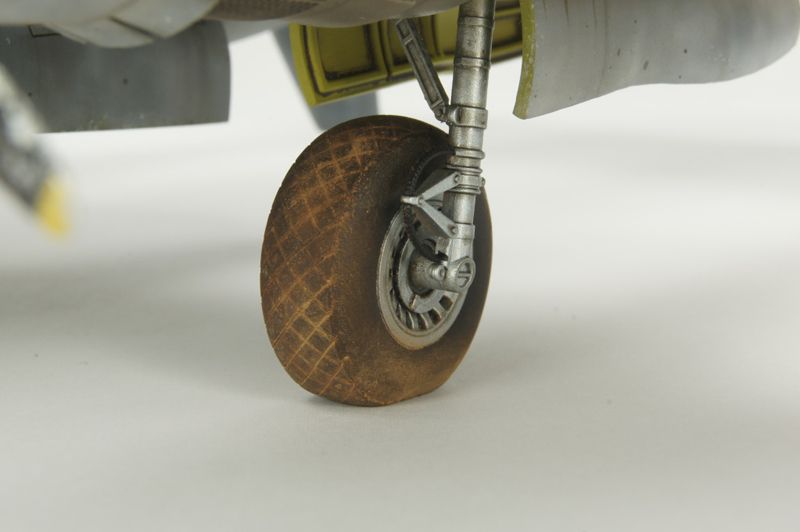
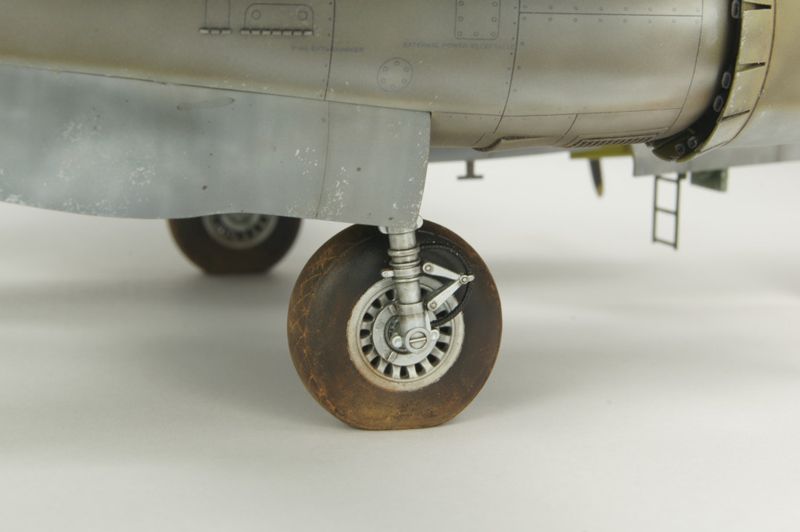
The landing gear was painted Vallejo Steel and weathered with some Tamiya X-19 Smoke which is perfect for silver, and the tires were painted Ginze tire black then given a Klear coat.
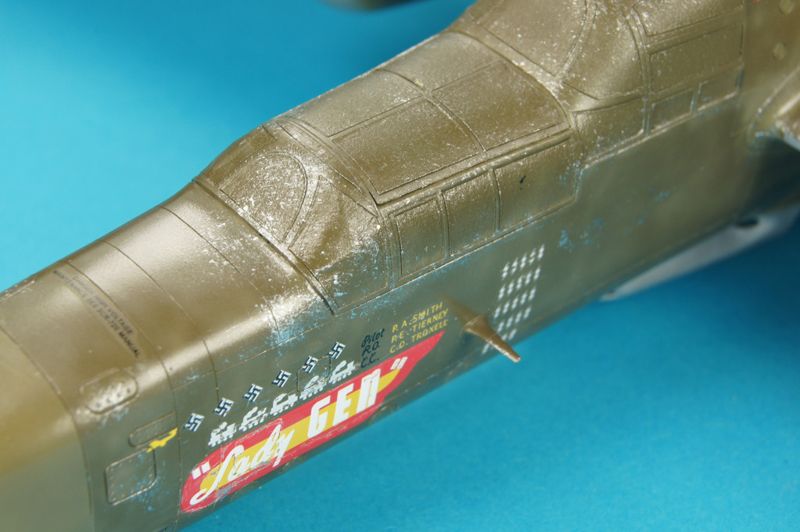
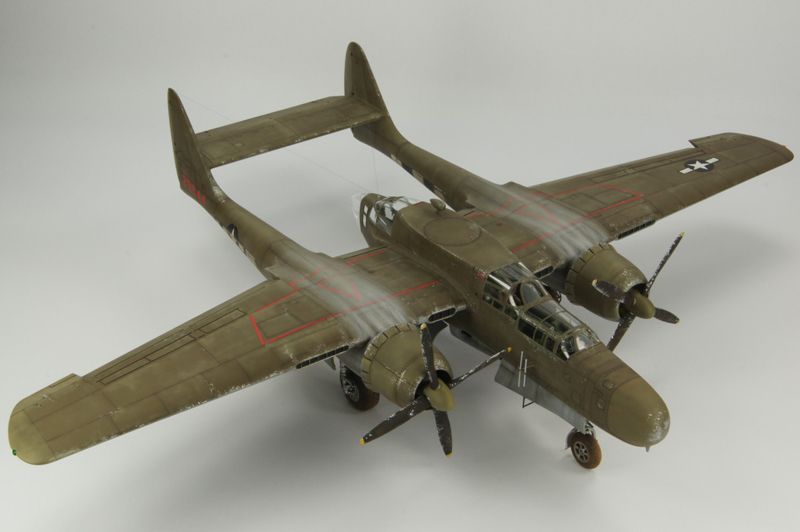
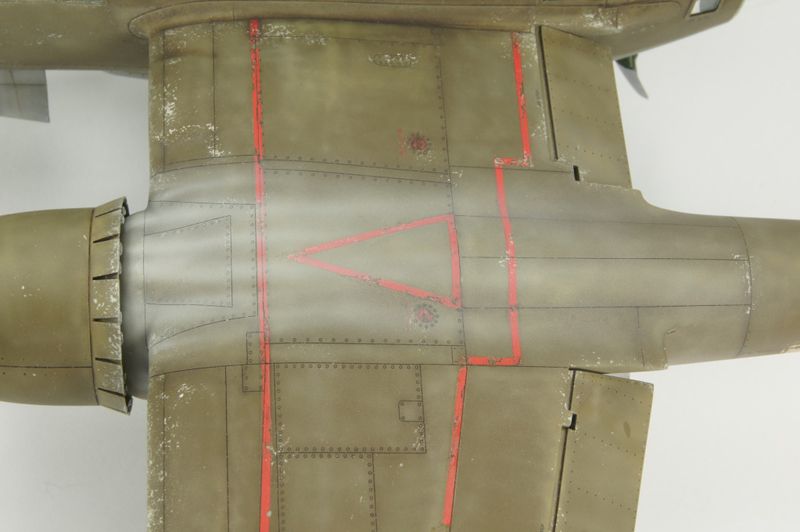
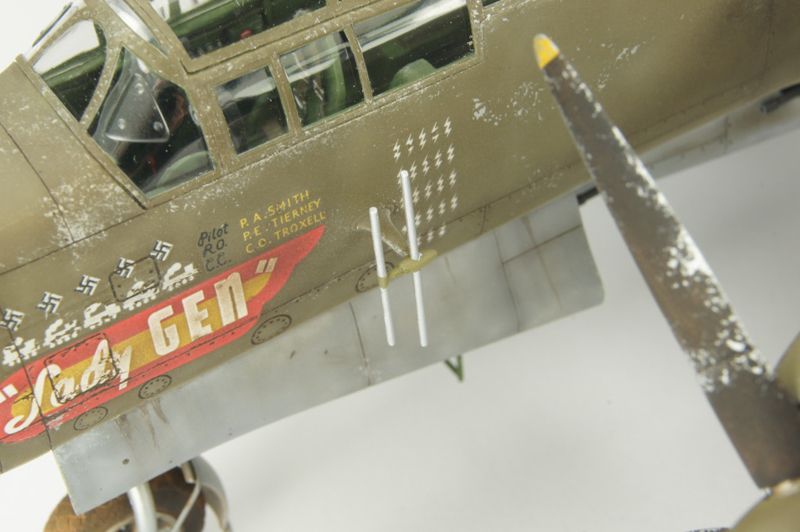
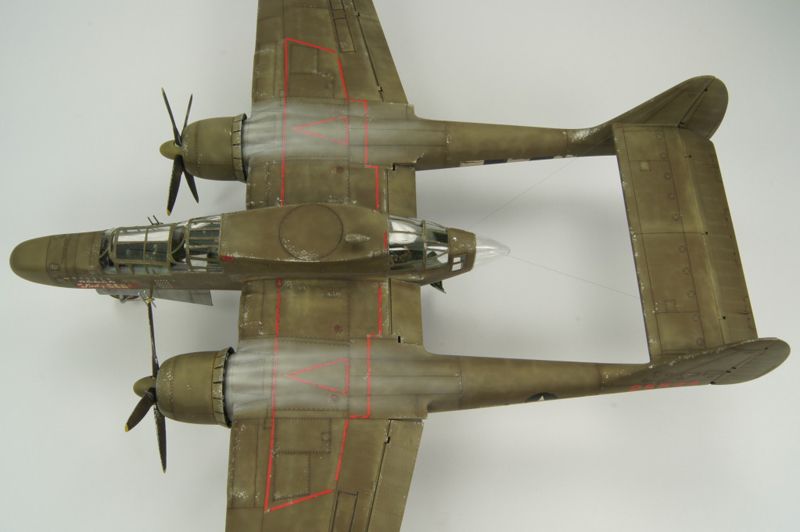
Right i've got all the decals on now and i decided to give the aircraftmore paint chips and scraches and match the decals to this effect as well, hope you like how it is so far.
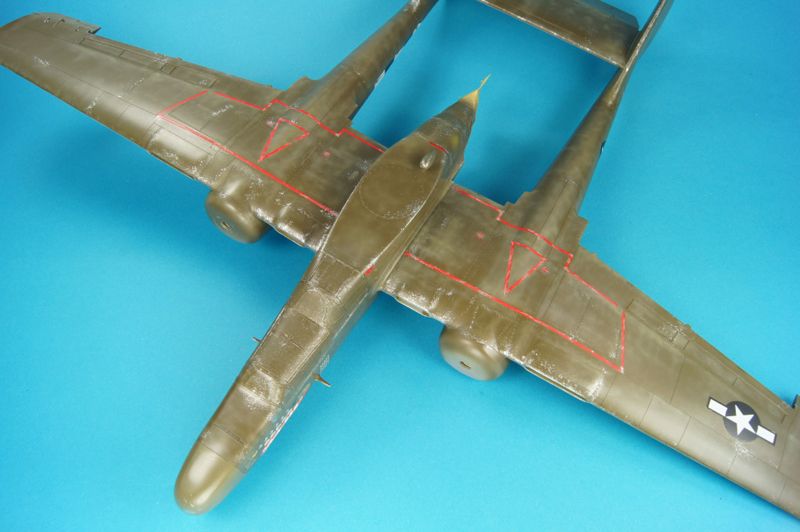
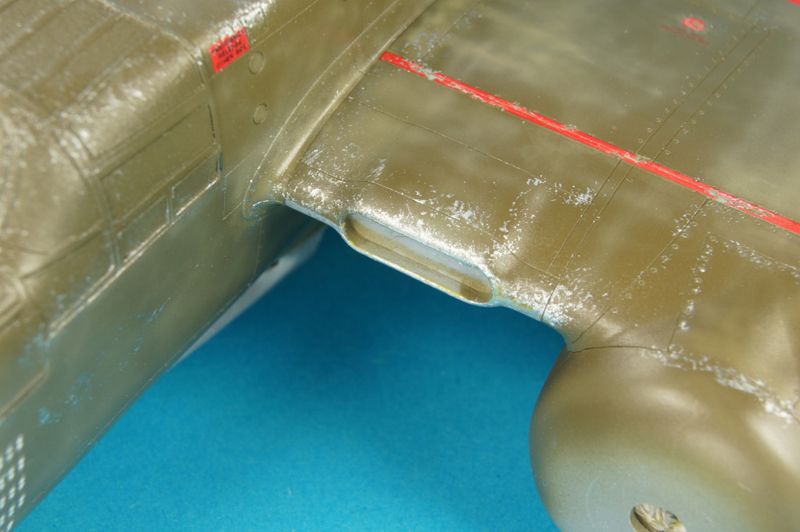
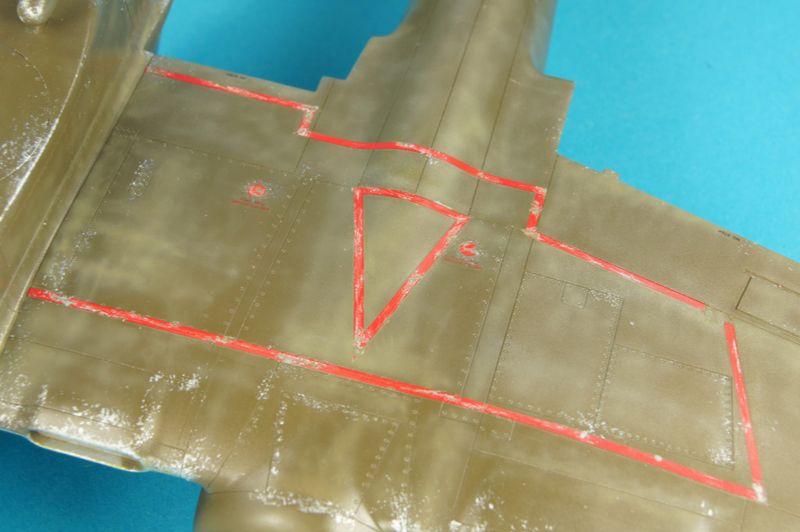
Be careful with the red decal lines on the top of the wing as they don't match up as the instructions tell you so there is a gap, ill have to sray this later.
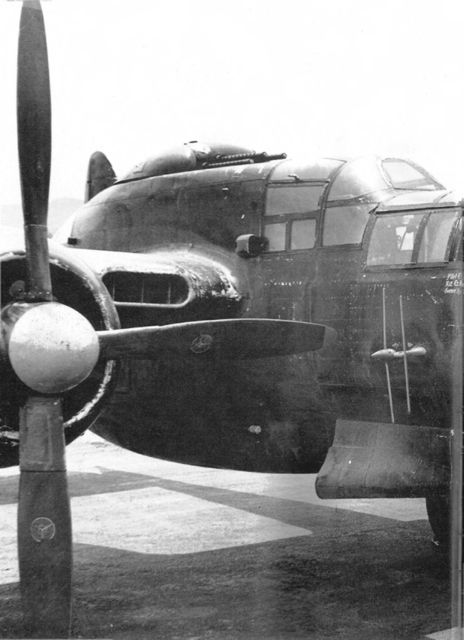
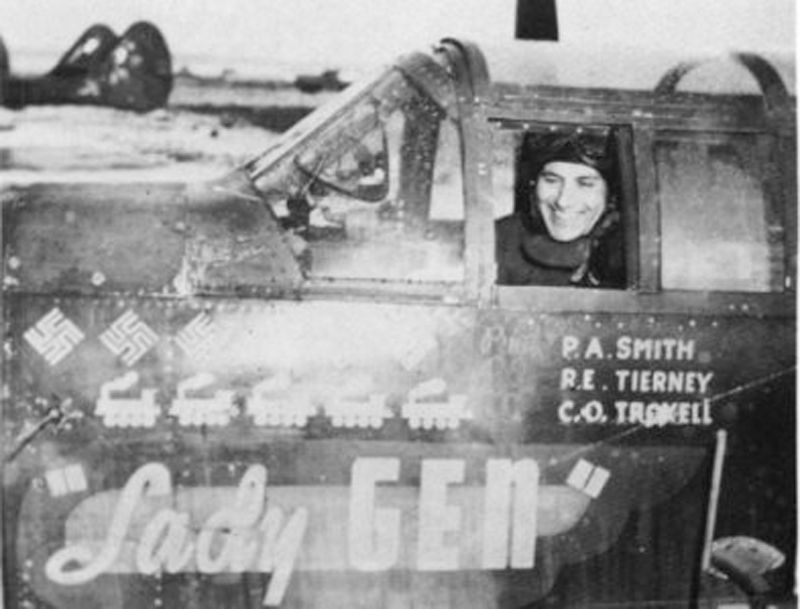
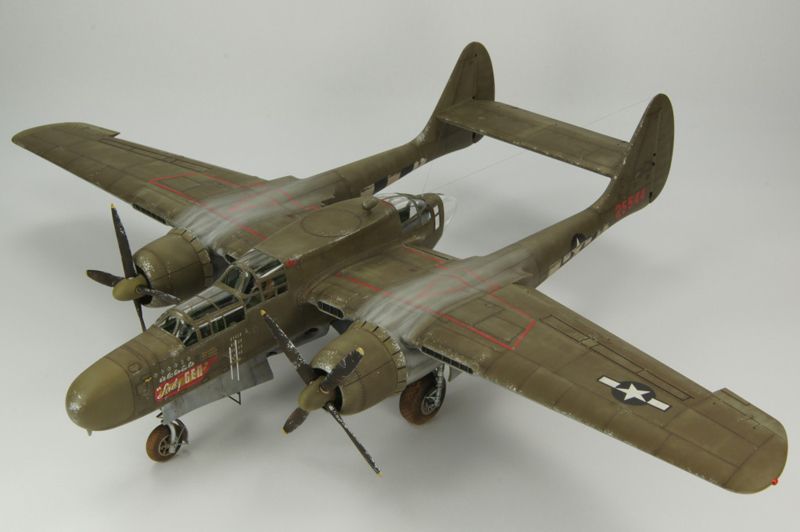
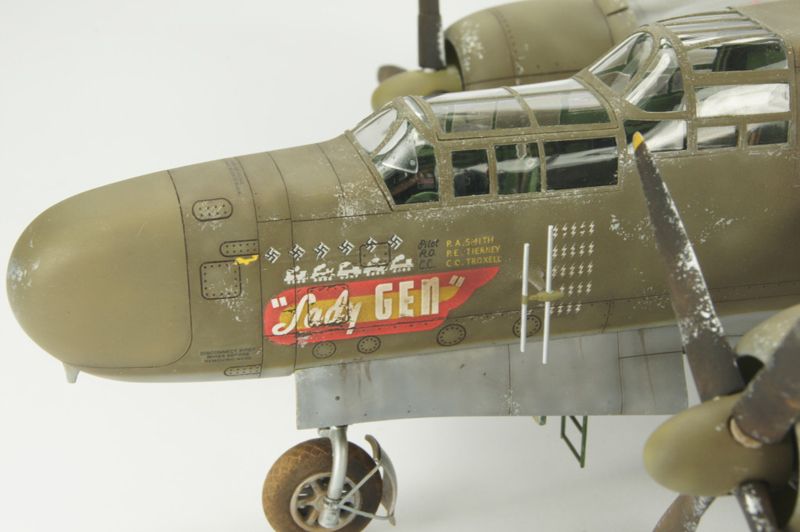
I think i went a bit overboard with the chipping on the side as it compares to the real aircraft picture.
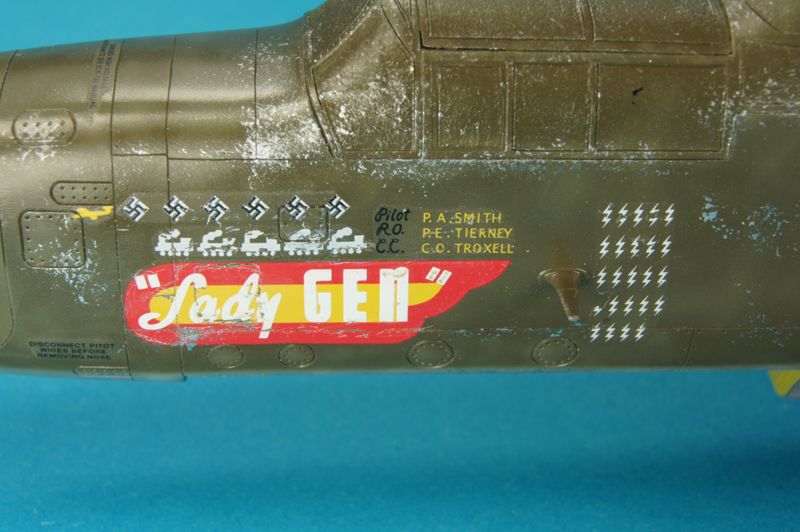
I tried to match the decal with the rest of chipping i have done.
Thats the top chipped, i need to work out the bottom chipping next.

I still have to spray another future oat so to protect the decals, then i can move onto my next favourite bit the post shade weathering.
I might even go back over the main colours and tint the paint even more, that's if it needs more.
Then after that will be the flat coat and the exhaust stain whih will be very light, nearly white in colour, and that should be that vertually.
Well what a year, i managed to complete a few kits and lost some parts for this kit which pushed the build back a bit. I dd really want o complete this kit before the new year, but hey we can't get everything.
On New Years Eve i got the delivery i was waiting for, the missing parts for this kit from The Airbrus Company thanks Ethelian.
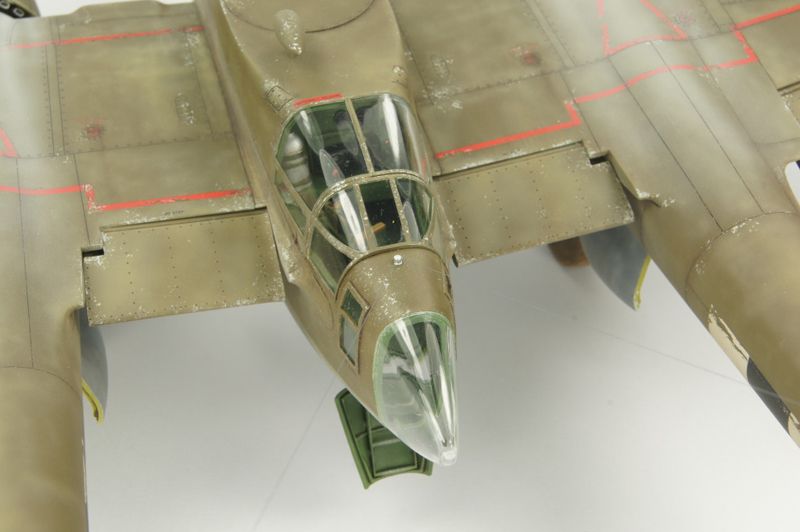
Right onto the build, i have done some work since i last go the delivery. I managed to get the final missing parts on and the flat coat sprayed onto the model. This was done with Xtracrylic satin varnish sparyed neat at 55psi.
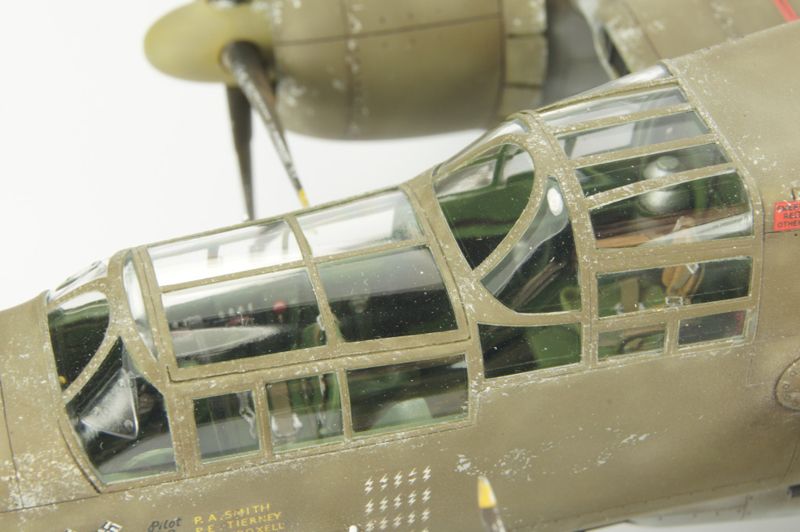
Then the canopy masks were removed to reveal a slight dusty interior, DOH.
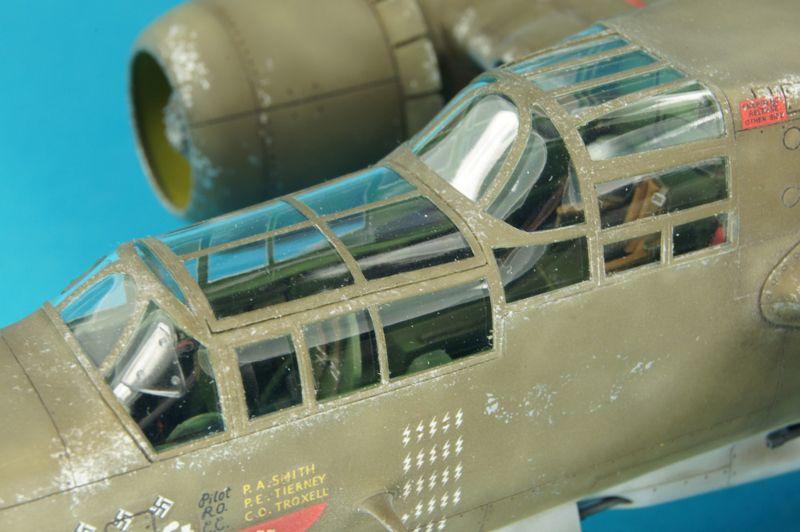
All matted down and looking good.
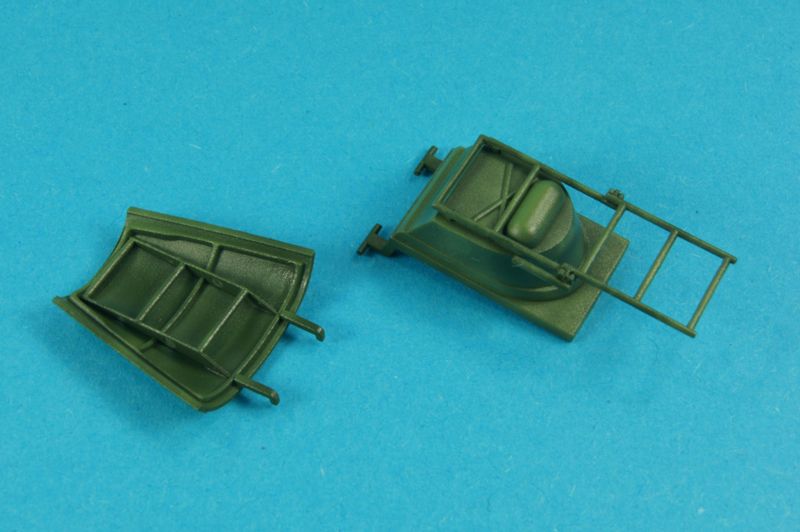
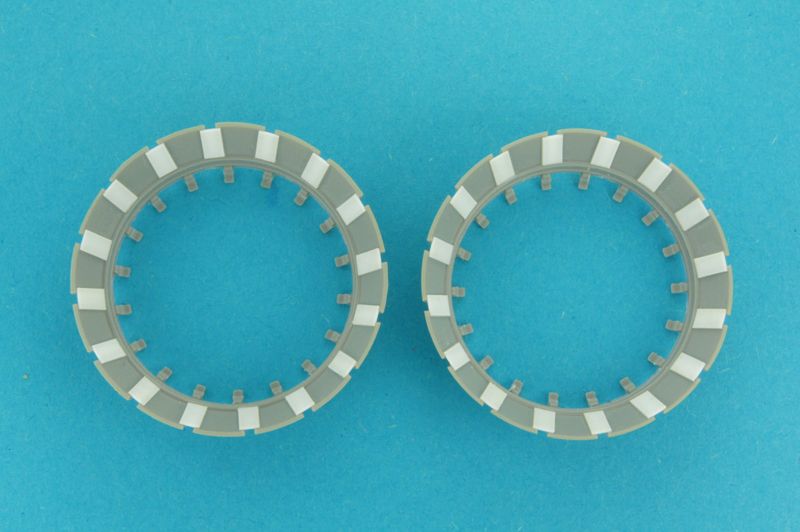
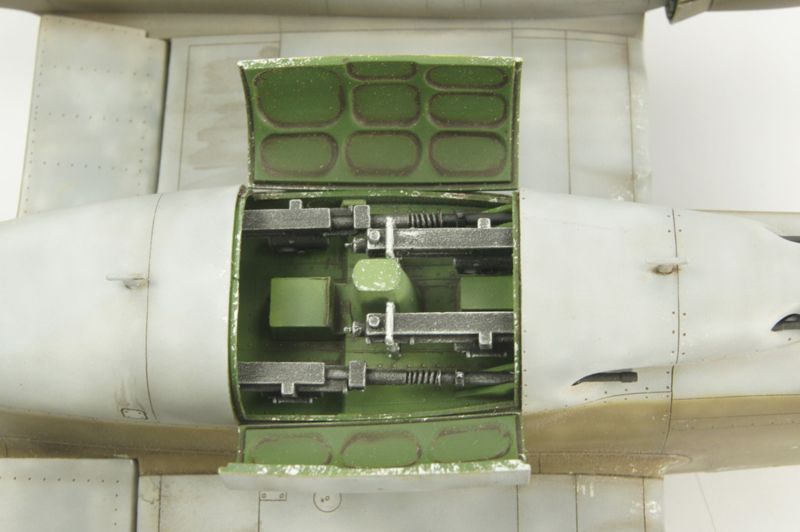
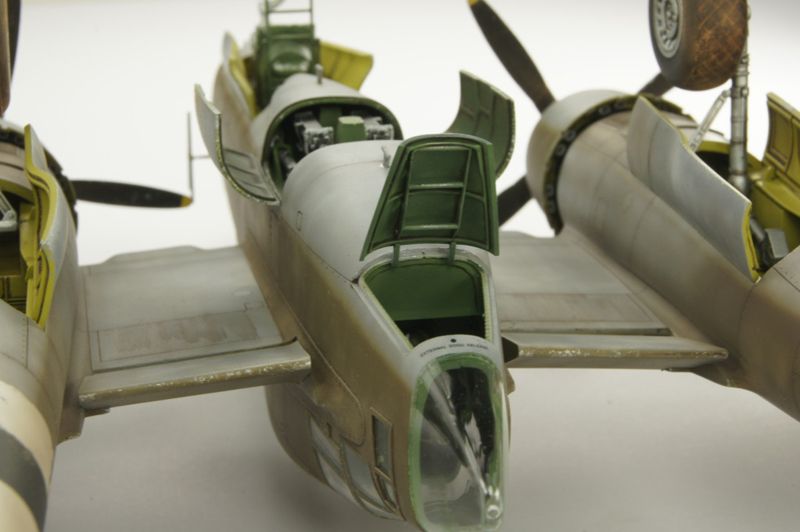
he black grills in the next two pictures were the parts that i lost, these as usual with thhhhhis kit were a perfect fit.
The guns were fitted after all the other stages, a bit fiddley but is the only way to do it. Also the landing gear and the front door with ladder were added at the very end. It can be done just again a bit fiddley.
The engine exhausts need to be worked nto position. On the real aircraft they don't stick out at all, some parts need to be cut to get them to sit flush with the engine cooling flaps.
The propeller hub was treated in the same way as the rest of the aircraft. The blades painted Vallejo black and the tips painted white first, then........
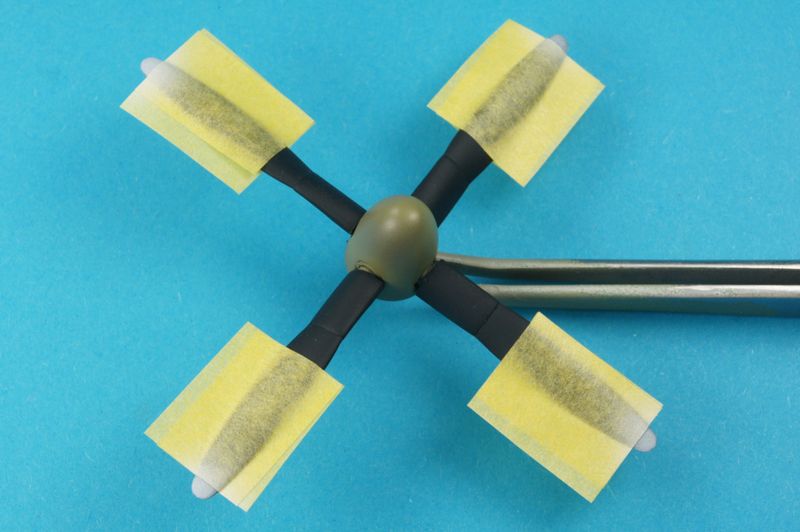
........yellow was sprayed, as yellow is hard to spray on a very dak colour. I also gave the propellers a dusting of Mig pigments, to represent grime and dust.
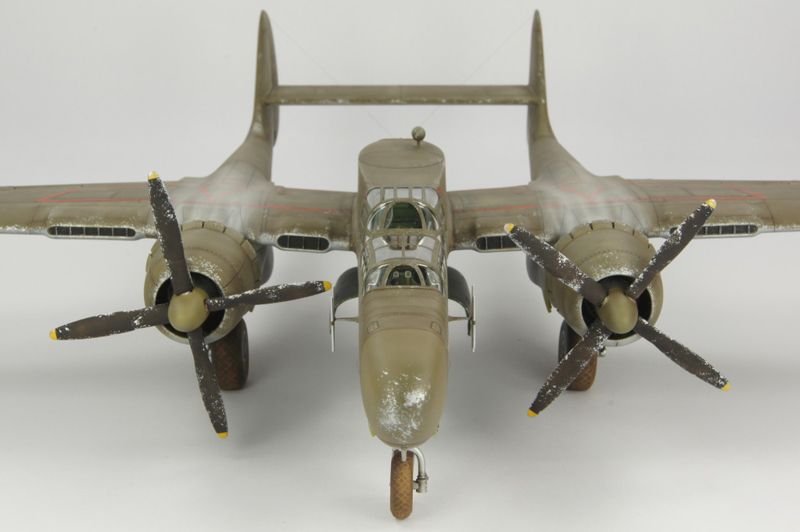
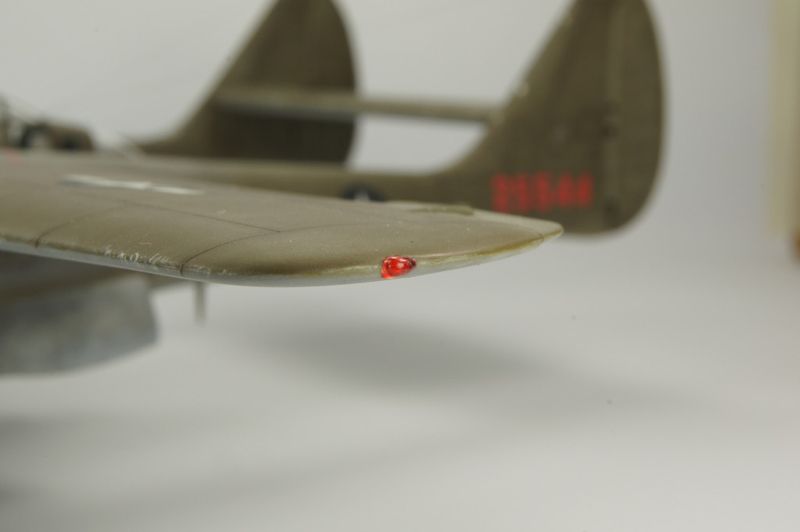
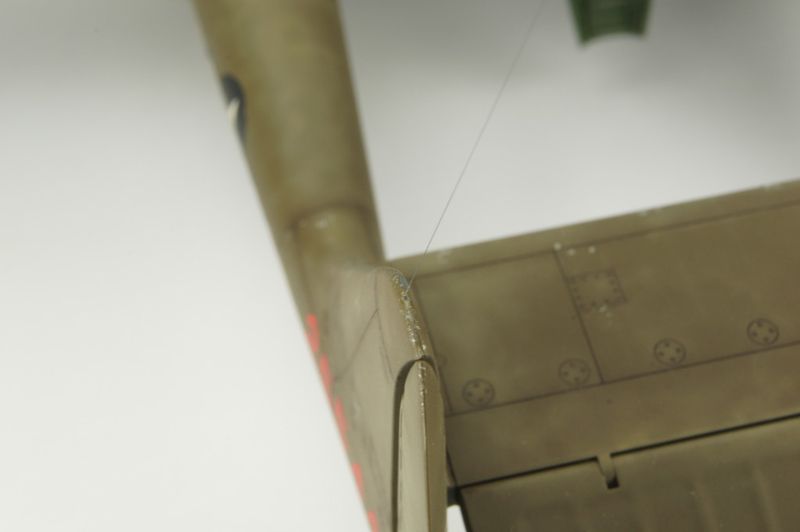
Then i finished off the model with the wingtip lights, one green the other red. I also forgot the antenna. So i drilled a hole on top of each fin and then drilled a hole 0.88mm in diameter at the back of the fuselage between the rear canopy and the glass dome. The bigger hole drilled was for the 0.88mm evergreen plastic rod. After this was inserted it was cut to around 1mm high, then a very small hole was drilld in the centre of the plastic rod for the antenna.
The antenna wire is 0.05 fishing wire, two pieces cut, glued into each of the fins and then passed through the plastic rod hole. Thankfully the wire can be thread through the rear crew access hatch and pulled tight as it's glued into place. The excess was cut from inside the rear cabin.
All that was left was to put some Mig pigments on the tires and that was it.
What a fantastic kit, no filler really required that i can remember, just can't wait for the P-61B!


Thanks, Robert 