


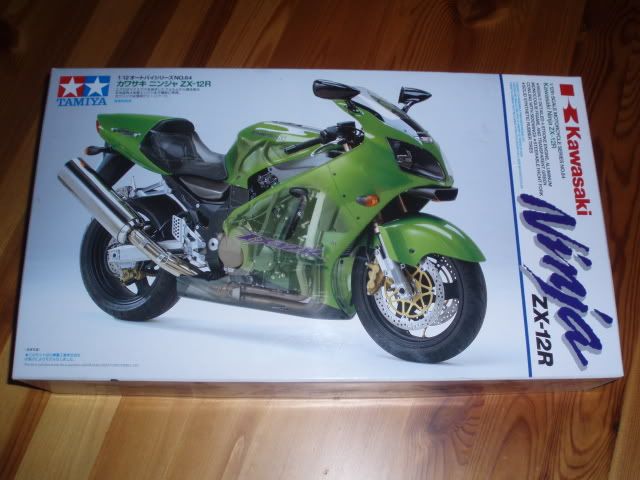
TAMIYA 1/12th KAWASAKI ZX-12R NINJA
By Michael Lydon
This Ninja was reportedly created in the image of a fighter plane, which comes as no surprise considering that its slippery aerodynamics involved the cooperation of the Aerospace Division of Kawasaki Heavy Industries, Ltd. In fact, the ZX-12R spent more time in the wind tunnel during its development phase than any motorcycle in Kawasaki's history. The results are evident: small winglets on the sides of the fairing separate airflow around the bike; small wind deflectors on the lower forks deflect turbulent air from the engine; a long lip on the edge of the fairing further smoothens out airflow.
Paints Used
TS-52 – Candy Green Spray
TS-17 – Silver Spray
X1 – Gloss Black
X10 – Gun Metal
X11 – Chrome Silver
X12 – Gold Leaf
X18 – Semi Gloss Black
X-2 – White
X27 – Clear Red
X31 – Titanium Silver
X32 – Titanium Gold
X34 – Metallic Brown
X7 – Red
XF1 – Flat Black
XF16 – Flat Aluminium
XF28 – Dark Copper
XF5 – Flat Green
XF56 – Metallic Grey
Materials Used
Squadron Green
Tamiya Masking Tape 6,10 18 & 40mm
Mastercasters Sanding Sticks
Tamiya Extra Thin Cement
Superglue
The build,
Box photo
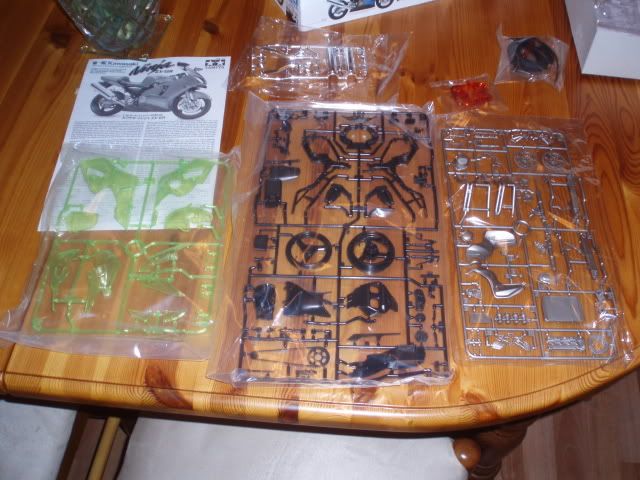
Contents
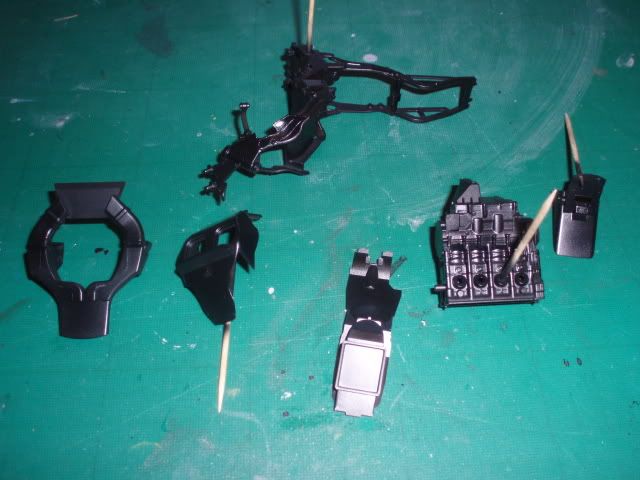
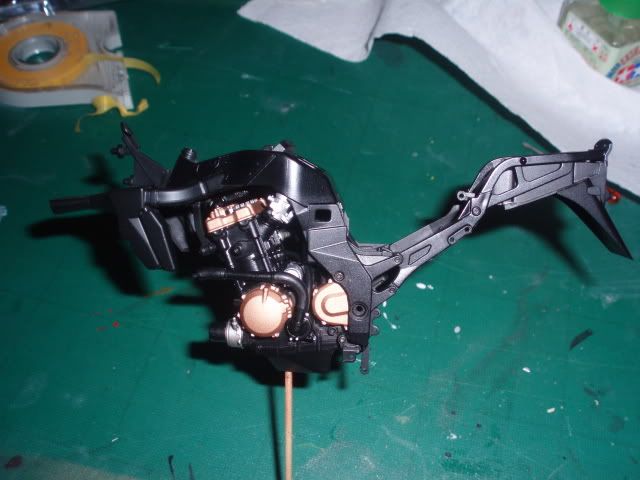
Started off with the engine & frame sprayed Tamiya x-18 Semi Gloss Black
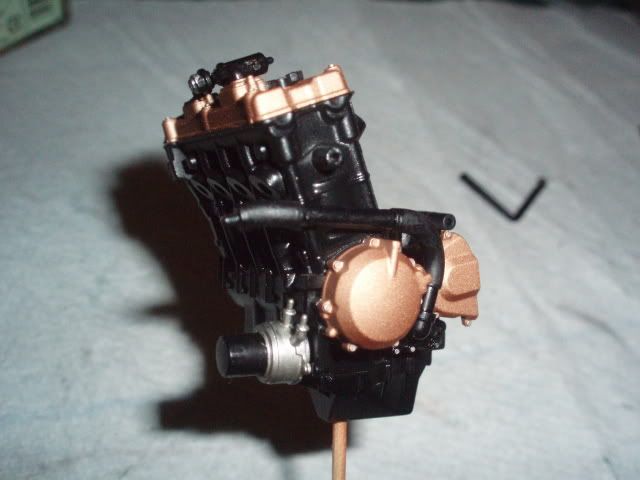
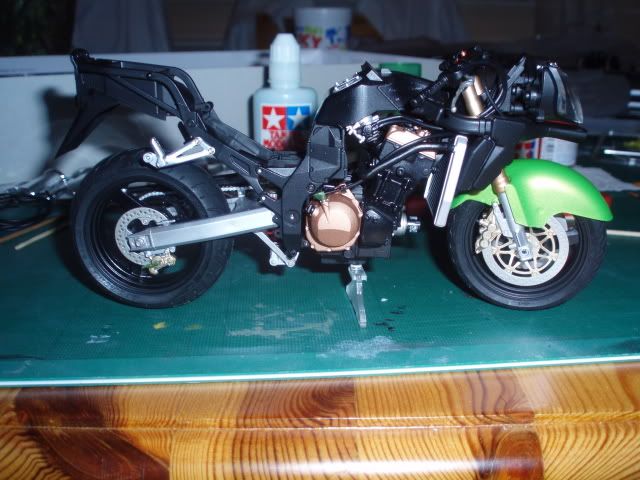
The engine is now assembled, the clutch housing and alternator cover are sprayed Tamiya XF-28
This is now added into the pre painted frame
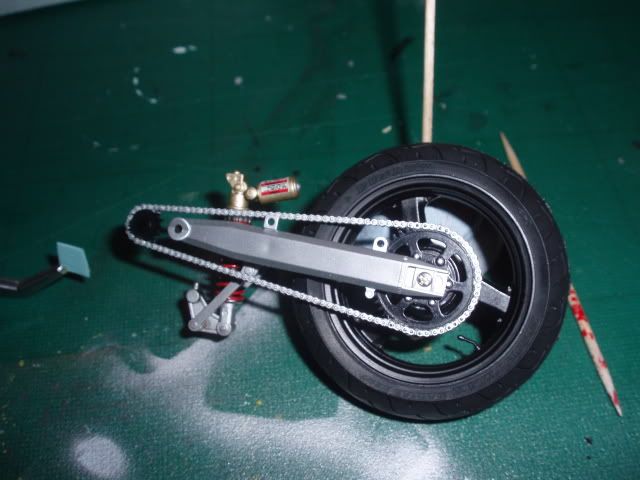
Next the rear wheel is painted and assembled, the swinging arm was painted decanted Tamiya TS-17
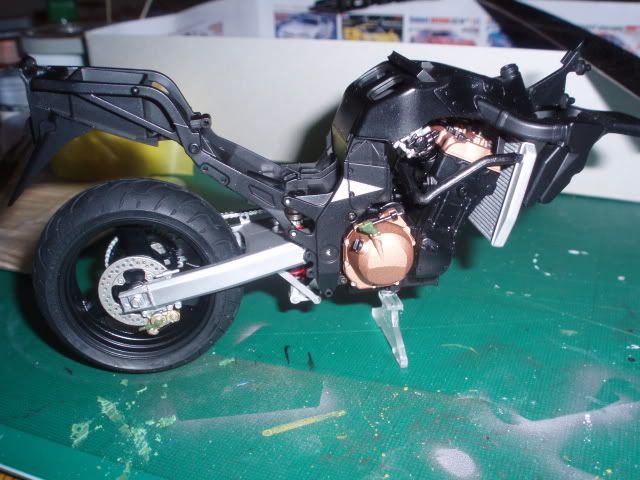
The rear wheel is now added to the frame and at this point some of the touching up is done, ie the green clutch arm & oil cap etc
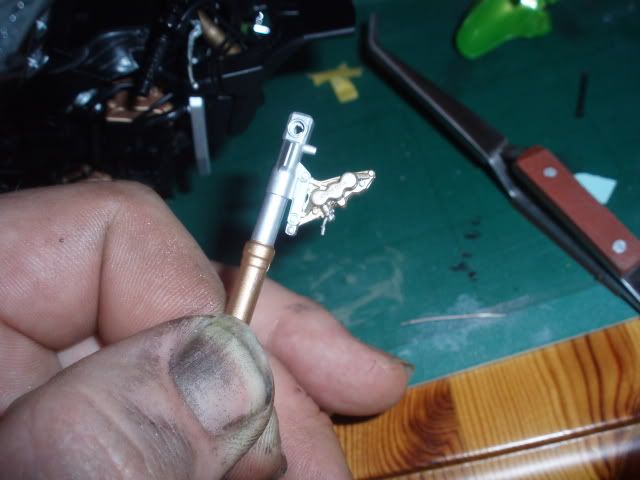
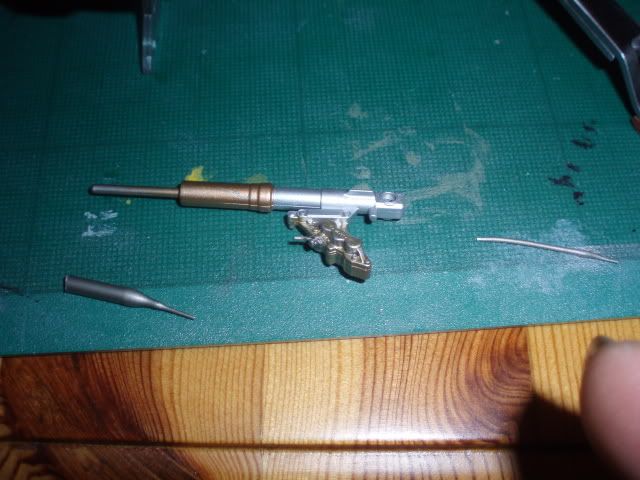
The front mudguard is painted in the candy green so the front fork assy. can be assembled. It was at this point I had noticed the spigot for the front brake pipe was snapped off. At this out came the hobby drill along with a 0.5mm drill bit. After drilling a hole I heated and stretched some plastic and glued it into the hole.


Add the handlebars and hoses
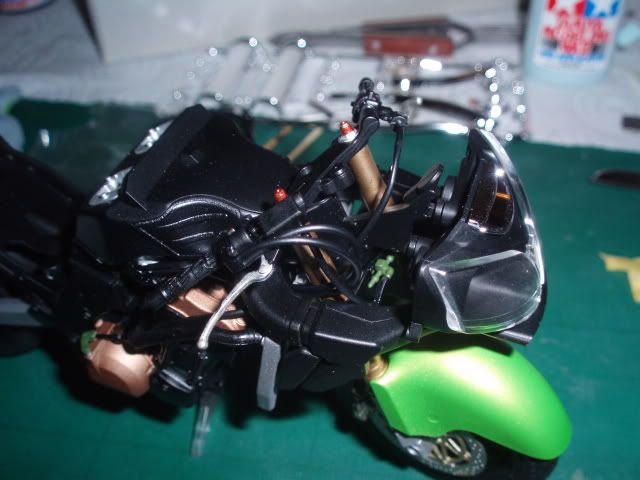
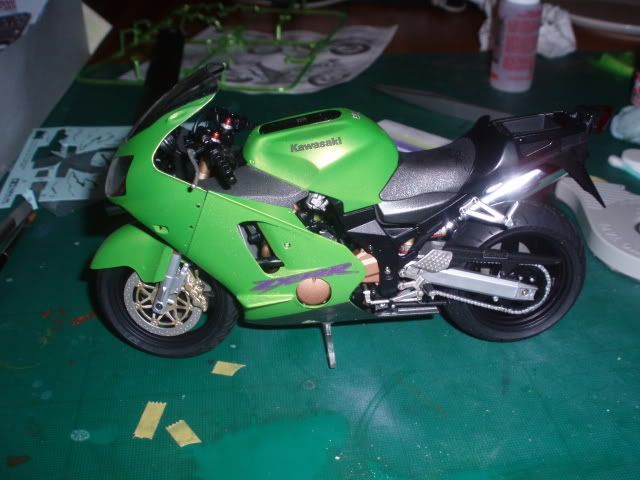
And it is beginning to look like a motorbike
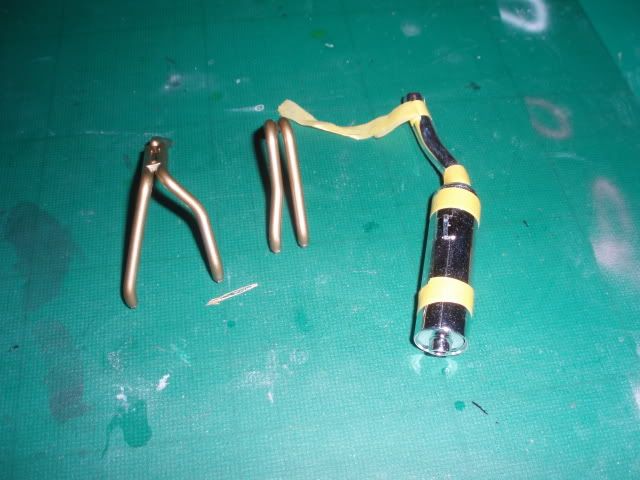
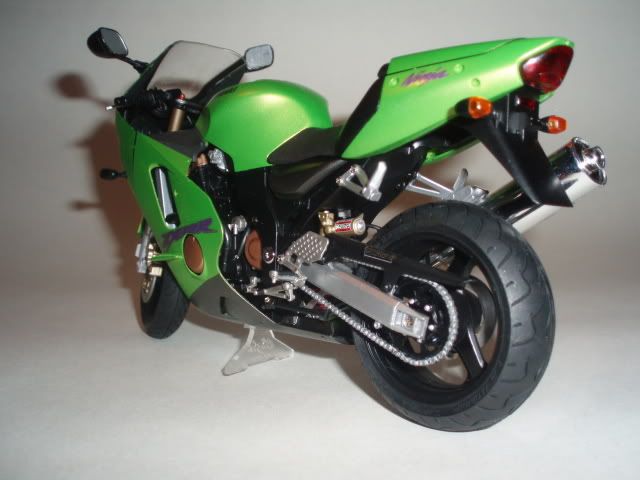
Next the exhaust, the downpipes were spayed X31 + X34. I would normally put some weathering on the downpipes however the rest of the bike has no weathering plus there is little or no way of seeing the top of the downpipes once the radiator and fairing are in place. The silencer is built up and held in plce with tamiya tape until it sets.
Added to the bike

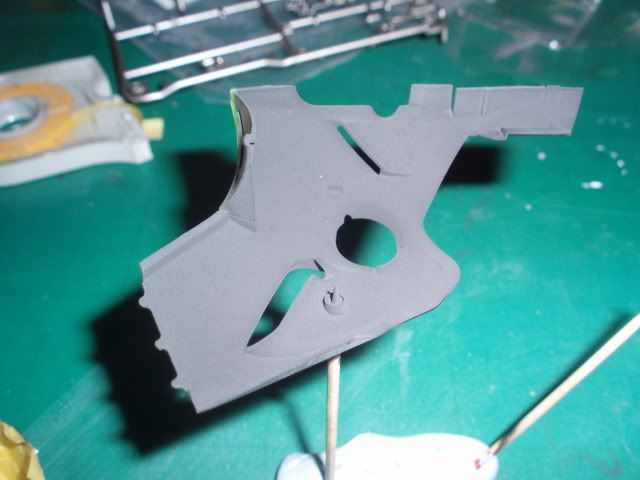
Now its just the fairings to be painted, inside are XF-1 and the outside TS-52 candy green.

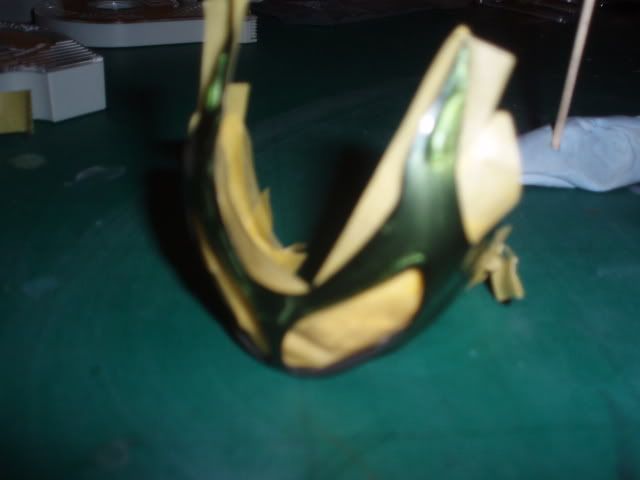

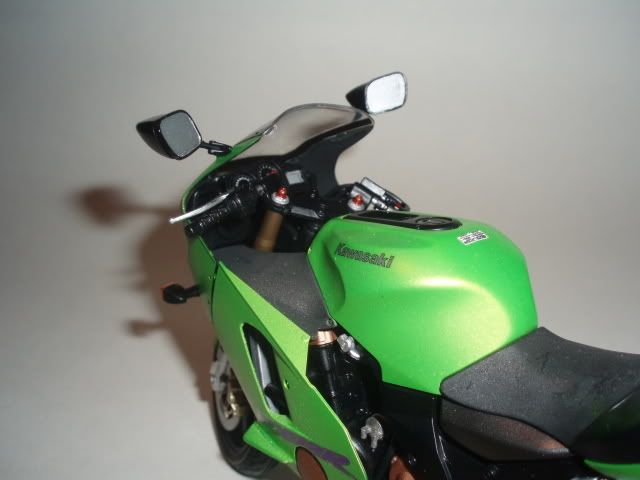
And the tank


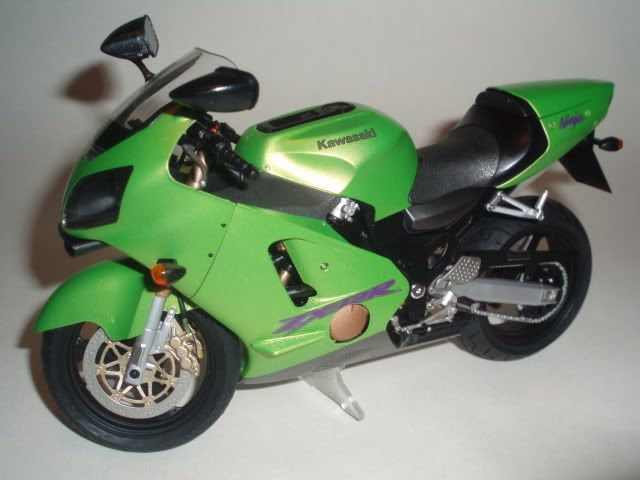
Screw it all together and you get...


If you note I left one of the side panels unpainted so the engine etc could be seen
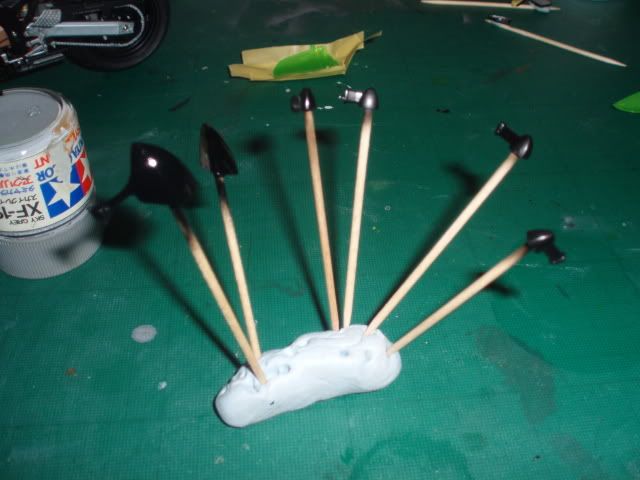
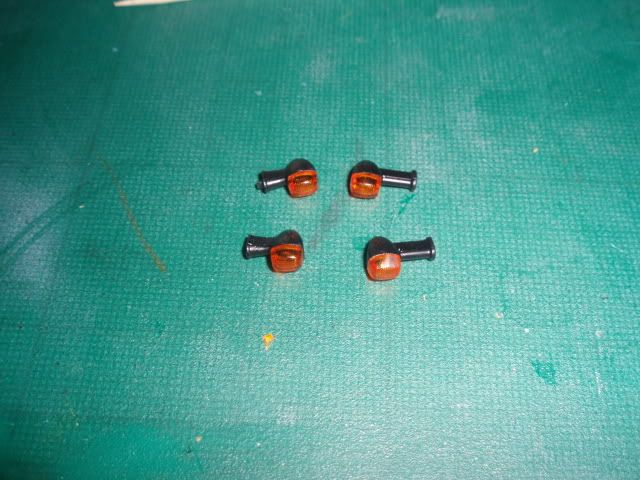
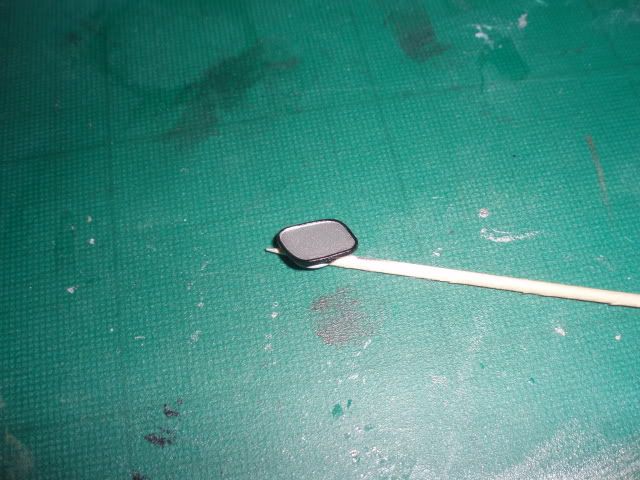
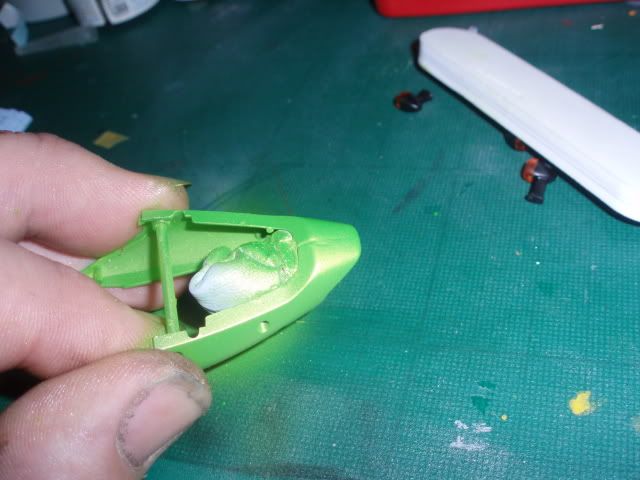
Finally it was down to the tail fairing, indicators and mirrors. The kit comes with silver stickers for the mirrors however they are not pre cut. Given the size of the mirror and my hands I opted to spray them X-11 Chrome silver. This left the only thing on the kit I was not happy with. The tail fairing. If you look at the photograph you will notice the round spar, this is only used during assembly. The problem occurs due to the fact the only point the two halves are joined is at the end, a 5mm join. This took 6 attempts and even now I am sill not 100% happy with it. Decals went on and the final photographs taken.
Like this…


Michael Lydon